We introduce the new “White level” of the SILKYPIX Developer Studio Pro11/11.
The White level function can adjust the level that is represented as white in the image. Then you can finish the photograph with a clear impression.
How to use the White level
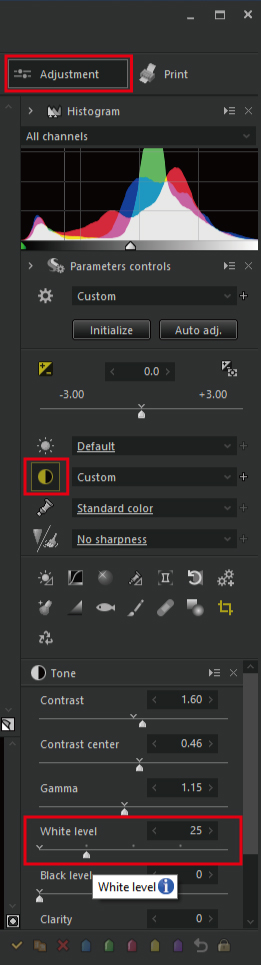
First, click the [Adjust] section to open the adjustment screen. Clicking the Tone icon in the parameter control causes the Tone sub-control to appear. There is a White level within it. You can move the slider to the right to adjust the effect.
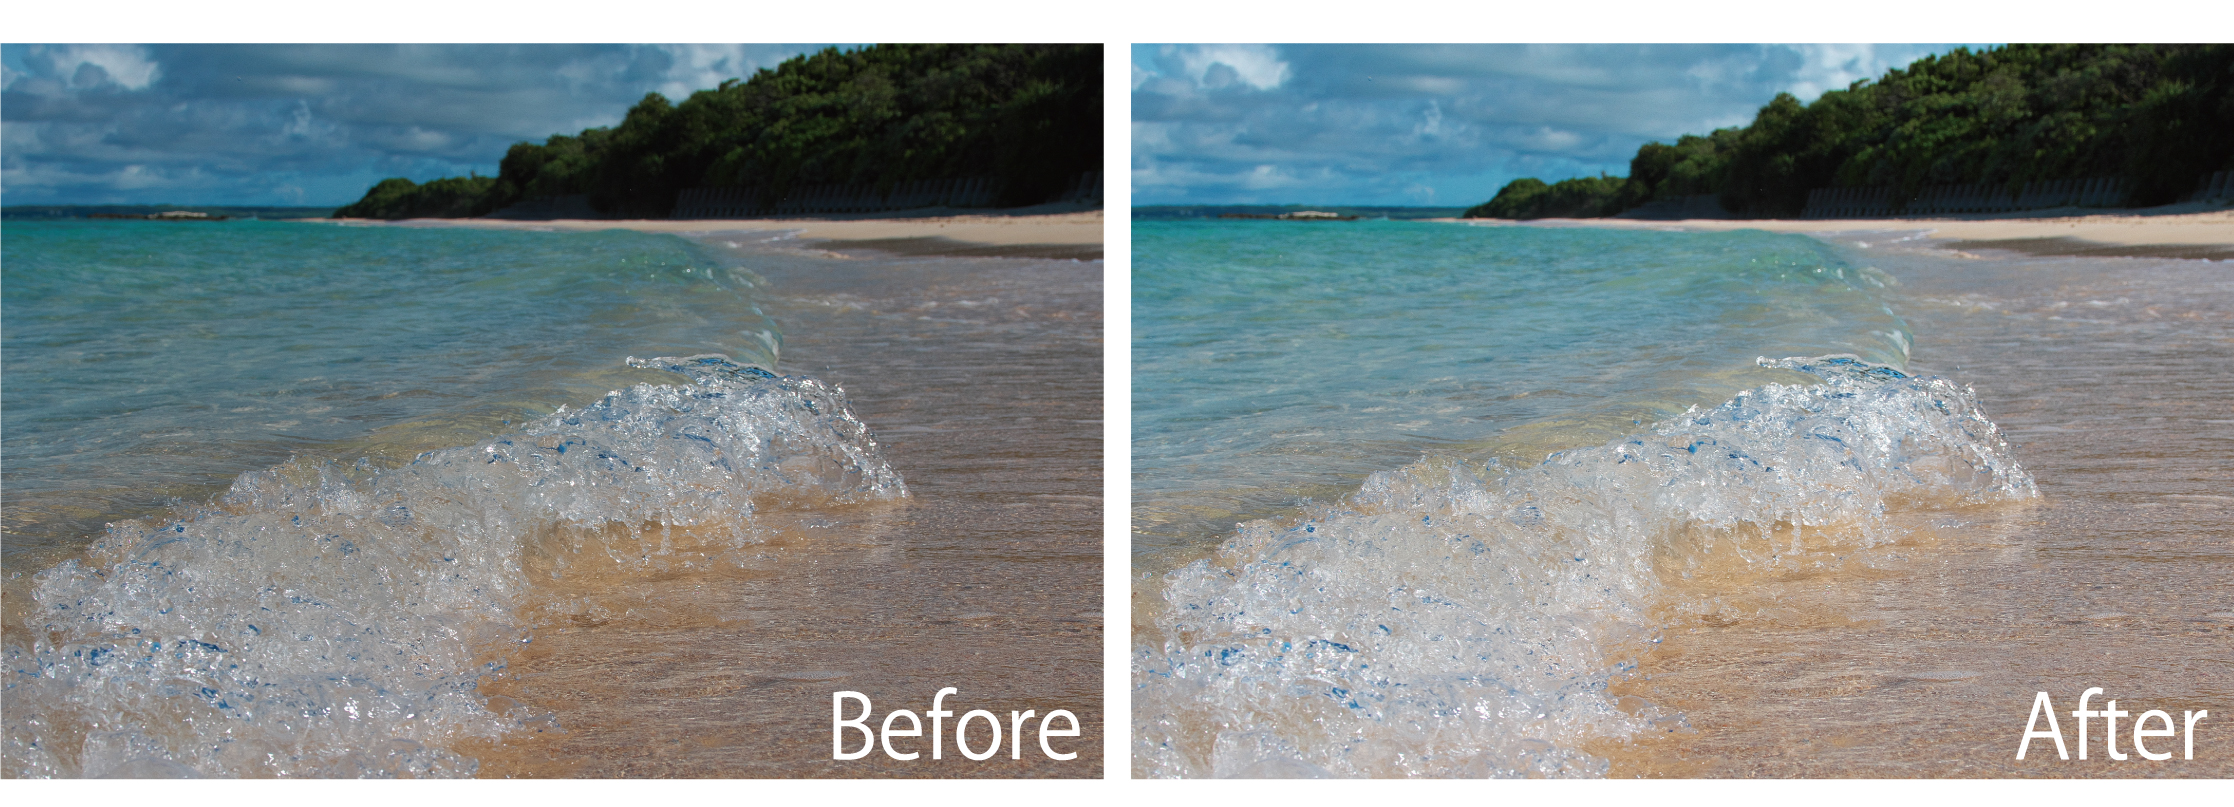
I was able to change the cloudy photo into a clear impression with this one slider.
You can adjust the White level in a similar way with the Tone curves. However, it is much easier to make adjustments using this slider.
Differences Between the White Level and the Highlight
There is also the Highlight in the SILKYPIX features. Highlights make the brighter areas of the image brighter or darker. In contrast, the White level increases the maximum brightness of the entire image, making the overall image brighter.
However, it is different from using Exposure to make the image brighter. The adjustment range for dark areas is smaller, and the adjustment range for bright areas is larger.

In the Highlight adjustment, you moved the slider to brighten the highlight areas. As a result, only the highlight areas of clouds and waves are brighter. Other areas do not change significantly. By increasing the White level slider, you can adjust the overall brightness of the image relative to the brightest areas of the image. With the White level, you can adjust the tone more widely along with the Black level.
You can try the SILKYPIX for 30 days, free of charge.
