We introduce the new “Clarity” and “Sharpening” of the Partial correction tool.
The Partial correction tool is a function that allows you to specify the area you want to adjust the Lightness, Saturation, etc. of only that area. The adjustment items that can be adjusted with the Partial correction tool until now were Hue, Saturation, Lightness, Contrast, White balance adjustment, and Blur. However, “Clarity” and “Sharpening” have been added since SILKYPIX Developer Studio Pro11.
How to use the Partial correction tool
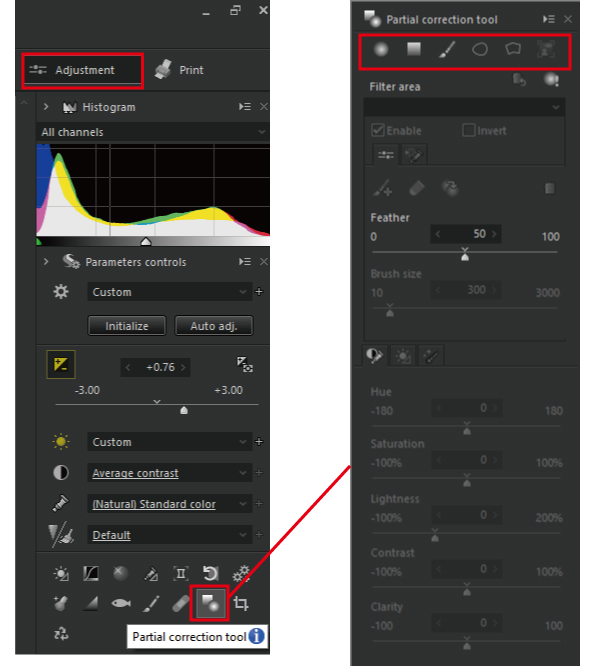
Click the [Adjustment] section to open the Adjustments screen. Click the “Partial correction tool” icon to display the sub-control.
Choose from among the six area selection methods at the top of the sub-control.
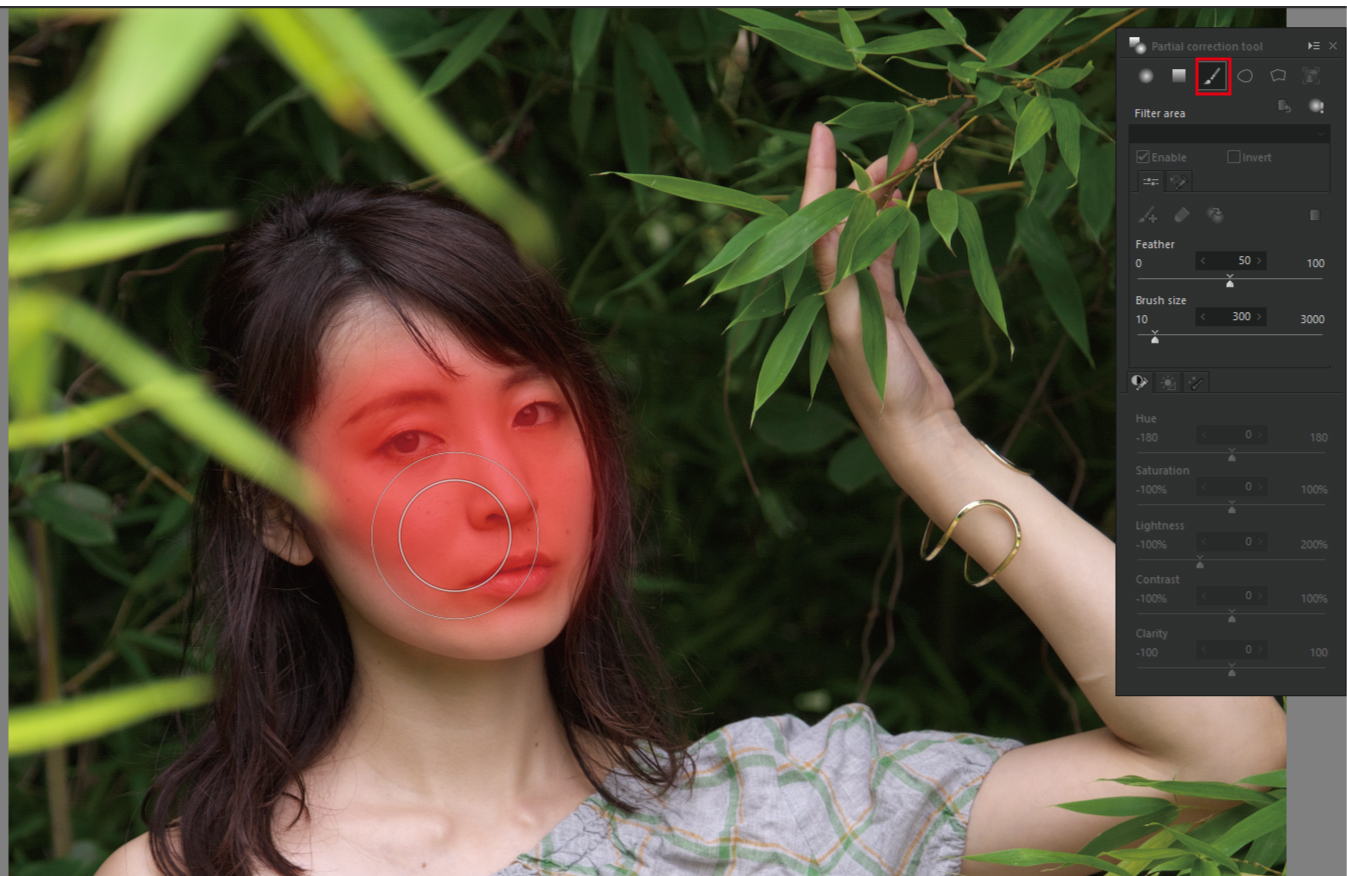
This time, I’ve used the brush to specify an area. The brush can freely specify an area. Therefore, you can easily specify areas even in complex areas.
“Clarity” of the Partial correction tool
This time, only the face of the person is specified. The Clarity is then reduced and the skin is smoothed to give a softer look.
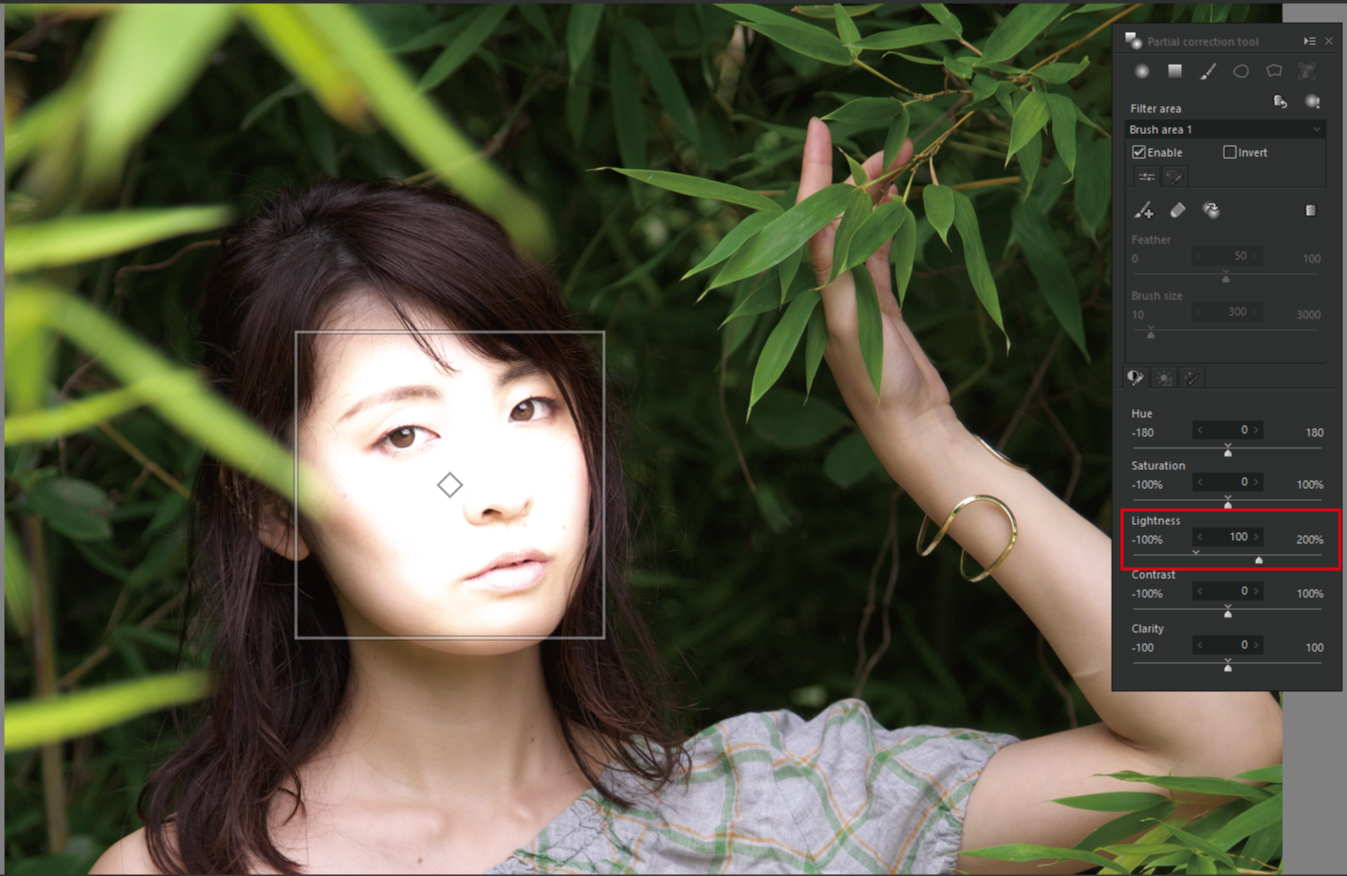
When you have finished specifying the area, the filled area will become brighter. This is to make it easier to understand that a brighter part is an area. So, the “Lightness” of the sub-control is set to 100. When you have finished specifying the area, adjust the Lightness first. In this case, I won’t adjust the Lightness, so I set the “Lightness” to 0.
The new “Clarity” is at the bottom of the sub-control. Increasing the Clarity emphasizes the details of the object. Decreasing the detail makes the detail softer.

For portrait photographs, you can reduce the Clarity and smooth the skin.
SILKYPIX has a “Clarity” in the Tone. However, the effect is applied to the entire image. The entire detail had been softened, even if there were places where you did not want to soften.
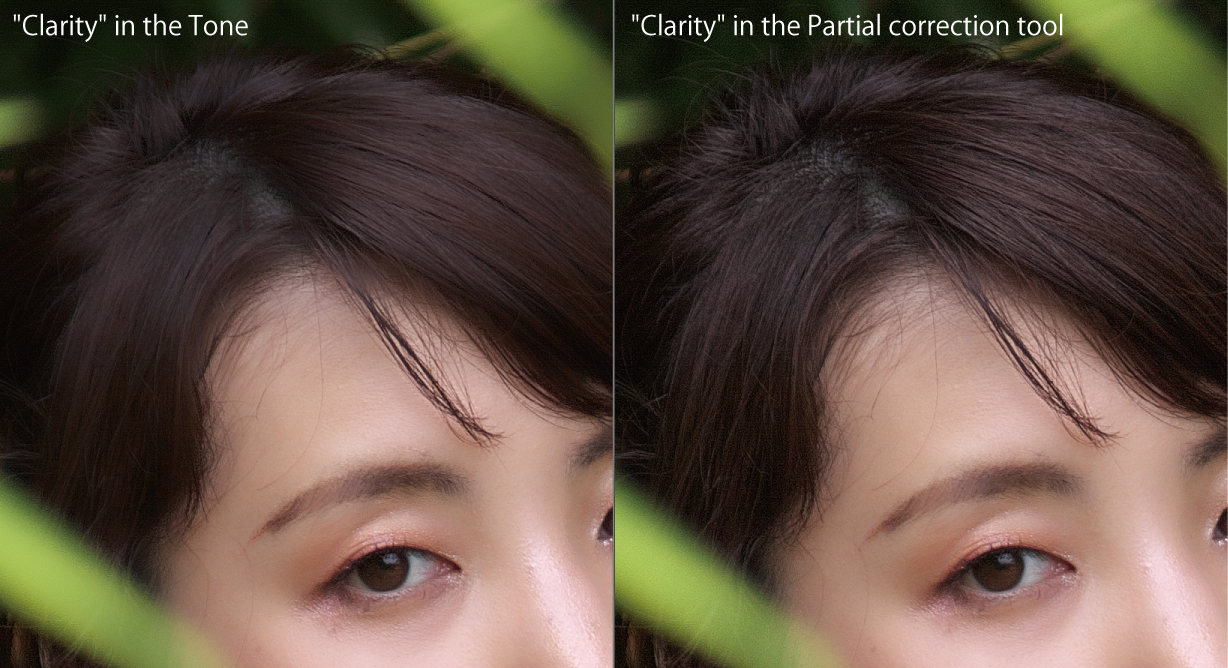
The “Clarity” in Tone makes the skin smoother. However, other parts of the hair are all missing details. By adding Clarity in the Partial correction tool, it is possible to apply “Clarity” only to the specified area.
“Sharpening” of the Partial correction tool
Conventional SILKYPIX also had “Sharpening.” However, it is now possible to adjust “Sharpening” only the specified area from Pro11.
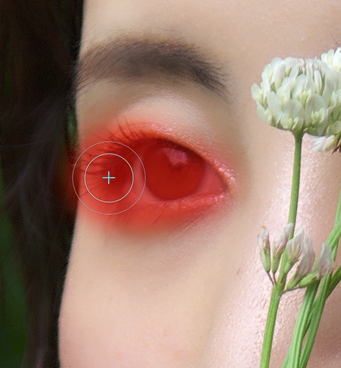
I would like to make the eye part of the person sharper here. So, I’ve used Brush in the Partial correction tool to specify an area.
Within the Effects tab under the sub-control of the Partial correction tool, there is the Sharpening below the Blur. Now move the Sharpen slider to the right to sharpen the area I’ve specified.
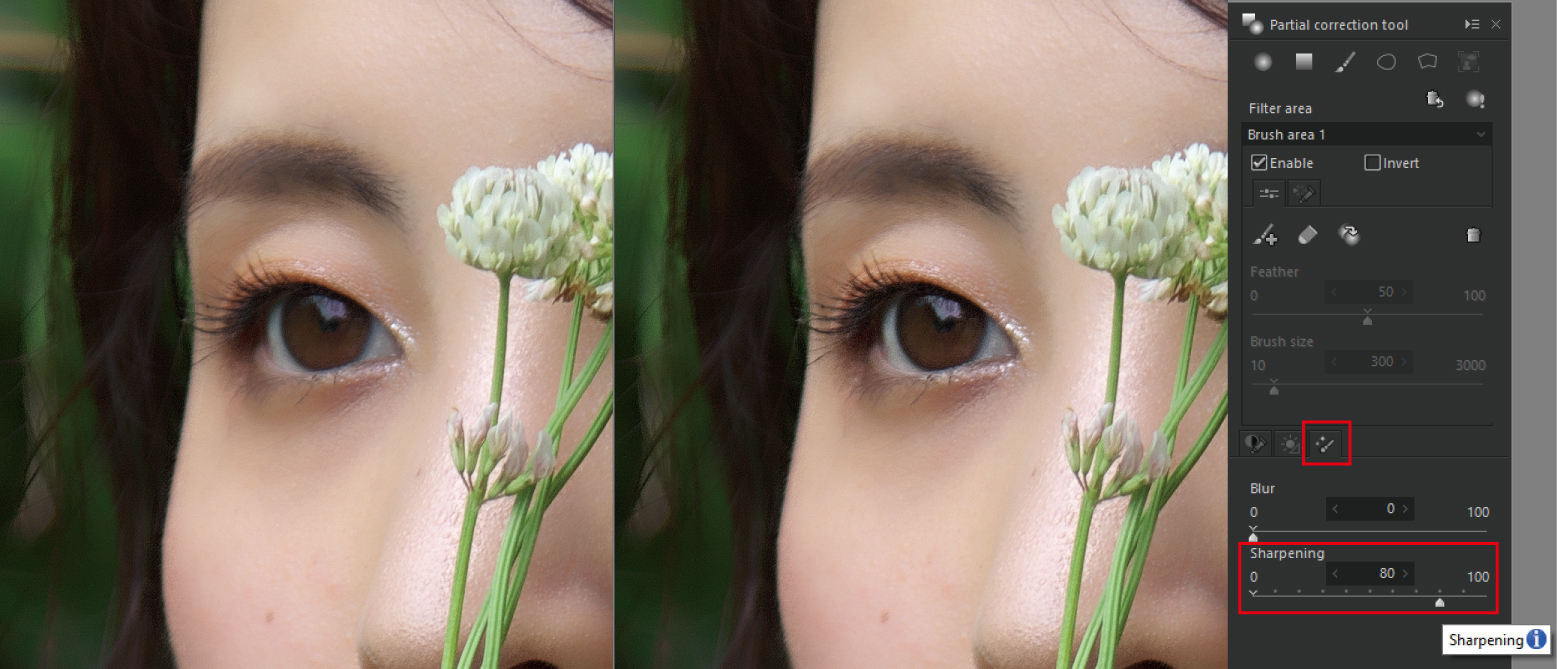
In the above example, I was able to finally make the part of the eyes clearer.
By the “Clarity” and “Sharpening” in the Partial correction tool, you can make the object more attractive. Please try it with your photos.
You can try the SILKYPIX for 30 days, free of charge.
