This topics introduce you to the feature “Level of shadow noise reduction” in SILKYPIX Developer Studio Pro9!
Level of shadow noise reduction
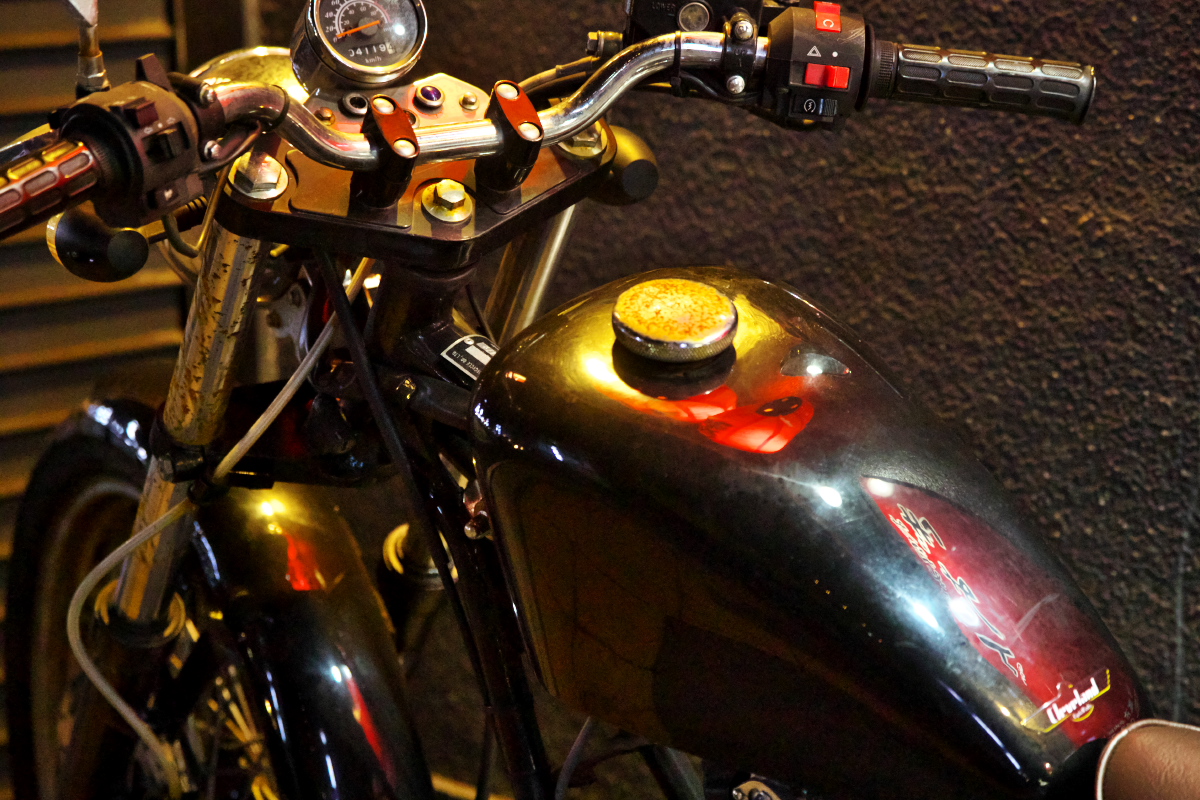
In SILKYPIX Developer Studio Pro9, the Noise reduction adjustment item has the Level of shadow noise reduction. SILKYPIX Noise reduction optimizes noise reduction processing in bright and dark areas of the image to achieve higher image quality.
However, in rare cases, the noise in dark areas may become noticeable due to exposure correction or sharp adjustment addition/subtraction during RAW adjustment. If the noise removal slider enhances “Noise removal” in such a case, the entire picture will be blurred. Nevertheless, by setting the new “Level of shadow noise reduction”, you can apply the appropriate dark noise removal for the image.
What is the Level of shadow noise reduction?
The Noise reduction of SILKYPIX Developer Studio Pro9 is called “dynamic default”, and the optimal noise reduction is applied according to the ISO sensitivity at the time of shooting. Therefore, even if you use high ISO sensitivity, the image is displayed without adjustment in a low-noise image. However, during various adjustments, the noise level of the image may change and the noise in the dark part may become conspicuous.
For example,
- When exposure correction is adjusted to the positive side during RAW development.
- When the dark part is lightened by using a tone correction function such as HDR, Dodge, Highlight/Shadow, etc.
- When the Tone or Tone curve is used to brighten the tone in the dark part.
- When sharps is set high.
The Level of shadow noise reduction can be used to reduce only the noise that becomes noticeable in the dark areas in this way.
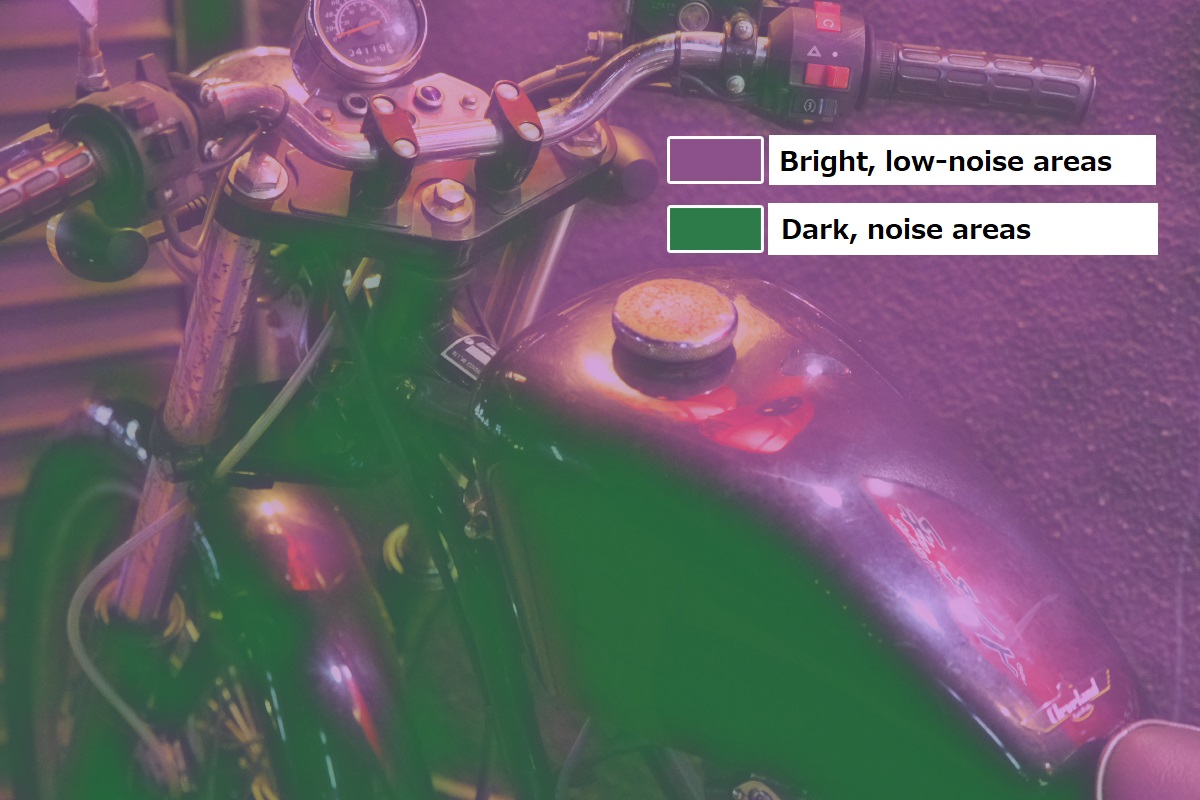
In general, the stronger the noise reduction, the more blurred the image. So, excessive adjustments can affect the sharpness of your image.
Level of shadow noise reduction allows you to adjust the amount of noise reduction for dark, noisy areas. This noise reduction is not applied to bright areas with little noise. This makes it possible to adjust the noise in the dark areas while maintaining the sharpness of the image as much as possible.
Setting the Level of shadow noise reduction
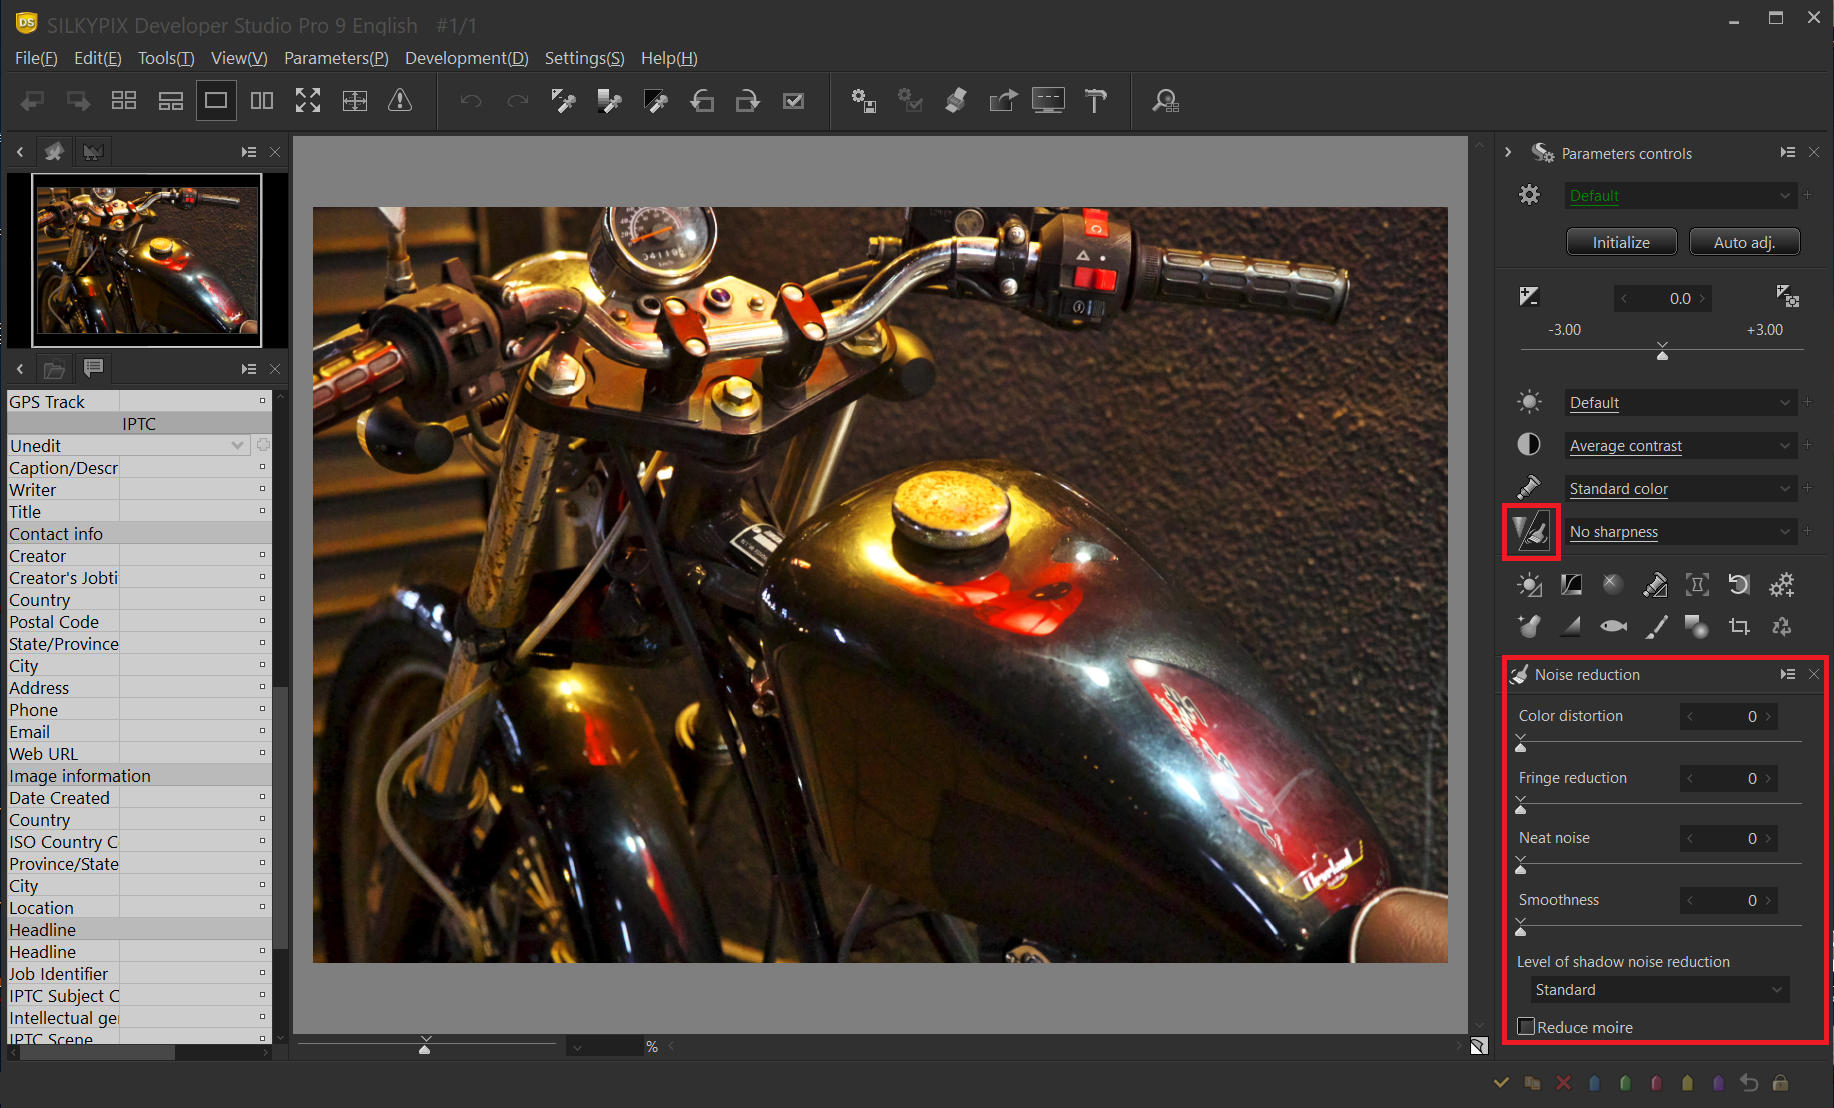
The Level of shadow noise reduction is in Noise reduction.
Level of shadow noise reduction (drop-down list)
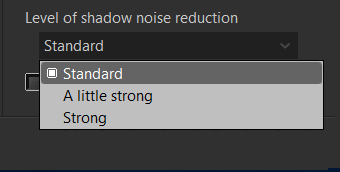
By default, “Standard” is selected from the drop-down list. If you are concerned about the noise in the dark areas, you can reduce the noise only in the dark areas by selecting [A little strong] or [Strong] setting for the noise level.
Example 1
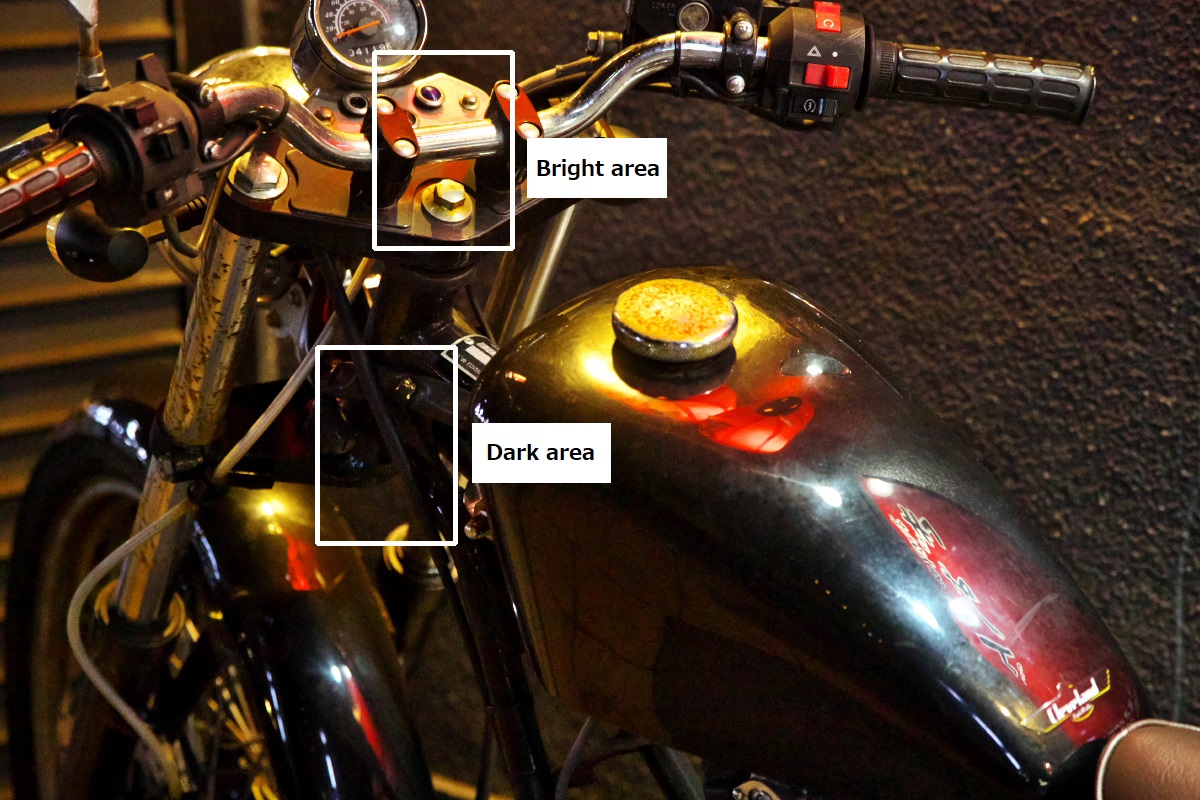
The following shows the dark and bright areas of the above image with the Level of shadow noise reduction set to Standard, A little strong, and Strong, respectively.
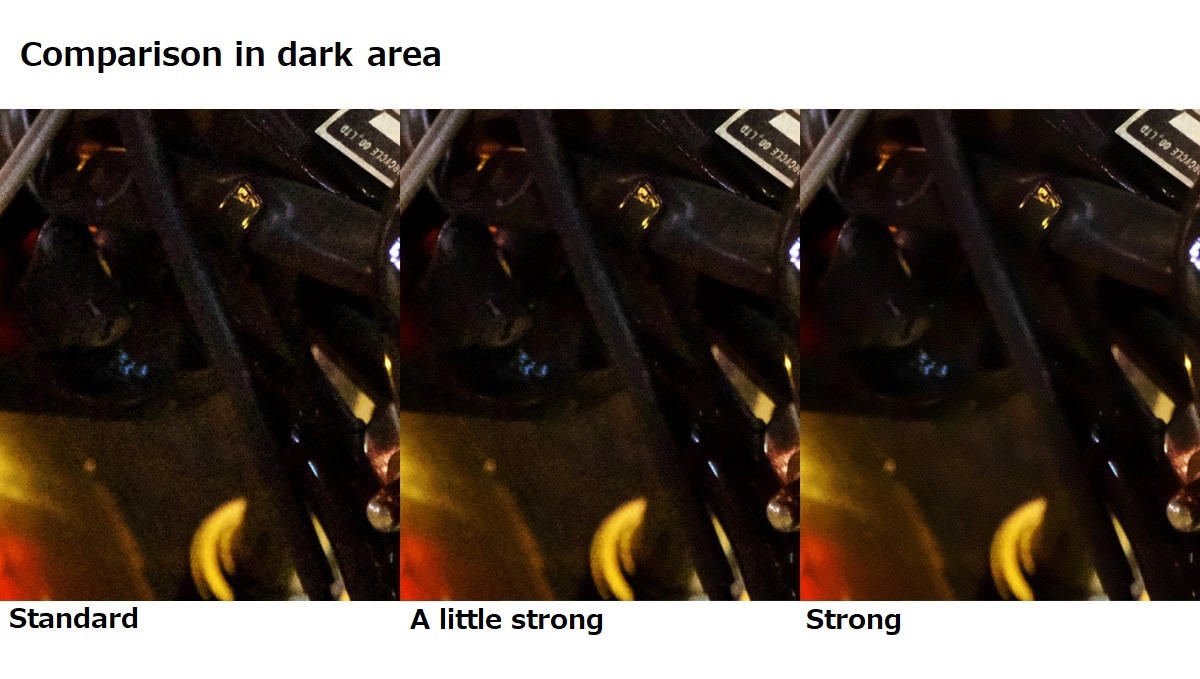
When Normal is selected, a lot of brightness noise (grain) can be observed in the dark area. Setting to A little strong moderates luminance noise. Setting to Strong further mitigates luminance noise.
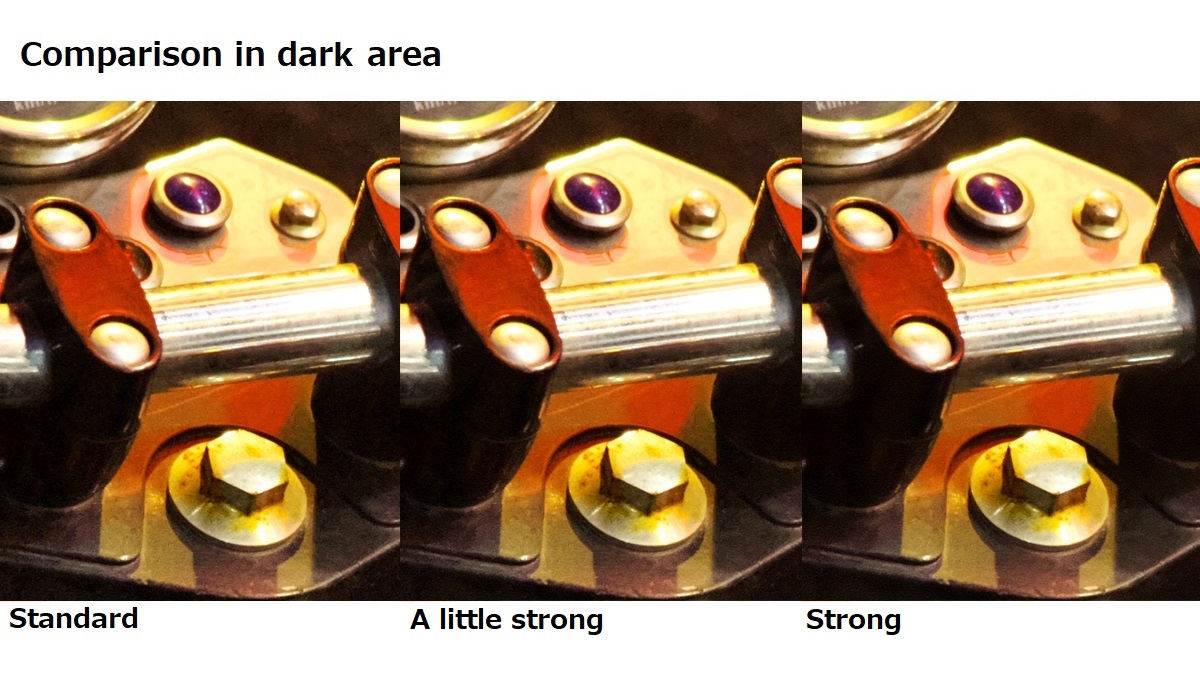
In the bright area, you can watch that even if you change the Level of shadow noise reduction, there is no change and sharpness is maintained. In this way, the Level of shadow noise reduction has no effect on the bright area.
Example 2
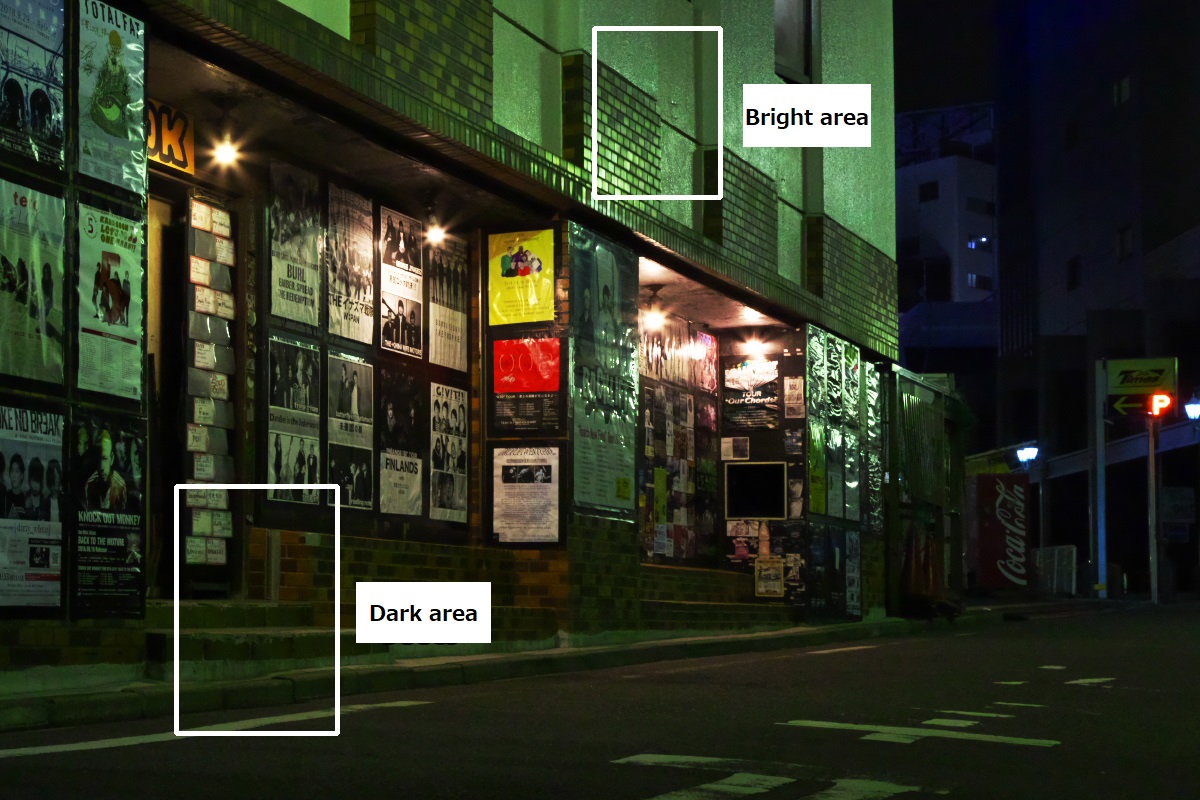
The following shows the dark and bright areas of the above image with the Level of shadow noise reduction set to Standard, A little strong, and Strong, respectively.
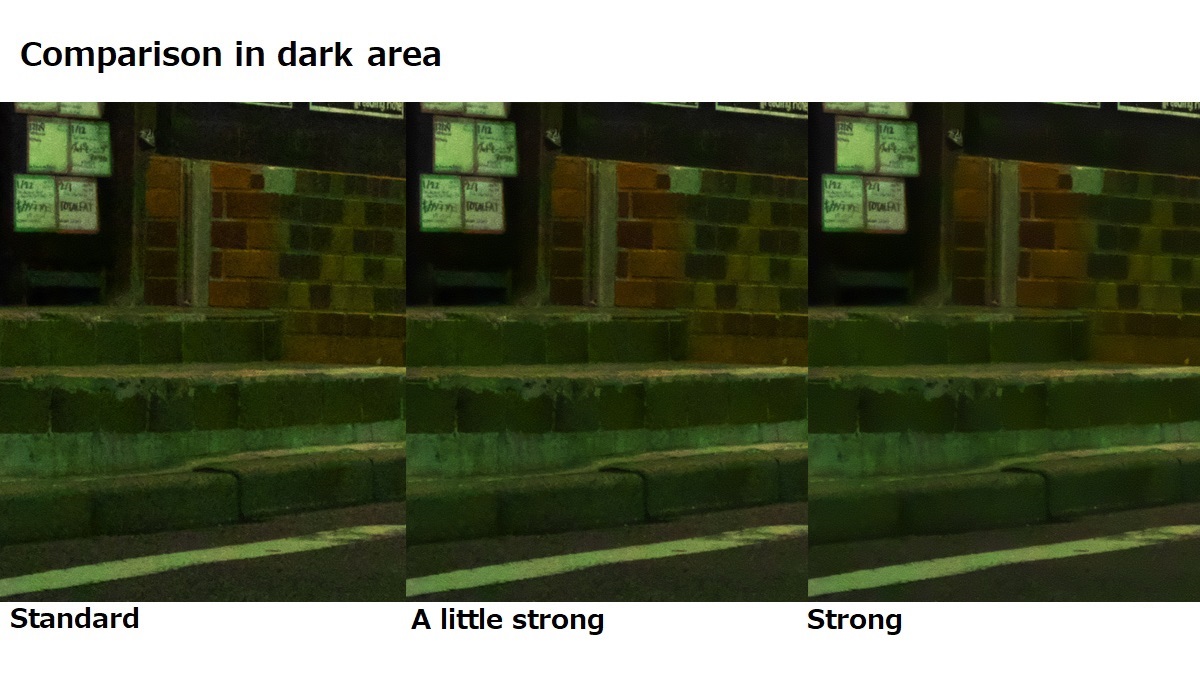
You can adjust the effect of noise reduction on the dark areas.
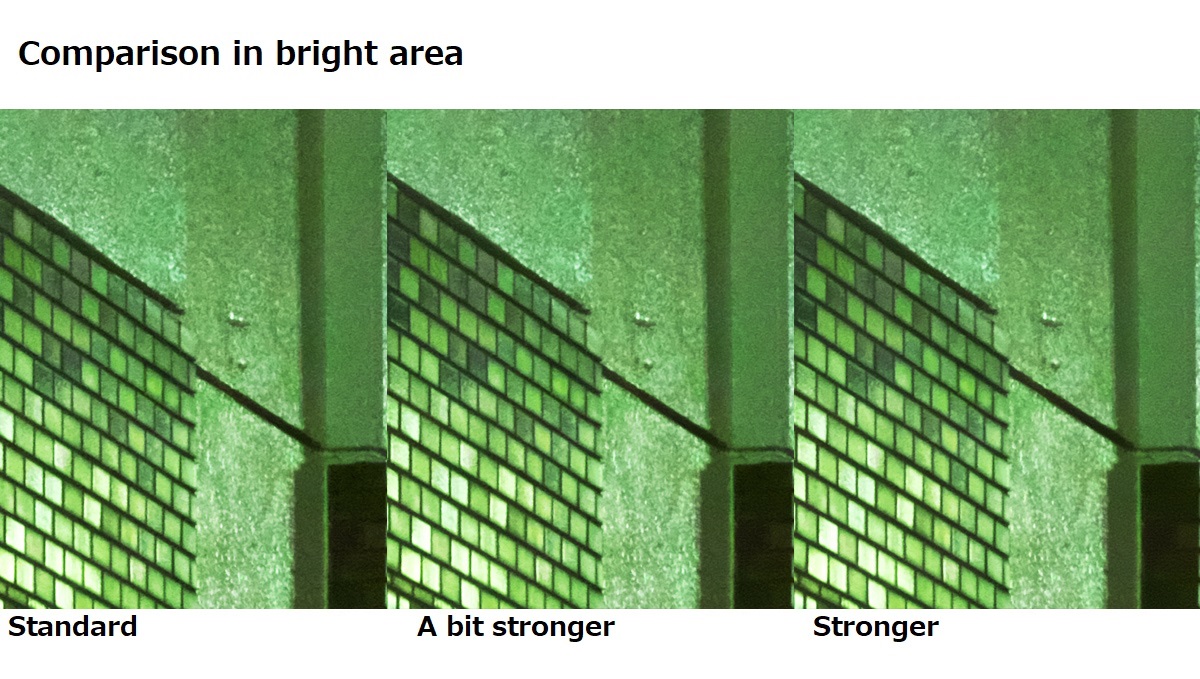
Light areas remain unchanged.
One point: Usage notes
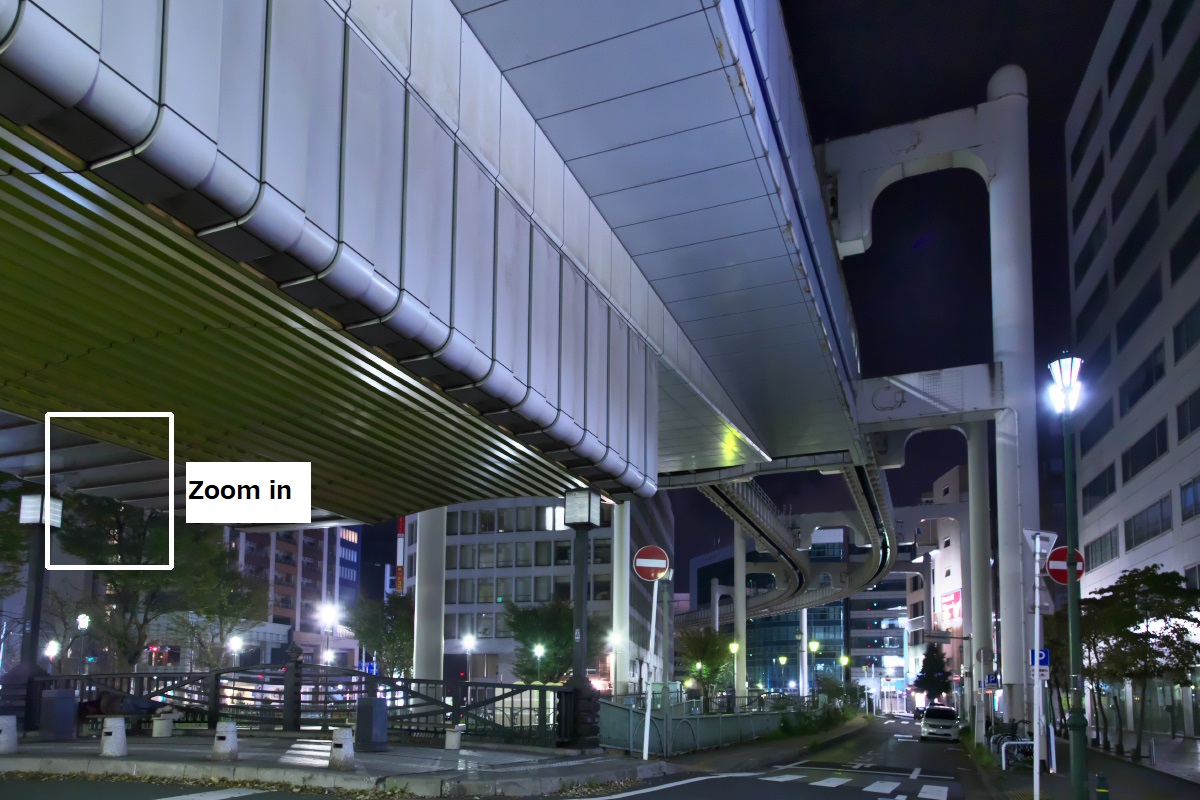
Depending on the shooting conditions such as picture pattern and ISO sensitivity, setting too high the Level of shadow noise reduction will decrease the contrast of the dark area. Sometimes the image look blurred, too.

To check this condition, set the preview screen to “100% display” and zoom in to adjust. This is not limited to the Level of shadow noise reduction, so this can be said at the time of general adjustment of noise reduction.
Please try it out with your images!
You can download a free 30 days trial and try it out.

