This topics introduce you to the feature “Highlight/Shadow” in SILKYPIX Developer Studio Pro9!
Highlight/Shadow
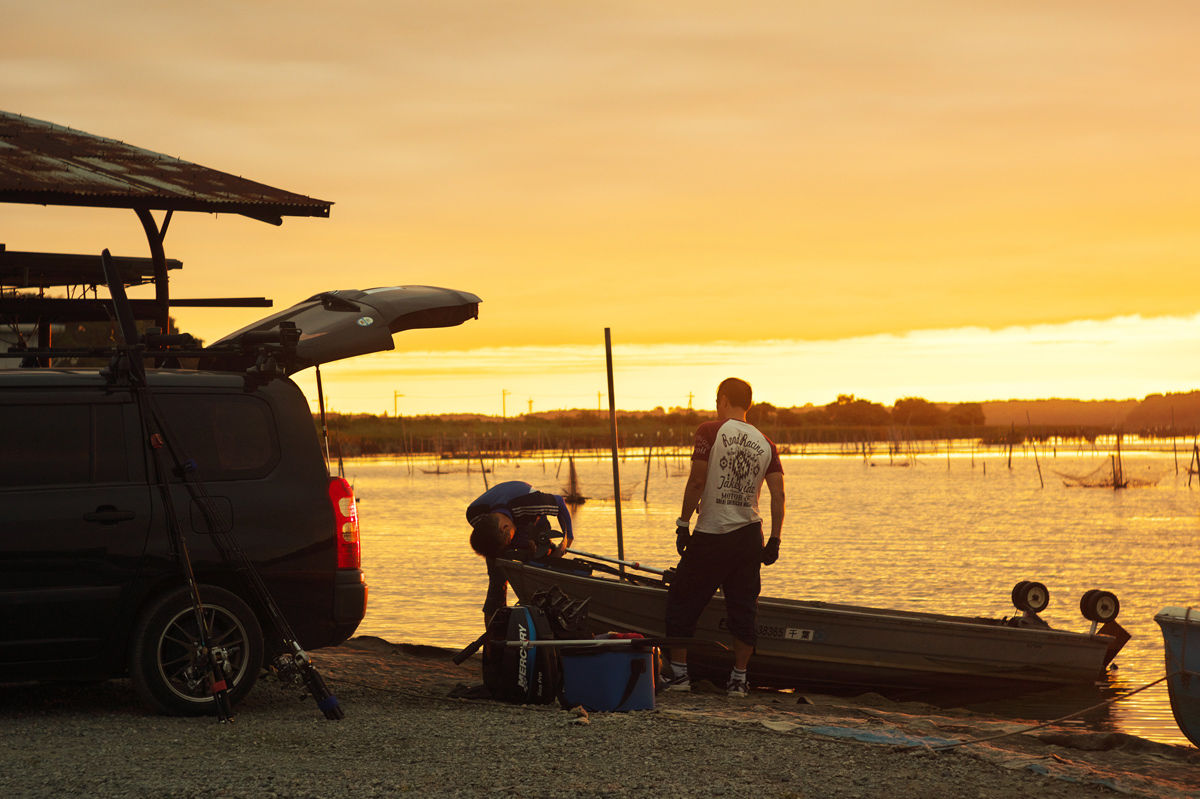
The Highlight/Shadow slider has been added to the Exposure bias items. This allows you to adjust the brightness of light and dark areas of an image individually. Even in scenes where exposure control is difficult for a subject with a high contrast or for exposure correction at the time of shooting, you can achieve a result that matches the image of the photographer.
What is the Highlight/Shadow?
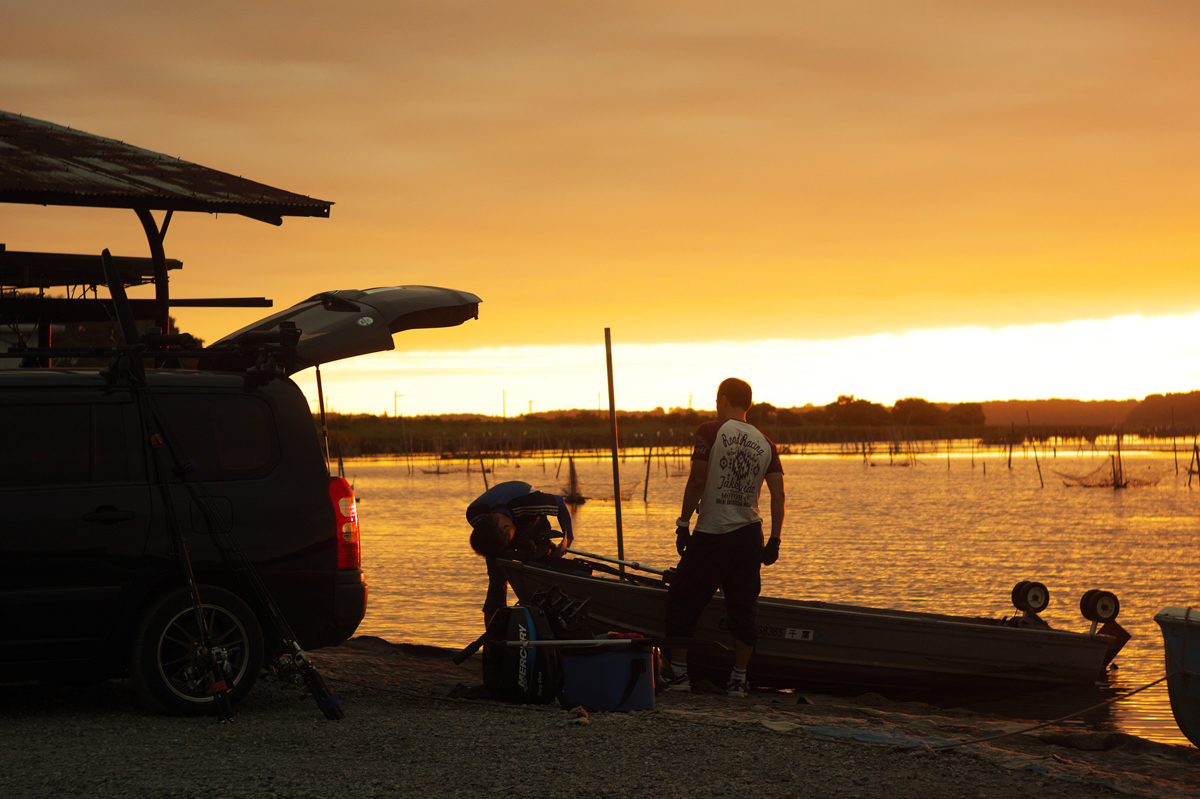
In a scene with a large contrast between light and dark, when exposure is matched to the main subject, the shadows may be too dark, resulting in black, and in a bright area, the color and tone may become nearly white. This is the case when the scene exceeds the range of brightness (Dynamic range) that the digital camera can capture.
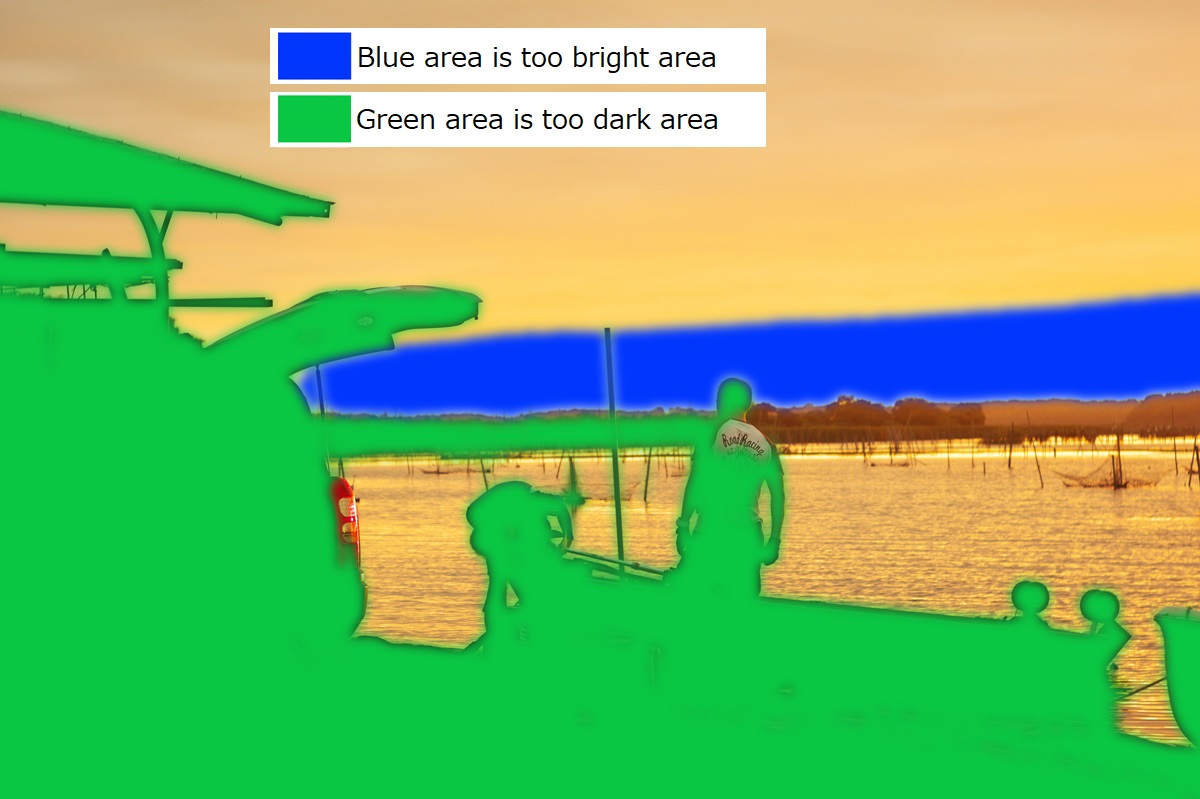
In this example, the “Highlight area” is the area where you want to reduce the brightness and derive the color and shade. In the “Shadow area”, you can make the subject a little clearer by making it lighter.
Where is the Highlight/Shadow slider?
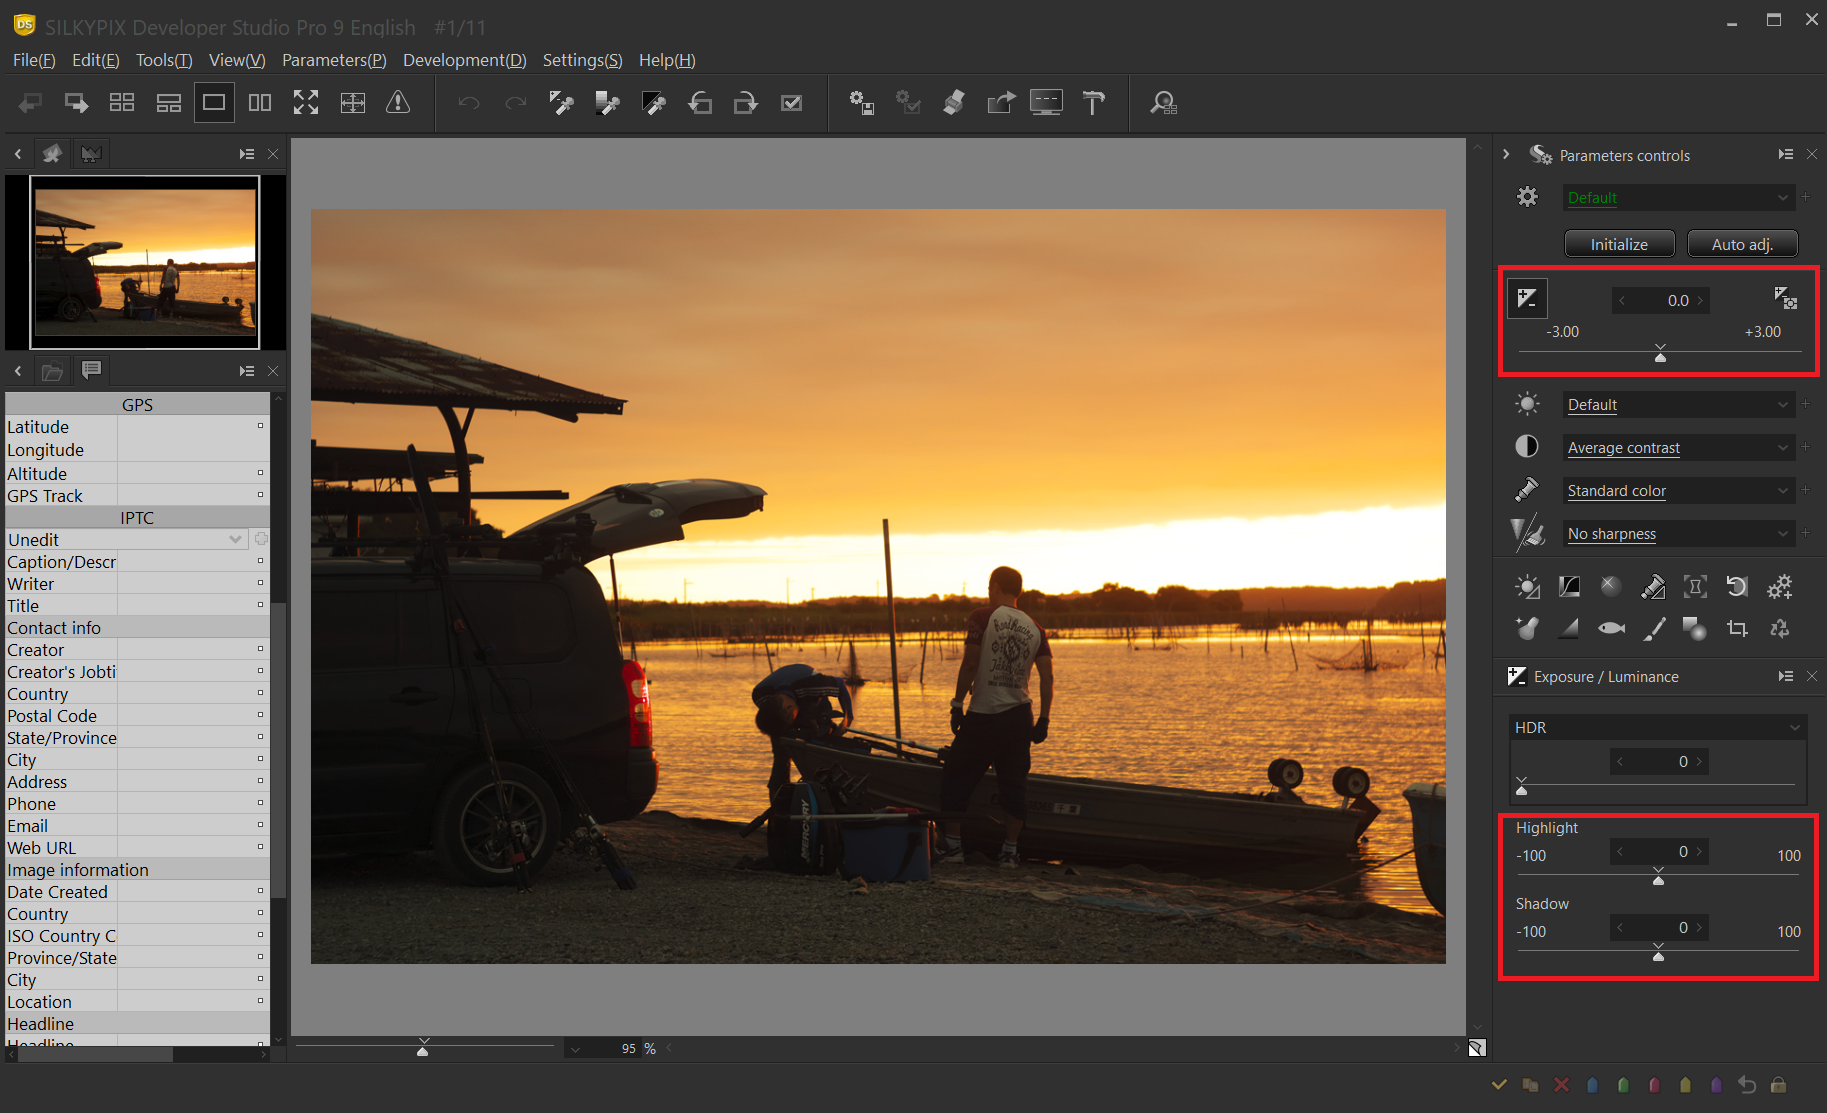
The Highlight/Shadow slider is located in the Exposure bias tab.
Highlight slider

Set the Highlight slider to the plus (+) direction to make the lighter parts of your photo lighter. Conversely, setting it in the minus (-) direction darkens the light areas.
Shadow slider

Setting the Shadow slider to the plus (+) direction lightens the dark areas of image. Conversely, setting in the minus (-) direction darkens darker areas.
Example 1: Highlight/Shadow

By adjusting with the Highlight/Shadow slider, you can make separate corrections for the light and dark areas.
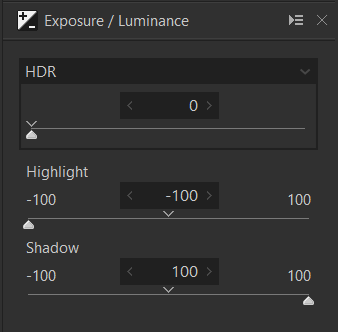
Highlight/Shadow automatically distinguish between dark and light areas in a image, so you can only adjust the slider without specifying an area. Another way to specify and correct an area is to use the Brush function of Partial correction tool, but you need to specify the correction area according to the screen.
For this Highlight/Shadow, however, the slider only determines the amount of correction. This is especially useful when the number of images you want to correct increases, or when the subject has a complex shape that is difficult to specify with the brush.
One point: Comparison with Exposure Compensation
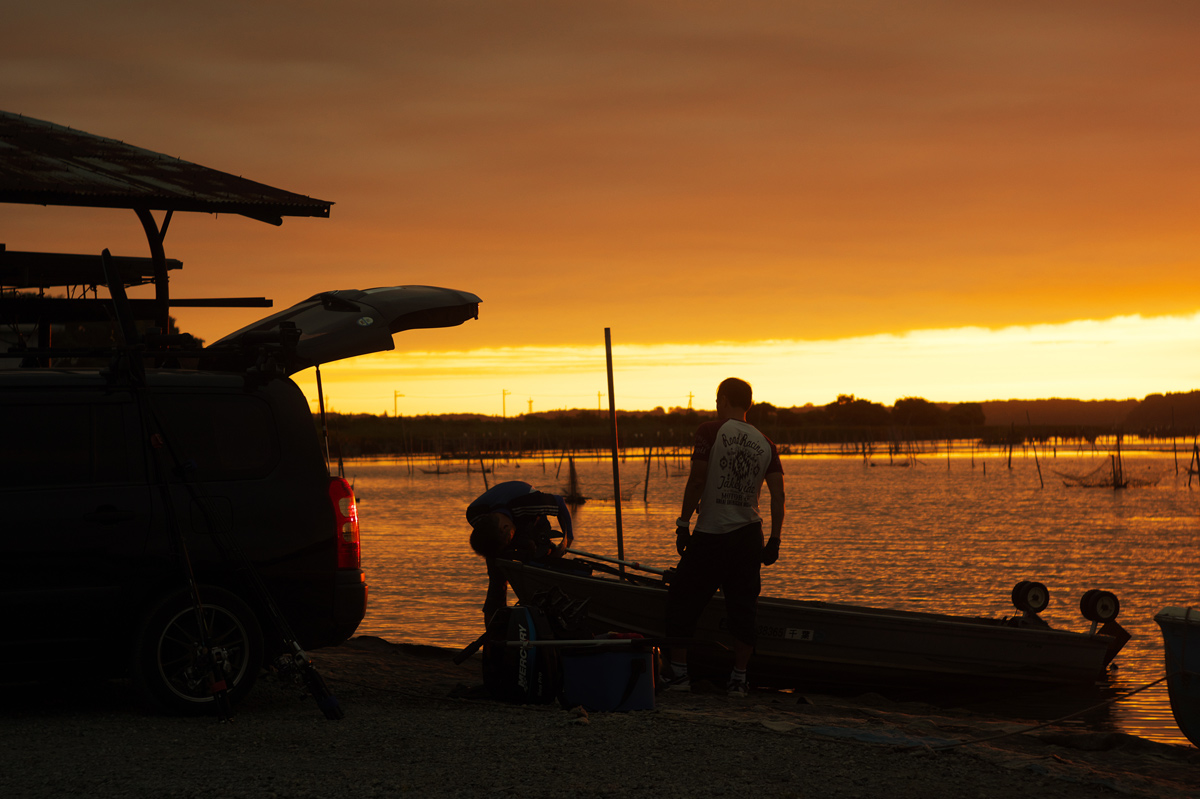
The exposure is 1EV corrected to restore the colors and shades of light areas. The bright sky areas of the morning now look like the image, but the dark areas are more blackened.
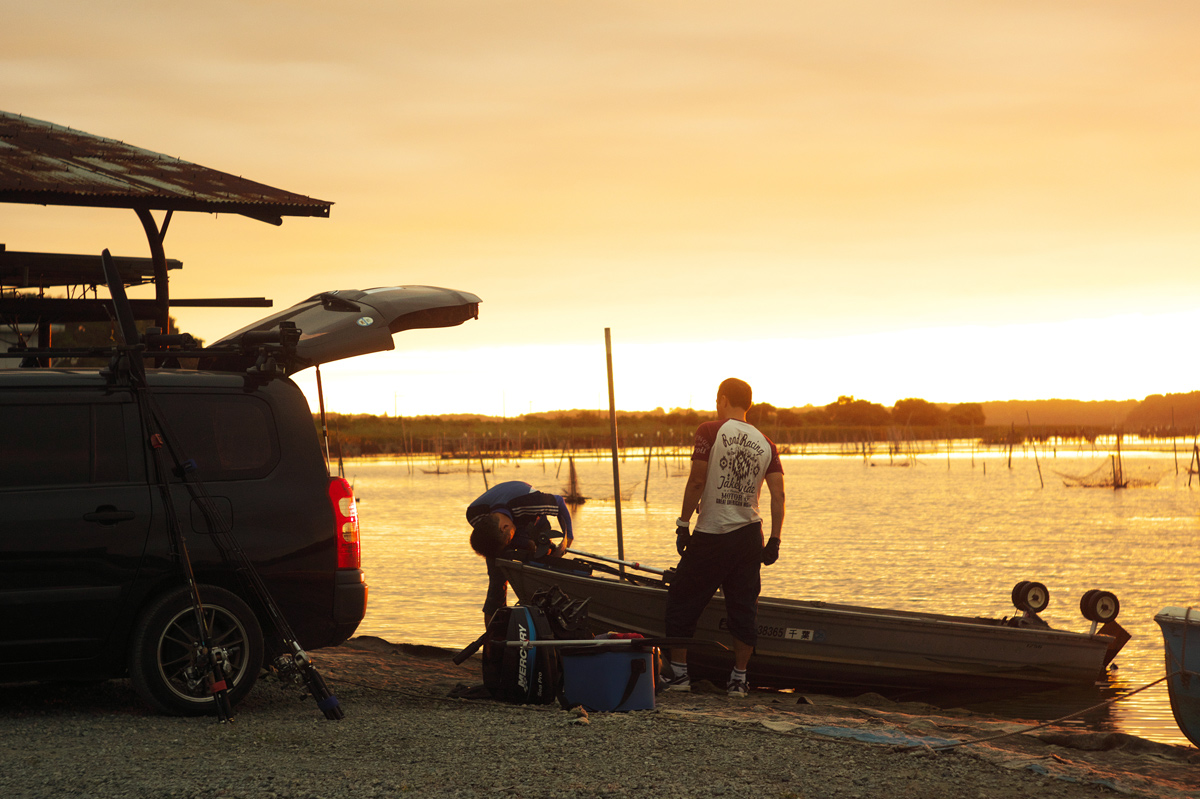
This is the result of +1EV correction of exposure to restore shades of dark areas. The shaded areas of the gray appear, but the bright areas of the morning are more white.
When this scene is corrected with exposure, only light or dark areas can be represented. Use the Highlight/Shadow slider in this case.
One point: Difference from HDR
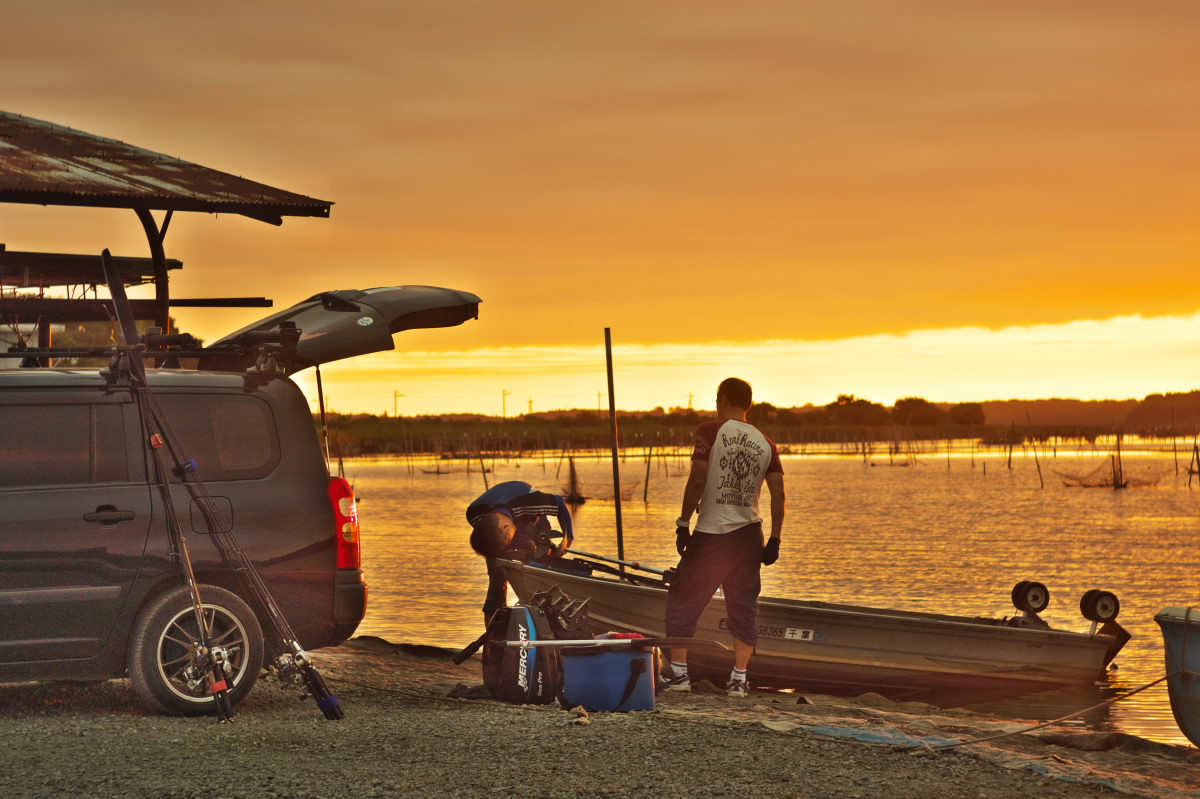
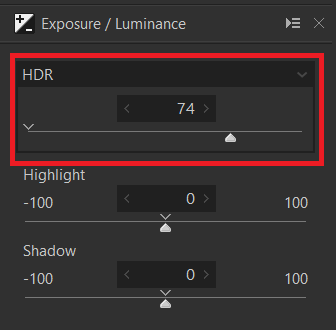
HDR is also used to adjust the brightness of the light and dark areas. The image above looked at the bright areas and adjusted the HDR. As a result, the dark areas were strongly corrected and become too bright. HDR can provide a stronger compensation effect than highlights/shadows, but has the following limitations.
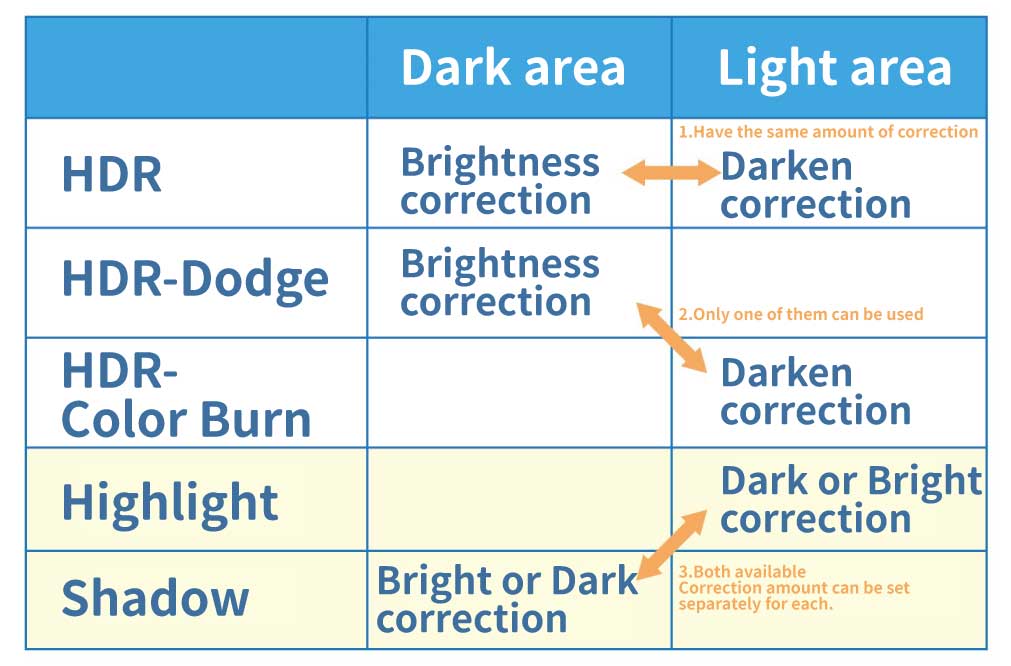
HDR
The effect is applied to both light and dark areas. However, the amount of correction is the same for highlight and shadow. Depending on the scene, unintentional correction may be applied to either side.
HDR-Dodge/HDR-Color Burn
Either the bright or dark area can be corrected. However, when correction is performed on the bright area, correction cannot be performed on the dark area because it is exclusive.
Highlight/Shadow
You can set the correction amount for the light and dark area separately and use them at the same time. In addition, the direction of correction can be set for both light and dark for highlights and shadows, allowing for more fine-grained adjustments.
One point: Level corrective usage
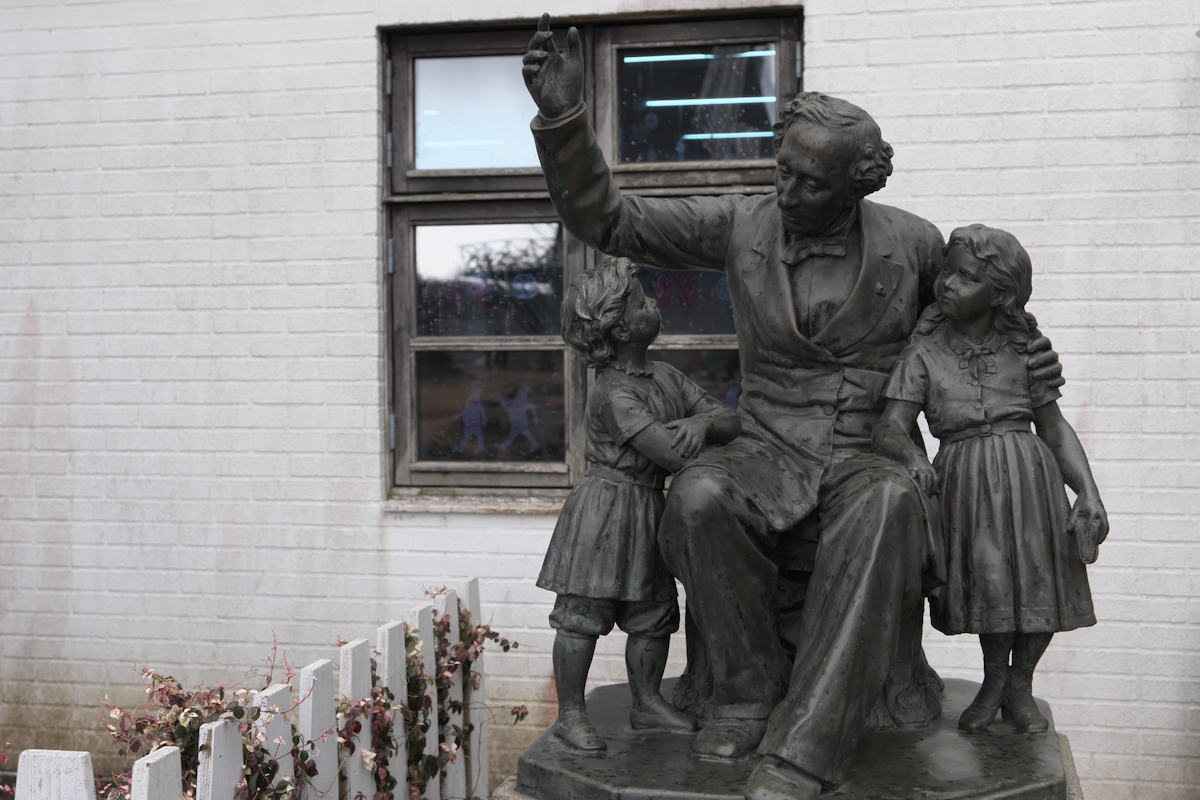
In this picture, the shot was taken with a weakly lit cloudy weather. As a result, the whiteness of the bright walls appears weaker and cloudy, and the shadow of the copper image is weaker, resulting in a less stereoscopic result. Highlight/Shadow may also be effective for image that have become soft depending on the shooting conditions.
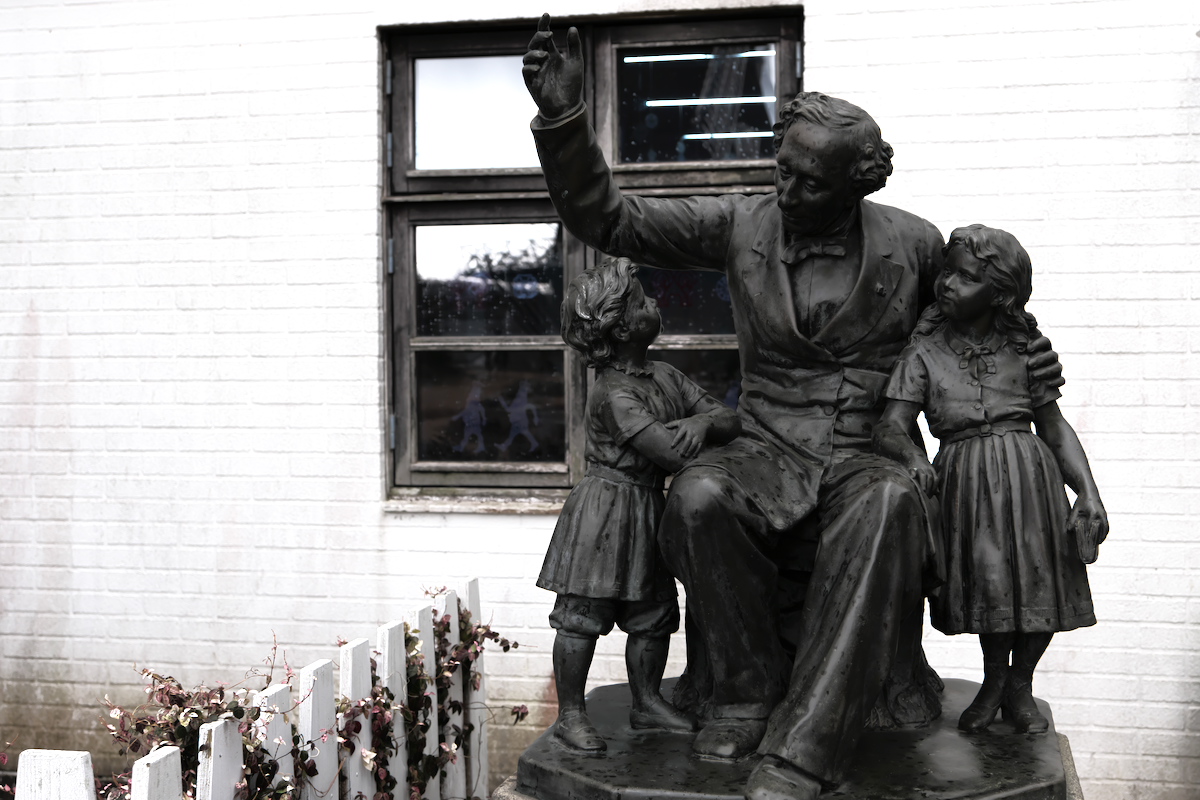
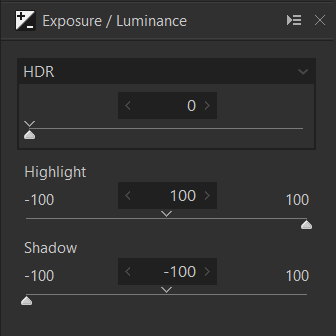
Set the Highlight slider higher to make brighter areas of your image brighter. This removes the cloudiness of white walls on a background that is too dark. Setting the Shadow slider to a lower value also darkens the dark areas of the copper image, creating a stereoscopic feel.
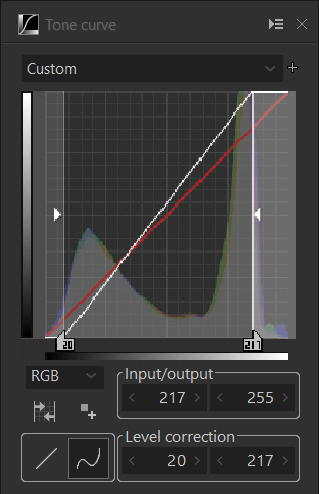
You can also use the Highlight/Shadow slider to achieve the same effect as previously done with level adjustment on the tone curve.
Example 2: Shadow only
Before
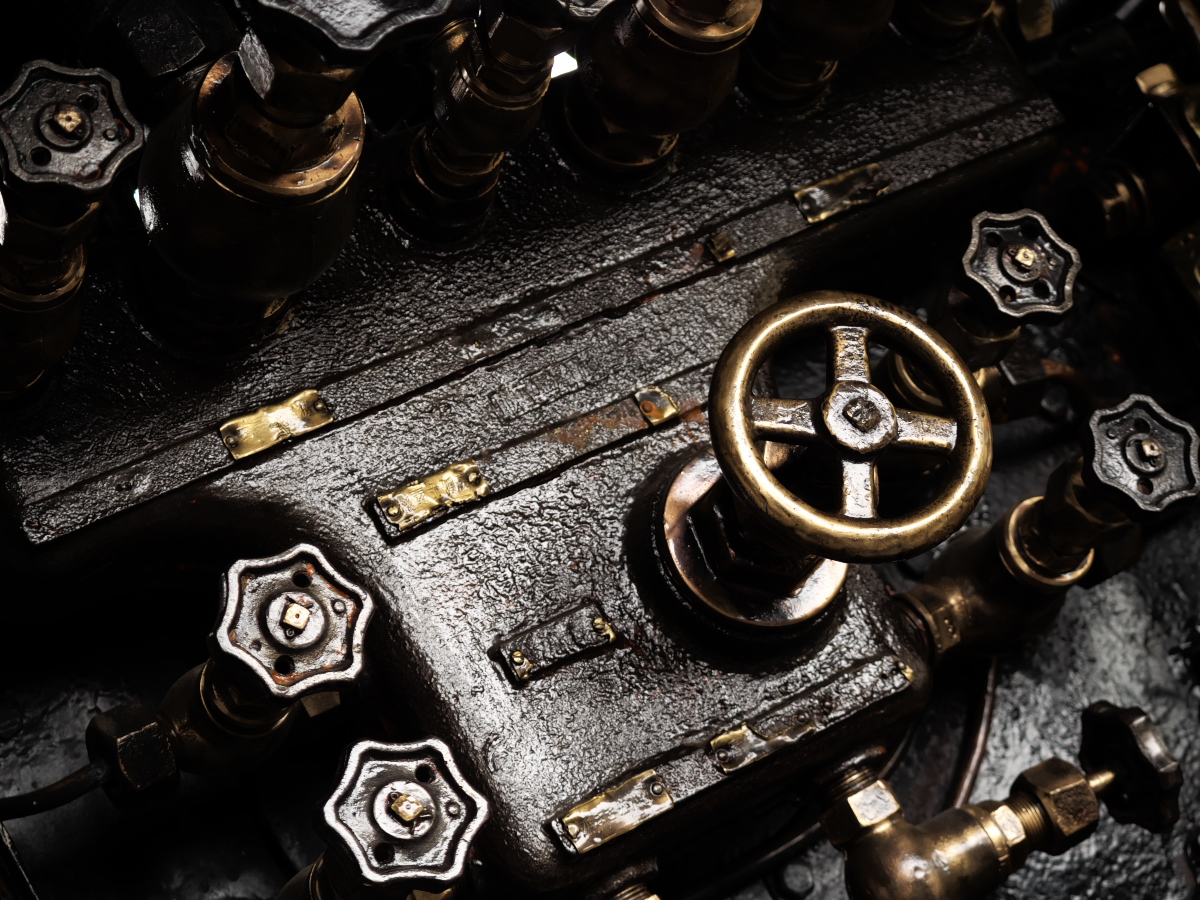
After
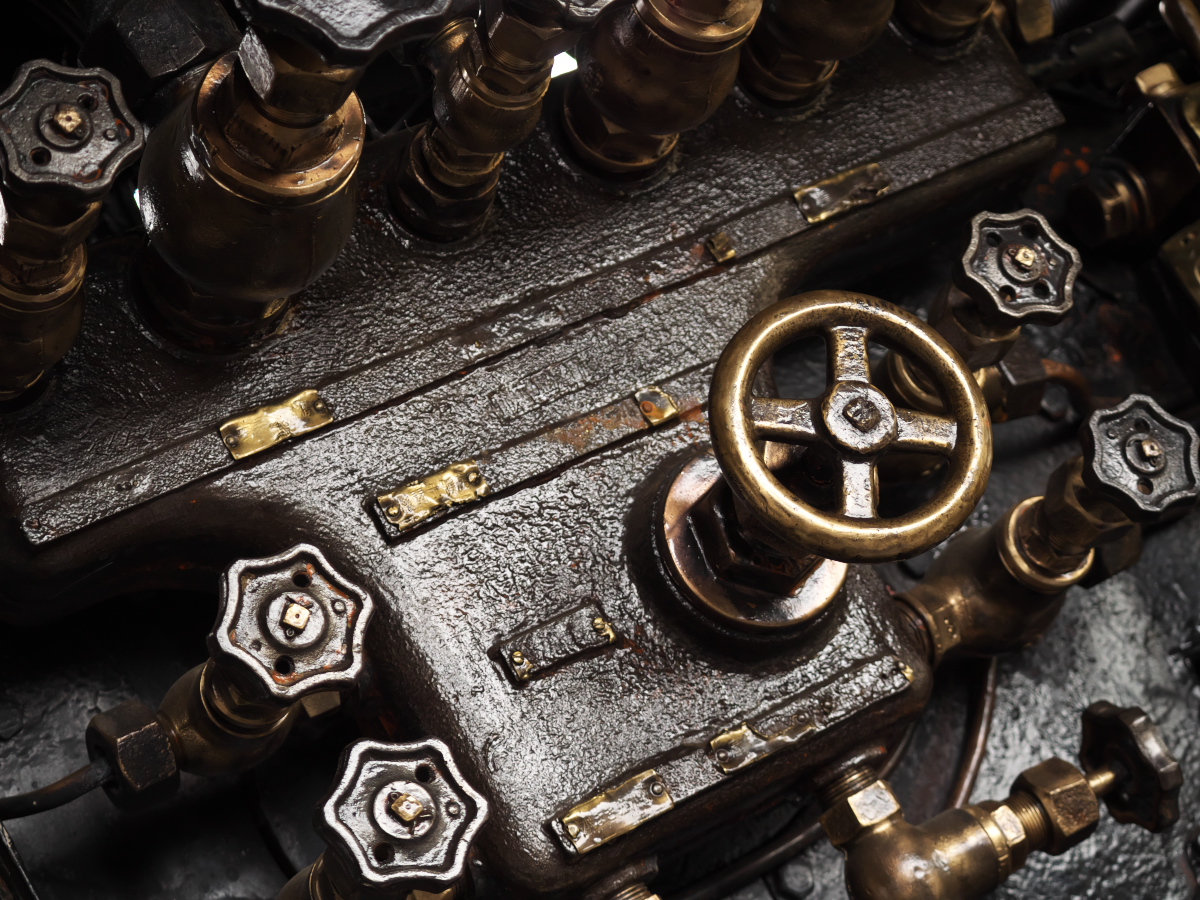
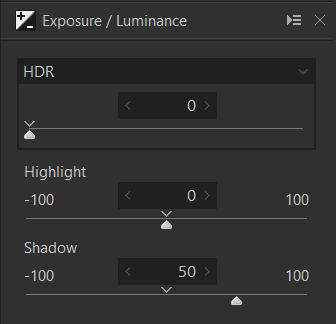
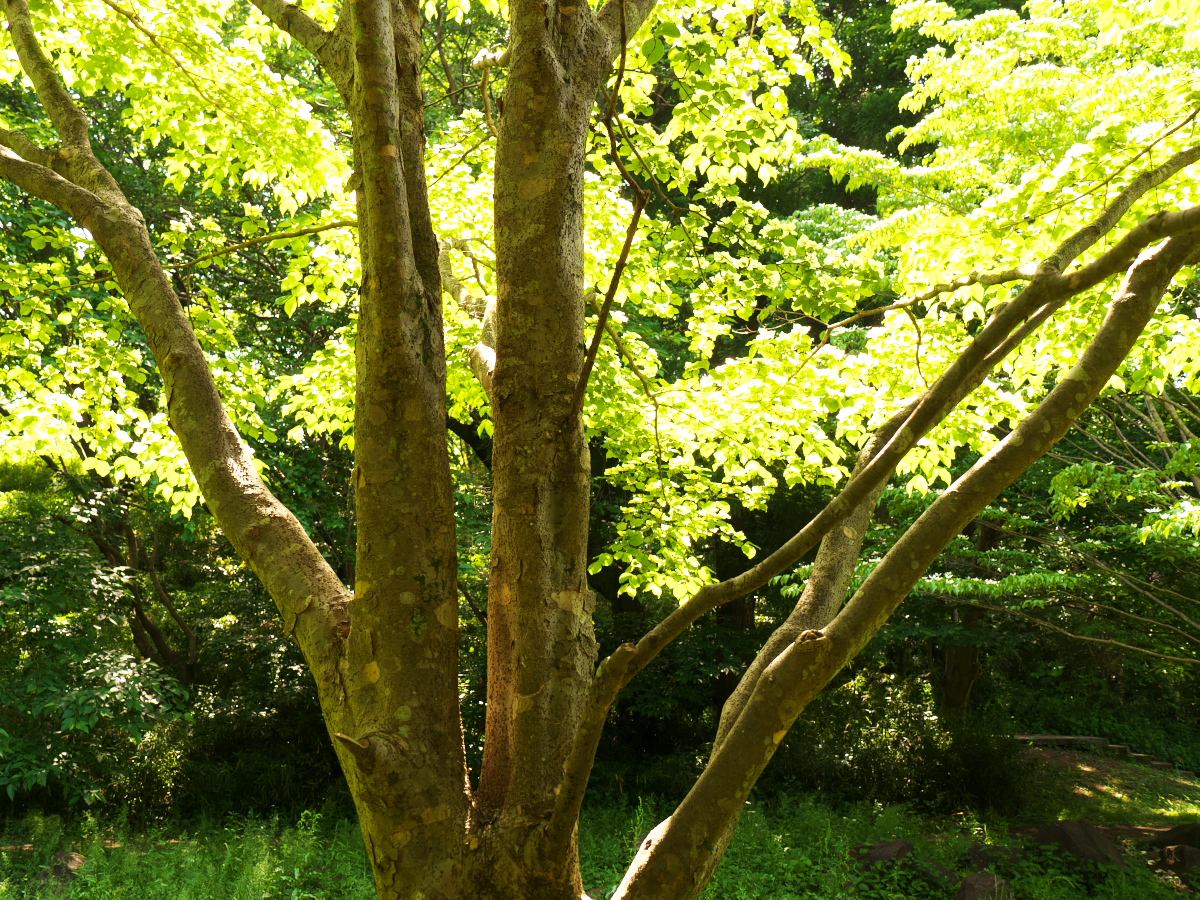
At the time of shooting, the camera shoots with the exposure setting that highlights are not bright. Doing so may cause the shadow to blocked up shadows. In that case, you can set the shadow slider to a higher value to derive the blocked up shadows areas. The point of adjustment is to preserve the original dark “shadow” feel. If the shadows are too bright, they tend to produce soft tone, uncluttered image.
Example 3: Highlight only
Before
After
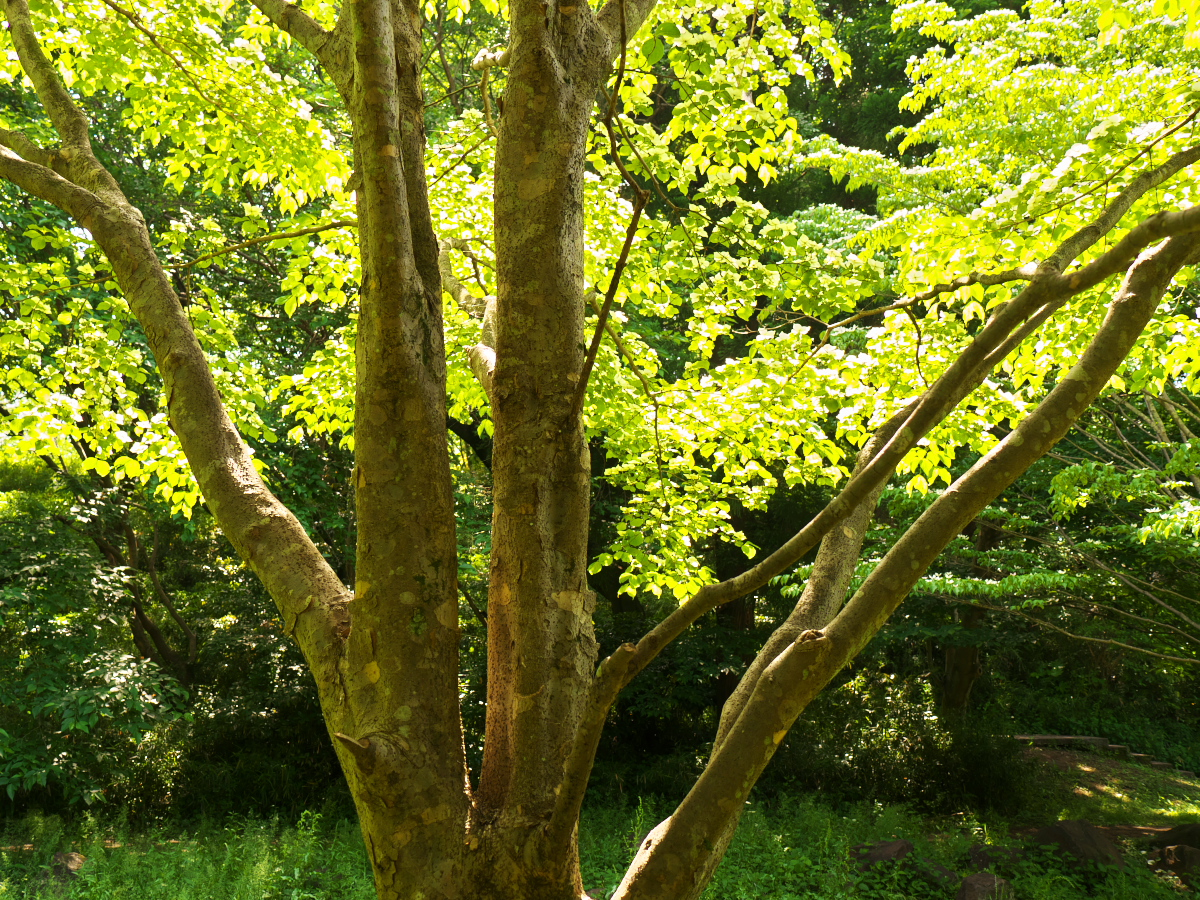
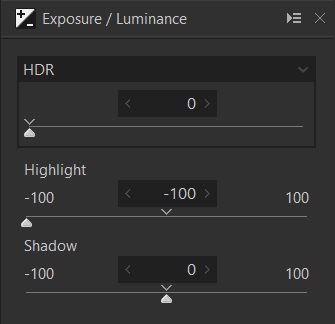
If the information remains in the RAW data even when the image is blown out highlights, you can retrieve the color and tone by setting the highlight slider to a lower value. The amount of highlight information remaining in the RAW data depends on the camera type and its settings.
Example 4: Highlight/Shadow
Before
After
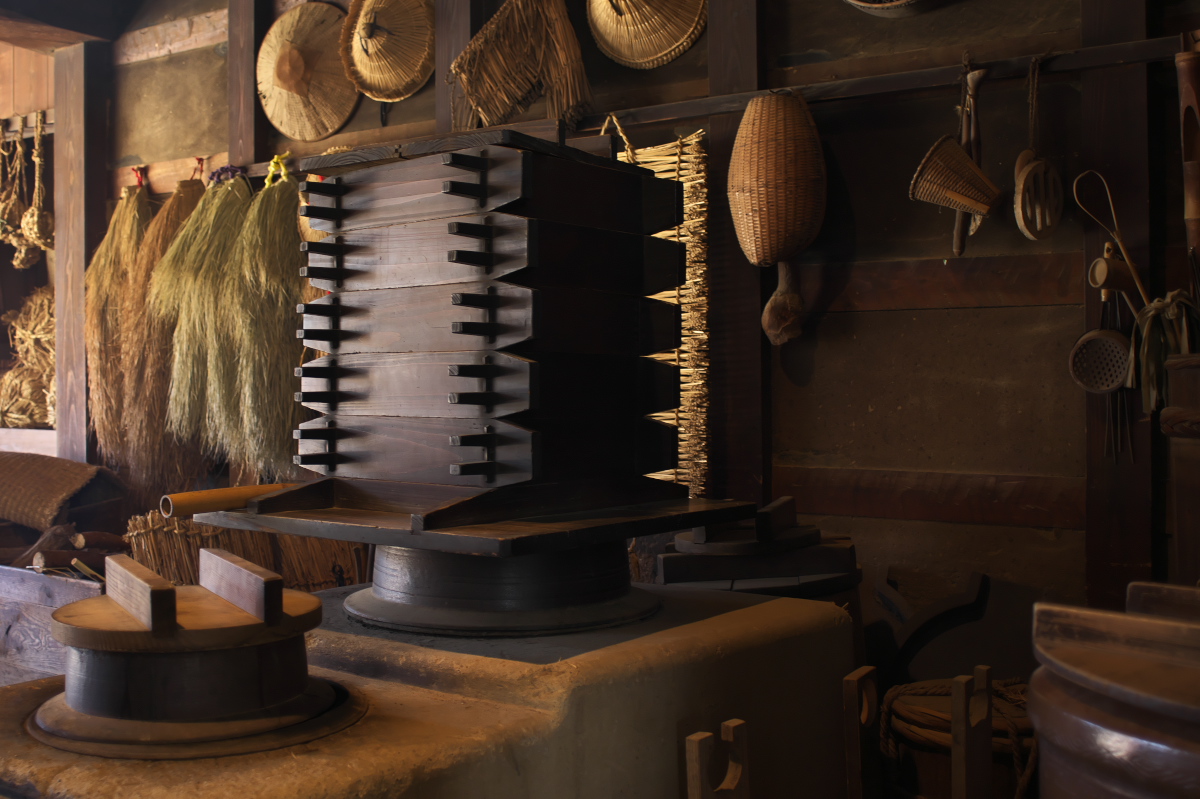
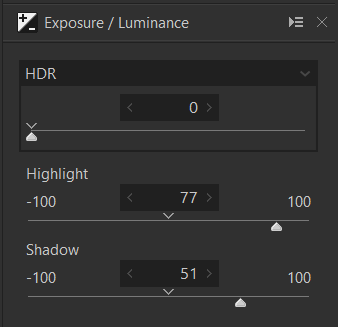
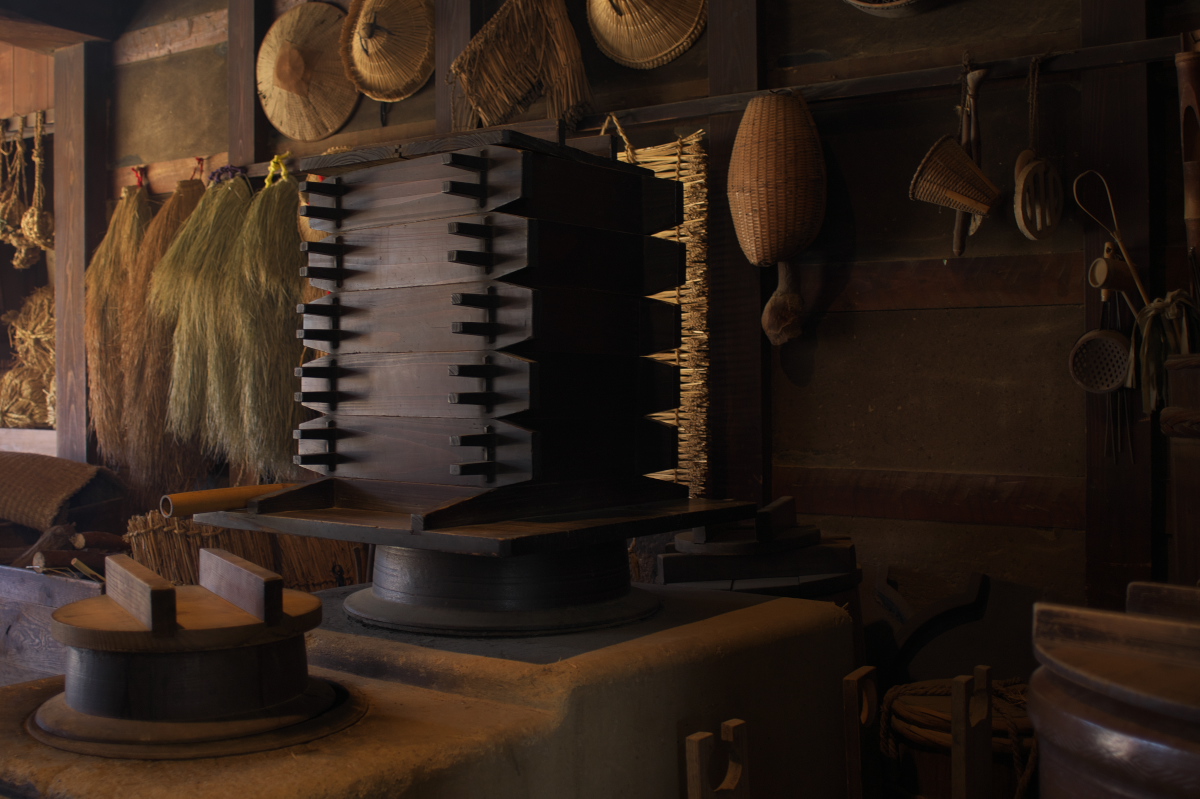
We brighten the highlights of the image, emphasize the texture, and slightly lighten the shadows to make the image deeper. In this way, Highlight and Shadow can control the light and shadow at that time.
Please try it out with your images!
You can download a free 30 days trial and try it out.

