This topics introduce you to the feature “Dehaze” in SILKYPIX Developer Studio Pro9!
Dehaze

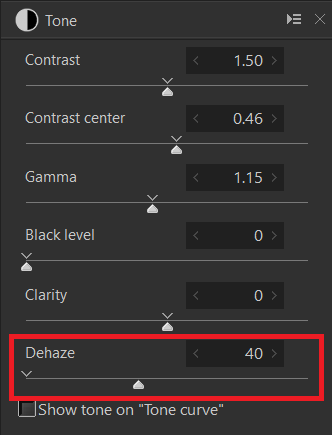
Adjustment items for the tone have a Dehaze slider. It is possible to finish a clear image as if it were defogged on an image with reduced contrast or saturation due to the effects of atmospheric water vapor.
What is the Dehaze?
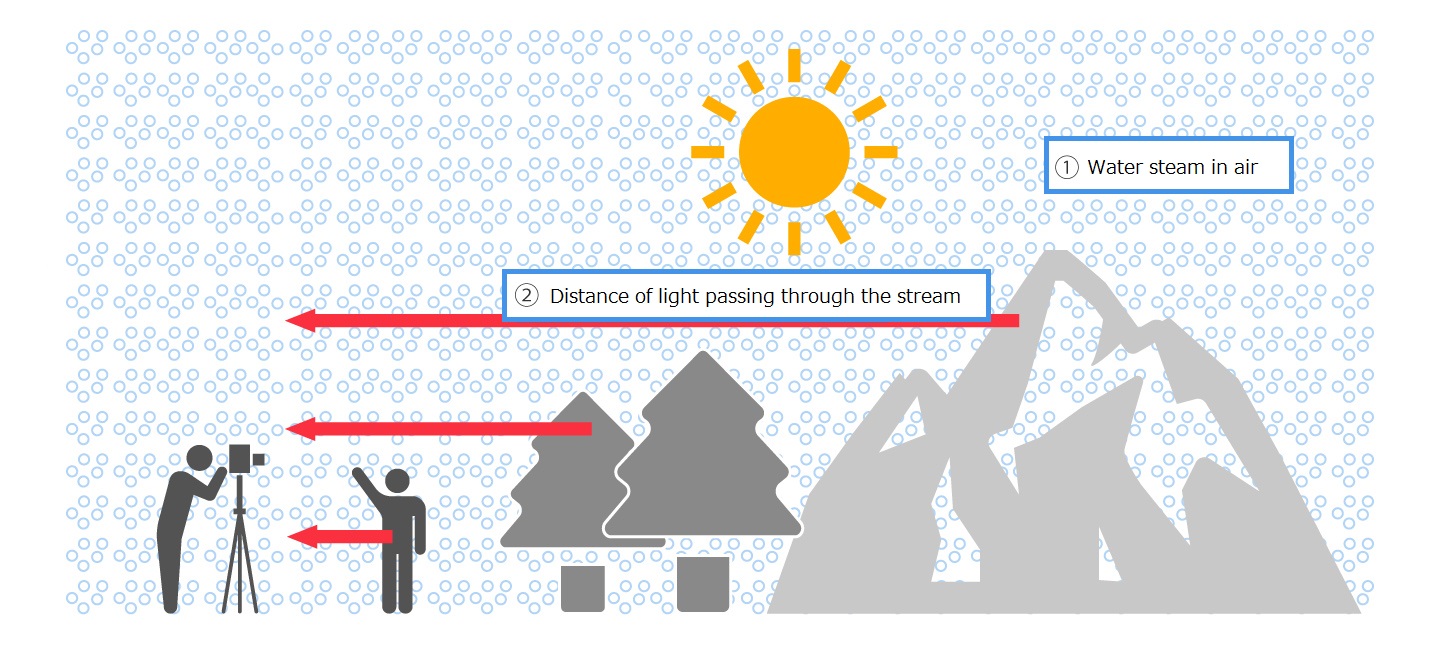
In high humidity summer, or in a time zone with a large cold and warm difference, the influence of “1 Water steam in air” may scatter the light and reduce the contrast of the image. In addition, “2 The longer the distance of light that passes through water vapor in the air”, the more the influence of water vapor. As a result, the far scene is unclear than the nearby scene. This is called “haze”.
The SILKYPIX Developer Studio Pro9 feature, Dehaze, helps you correct contrasts in areas of the image that are blurred by haze, making the image clearer. Please use this function if you take a photograph using a telelens with a long distance to the subject, or if the photograph is fogged in a landscape or other way that you intend to create.
Where is the Dehaze Slider?
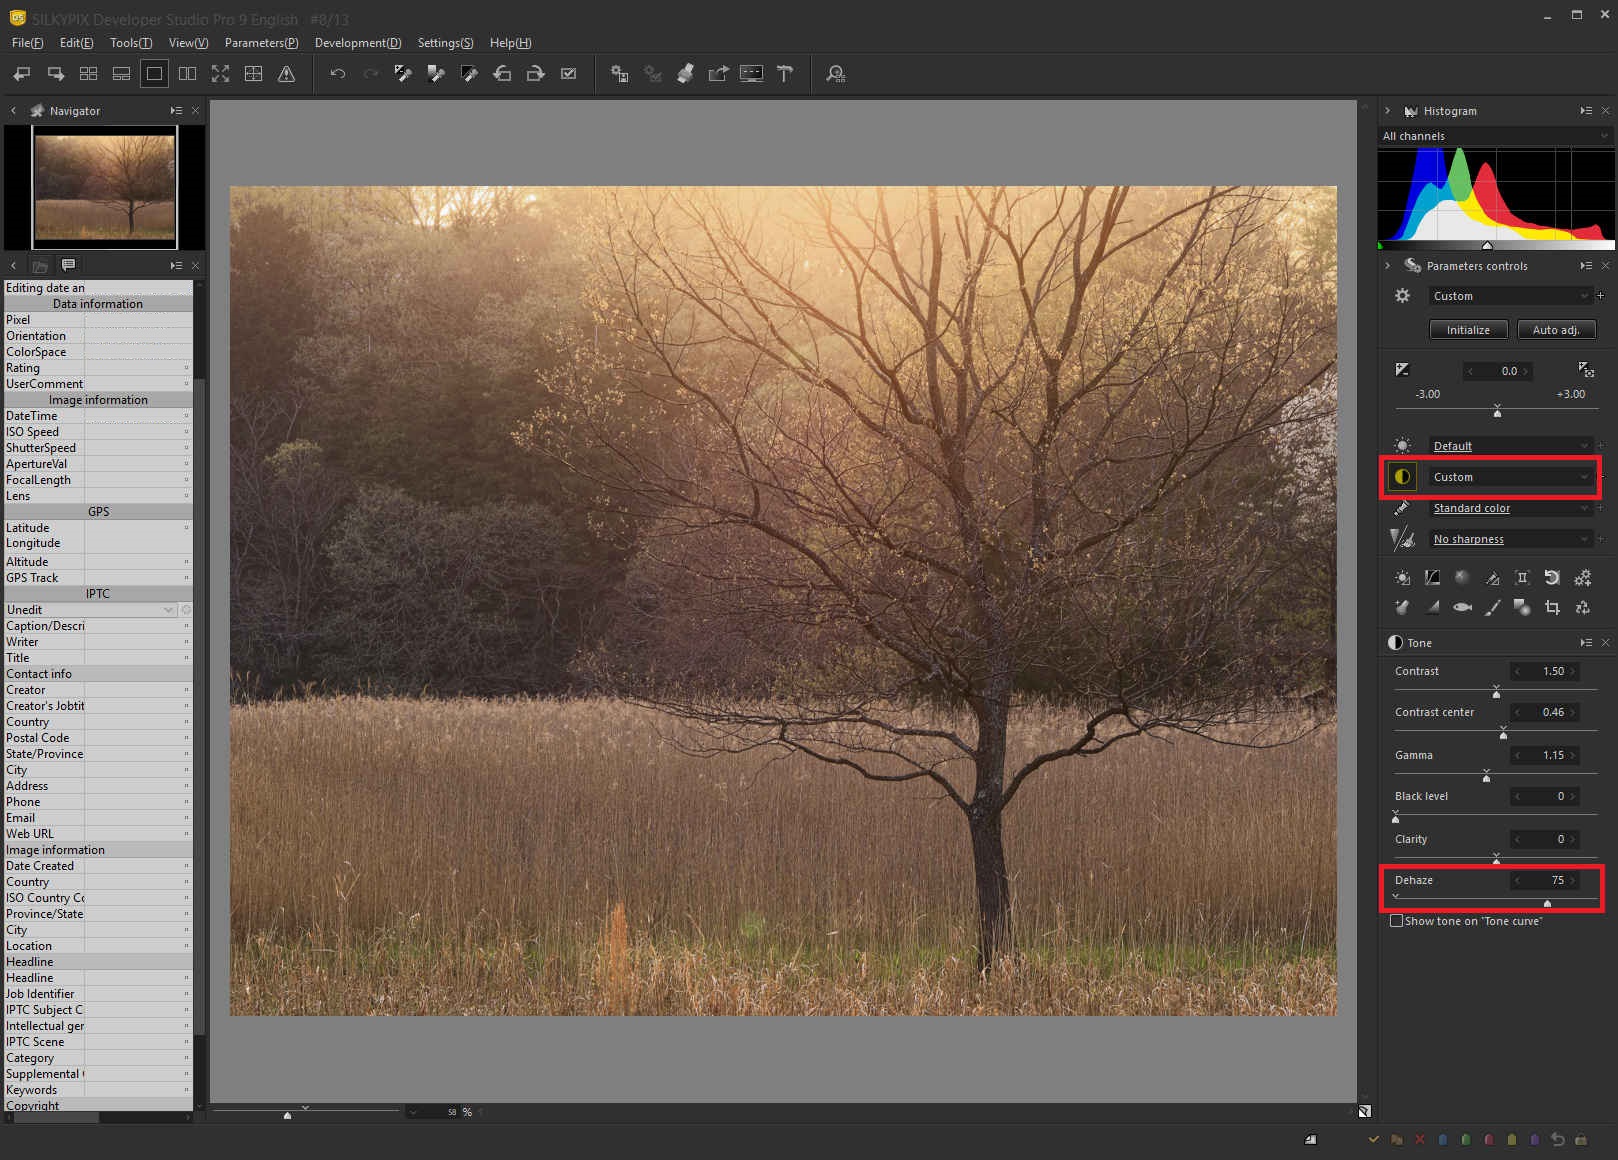
The Dehaze slider is located in the Tone tab. A higher setting adjusts the amount of Dehaze.
Example 1: Haze in a landscape
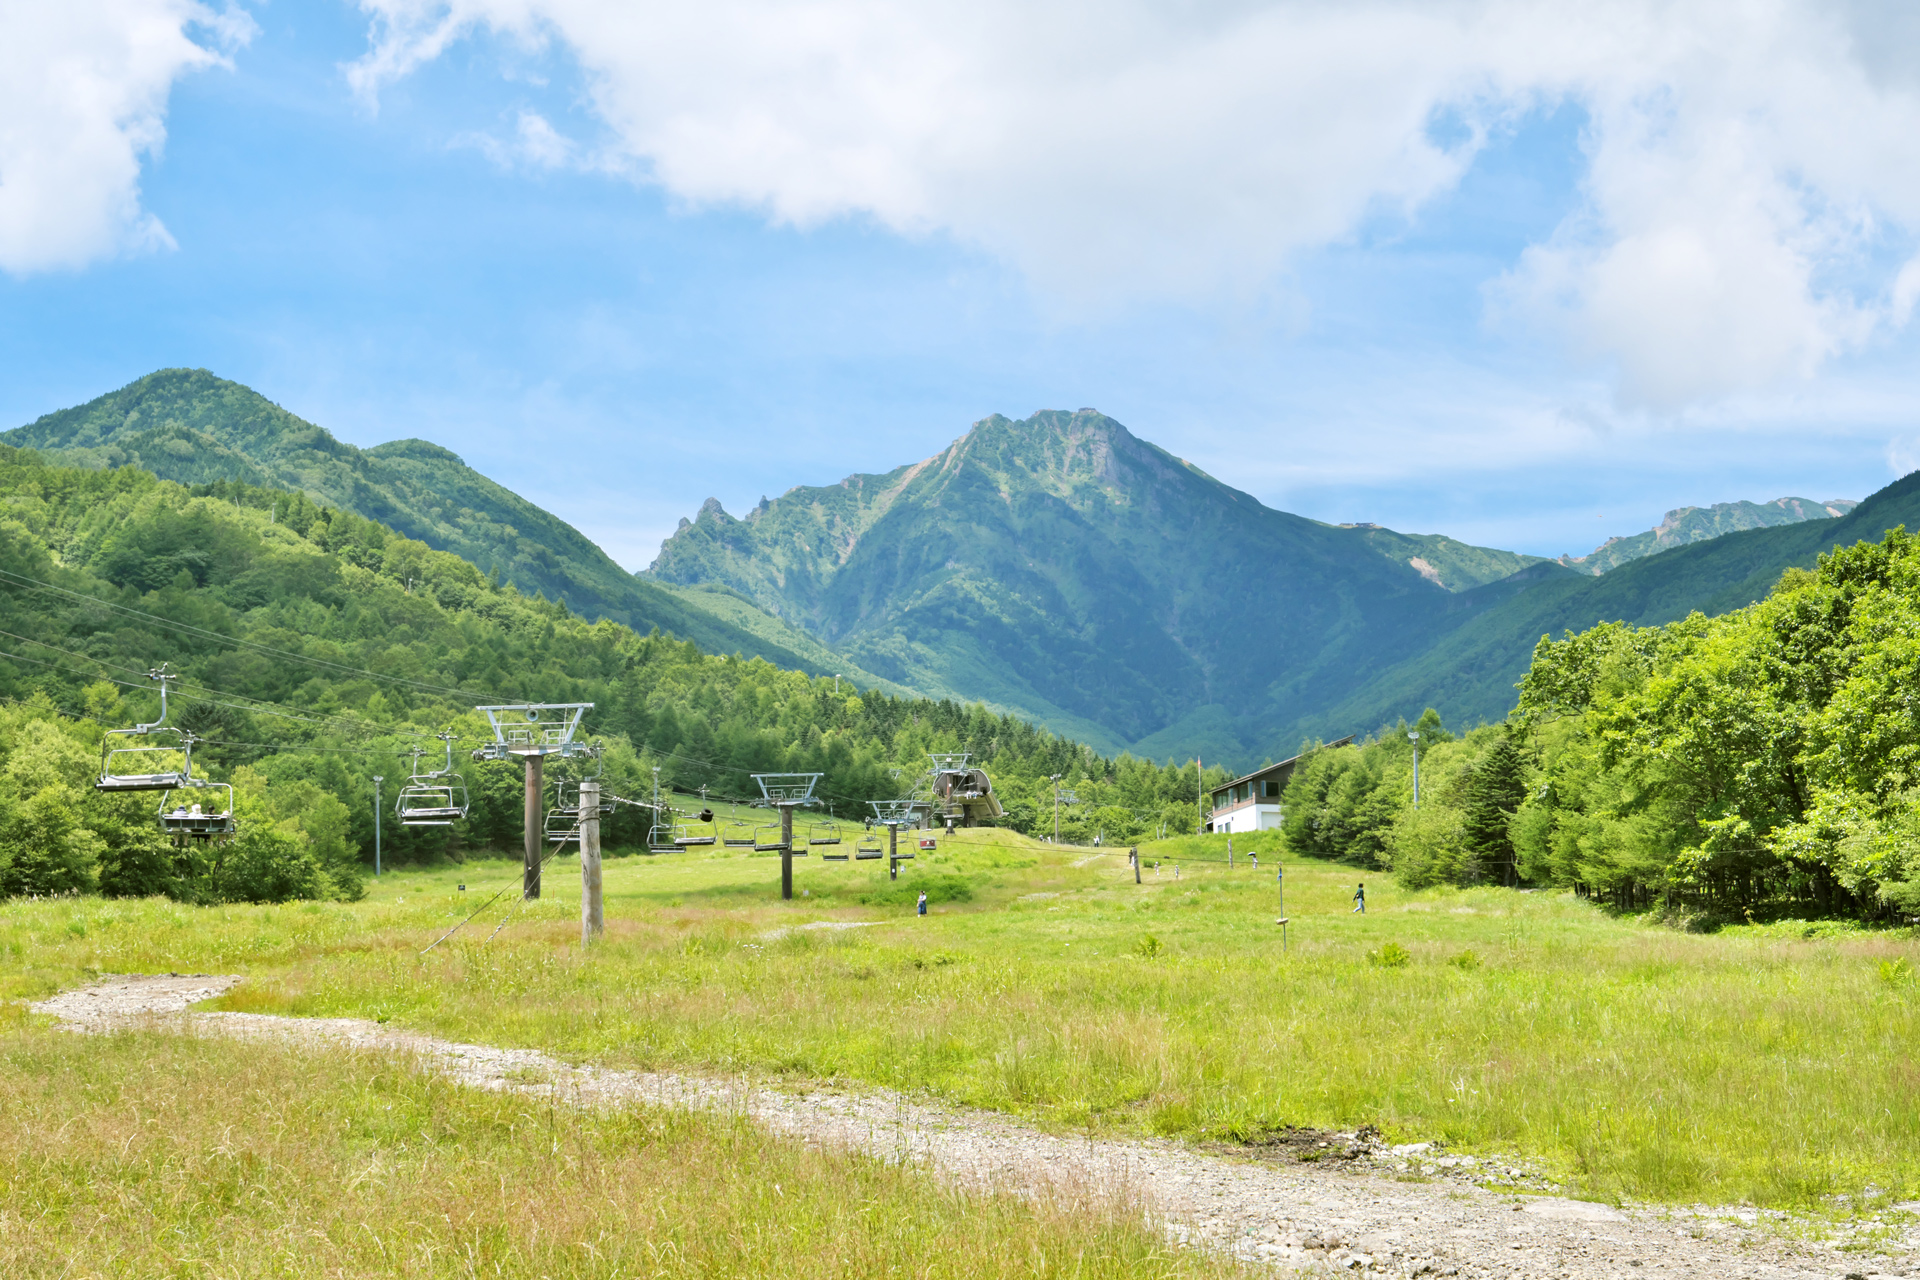
This photograph taken during the daytime of the sunny summer. Compared with the grasslands in front, the mountains visible in the forest and the back are particularly hazy with water vapor, resulting in a decrease in contrast. In addition, the vividness of the sky is also lost due to the effects of water vapor in the air causing diffuse reflection.
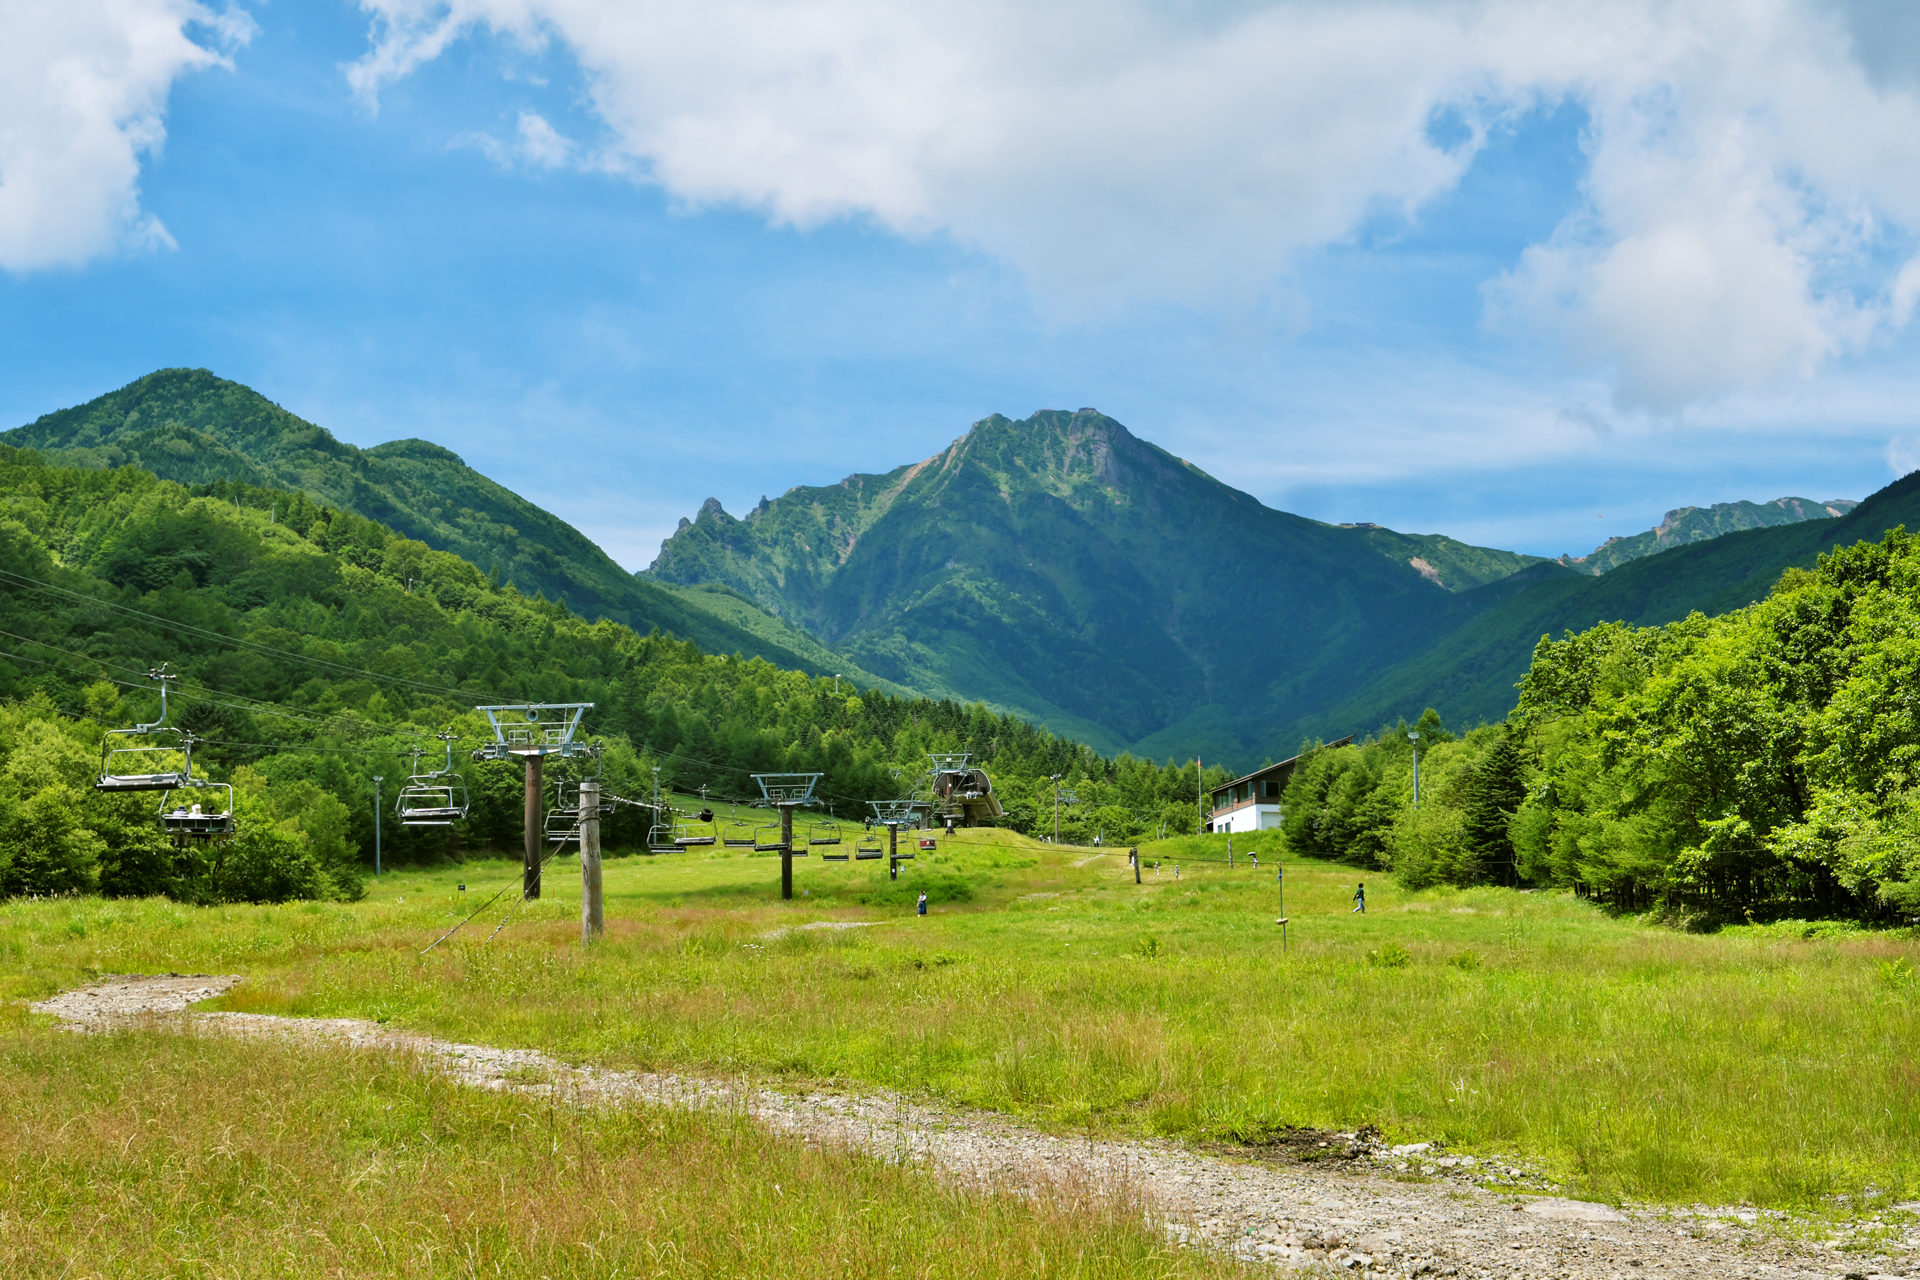
Setting the Dehaze slider to a high level makes it possible to sharply finish the hazy distant view. Dehaze can be used primarily to restore the contrast of areas of fog.
One point: When it is better not to use Dehaze
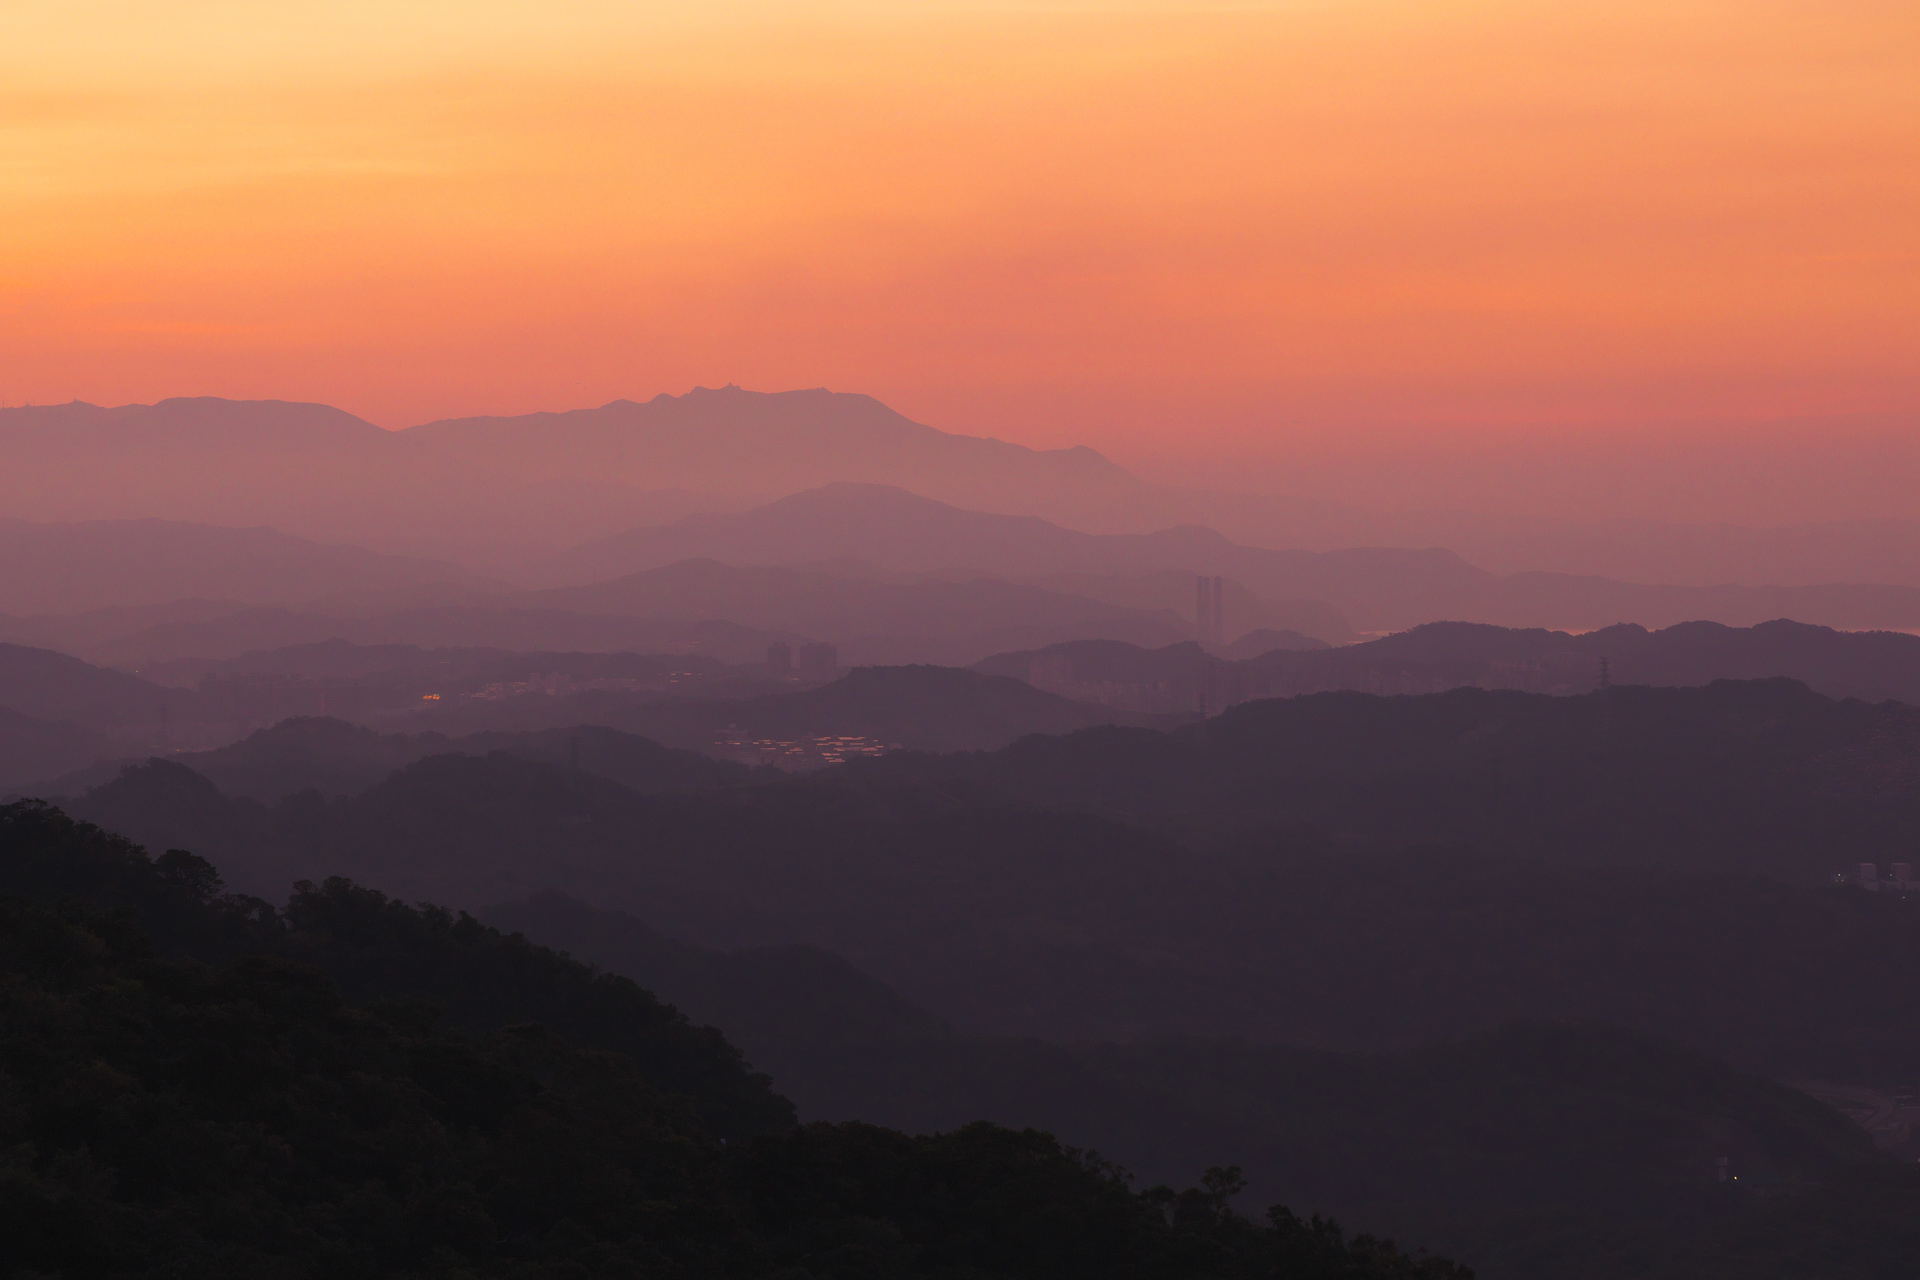
There is a technique called “Aerial Perspective” that expresses the perspective and depth with shades of fog. In this case, it’s a good idea to make use of the fog to achieve the result.
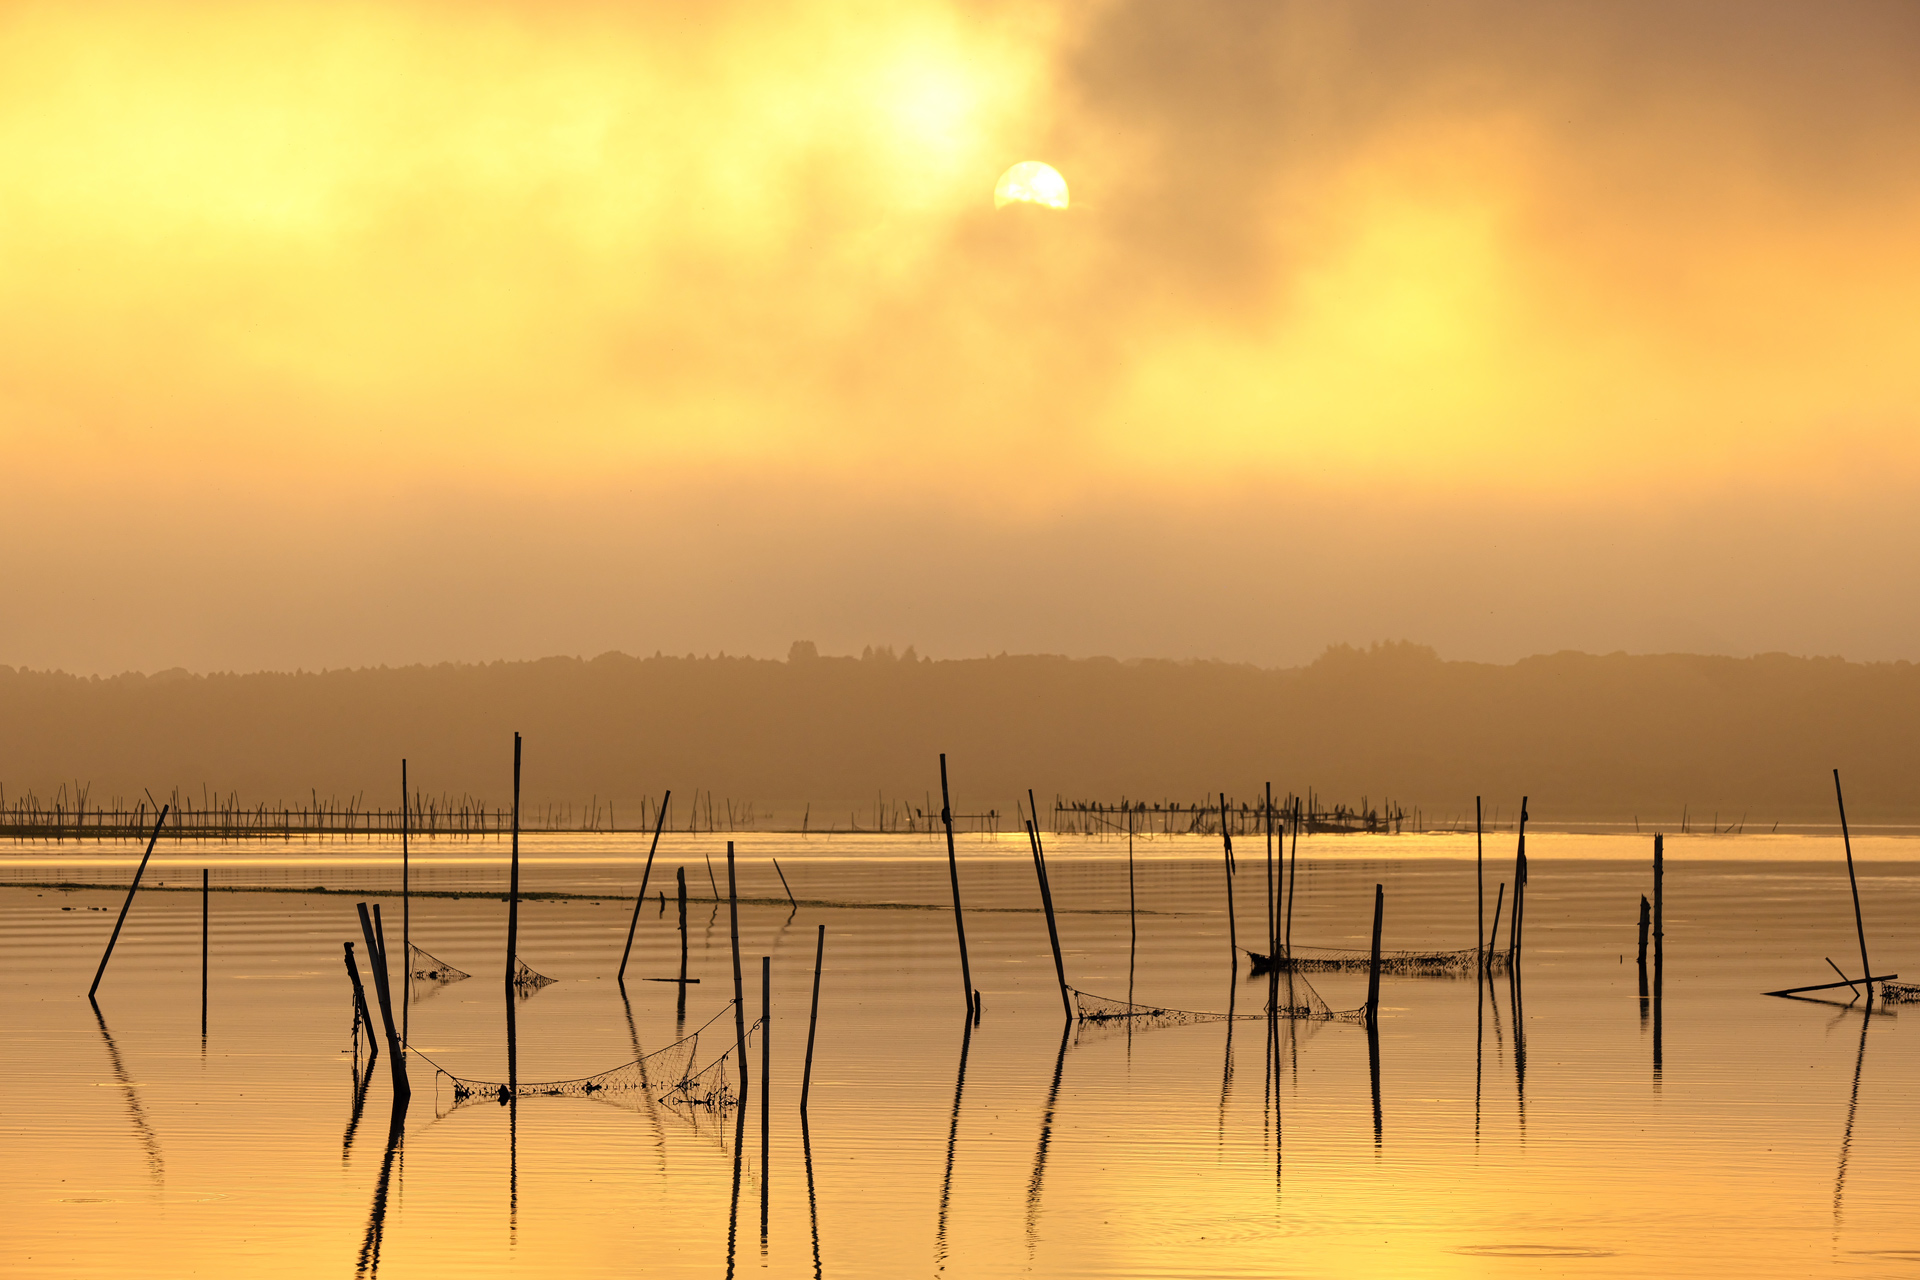
If the haze atmosphere is good, such as morning haze or fog, it is not eliminated, but rather emphasized finish with contrast is one method.
Example 2: Out-of-range edit input
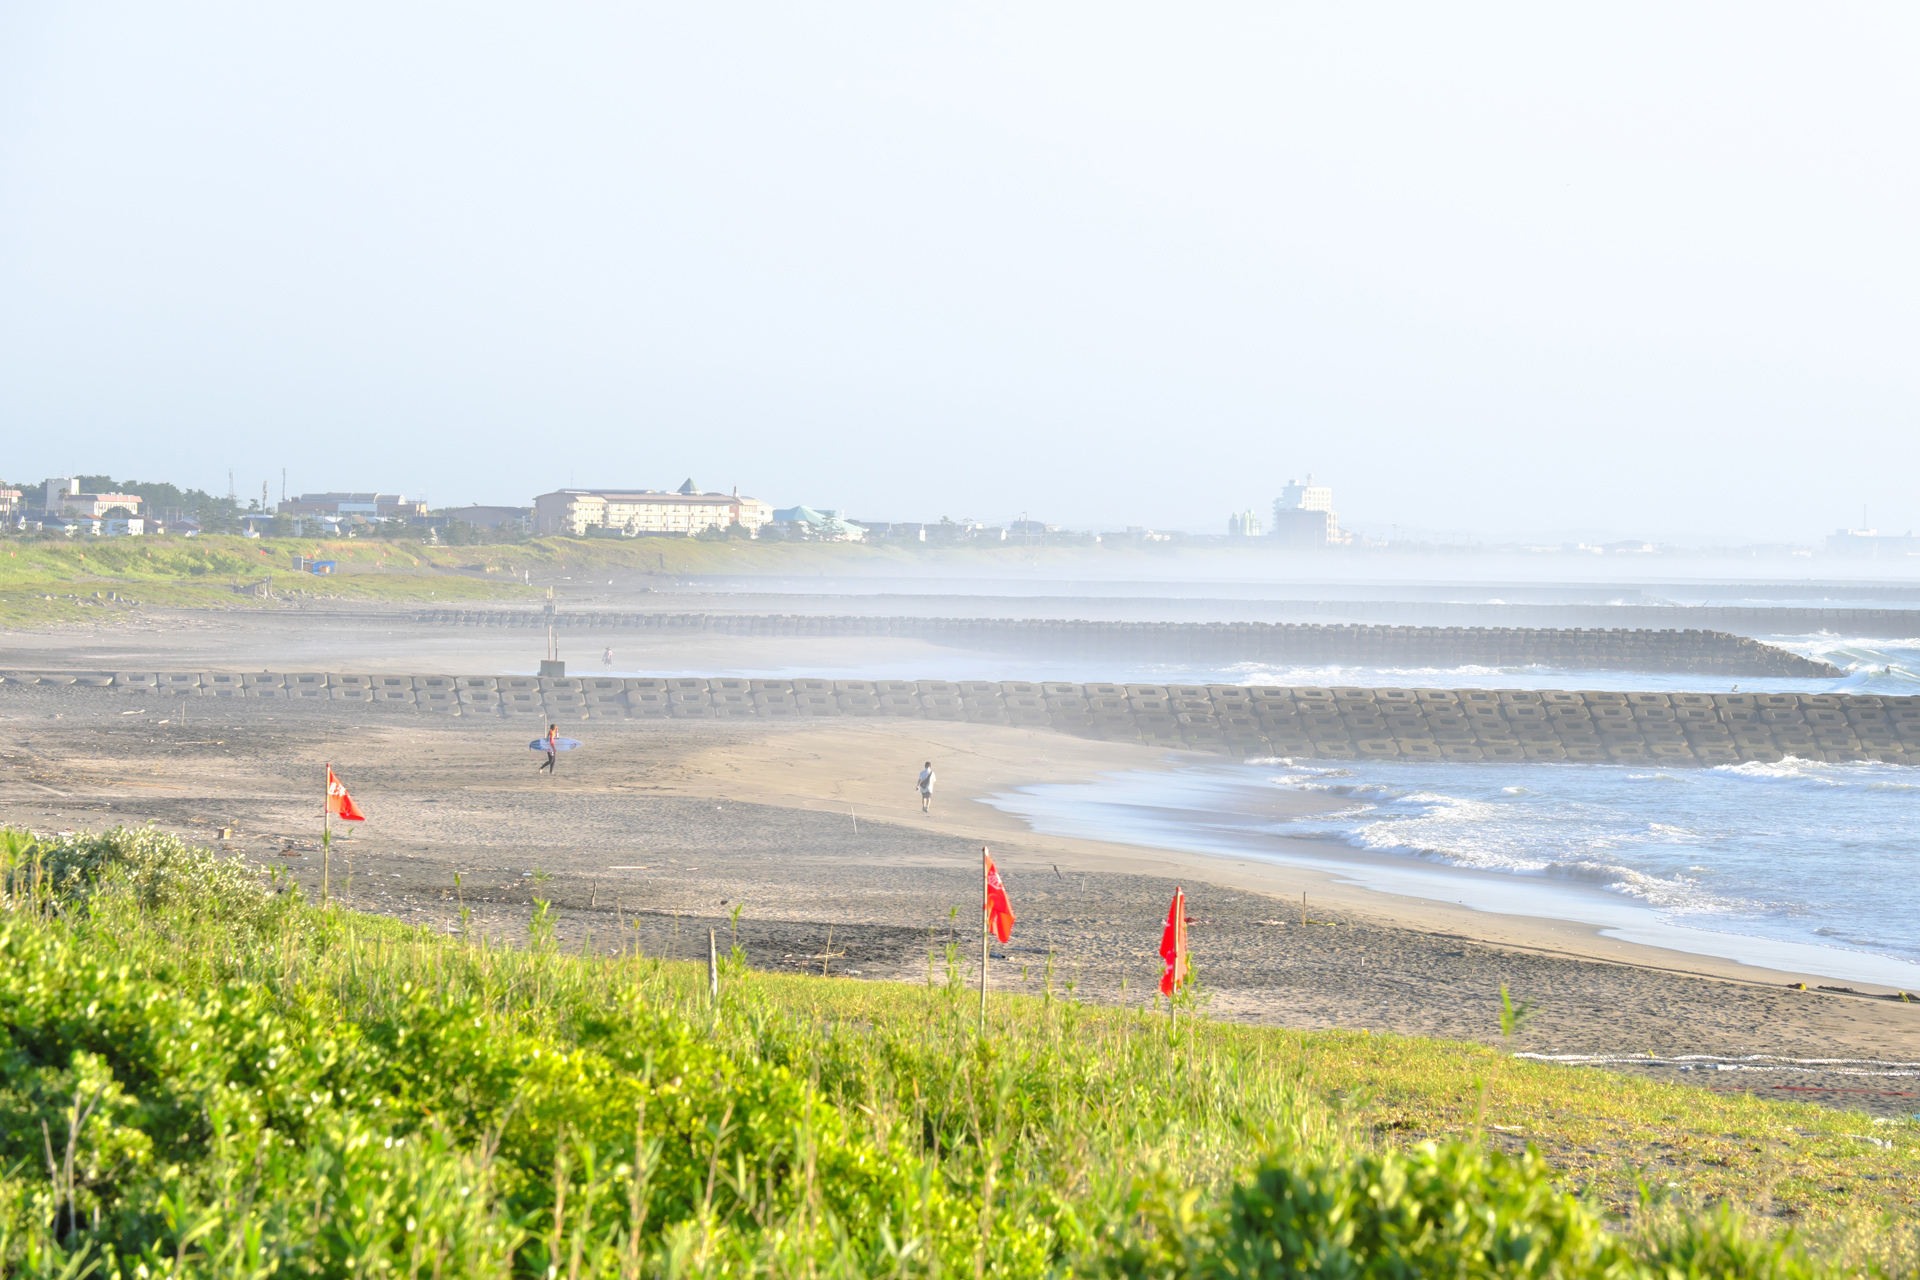
Wave splashing makes the distance more distant and foggy.
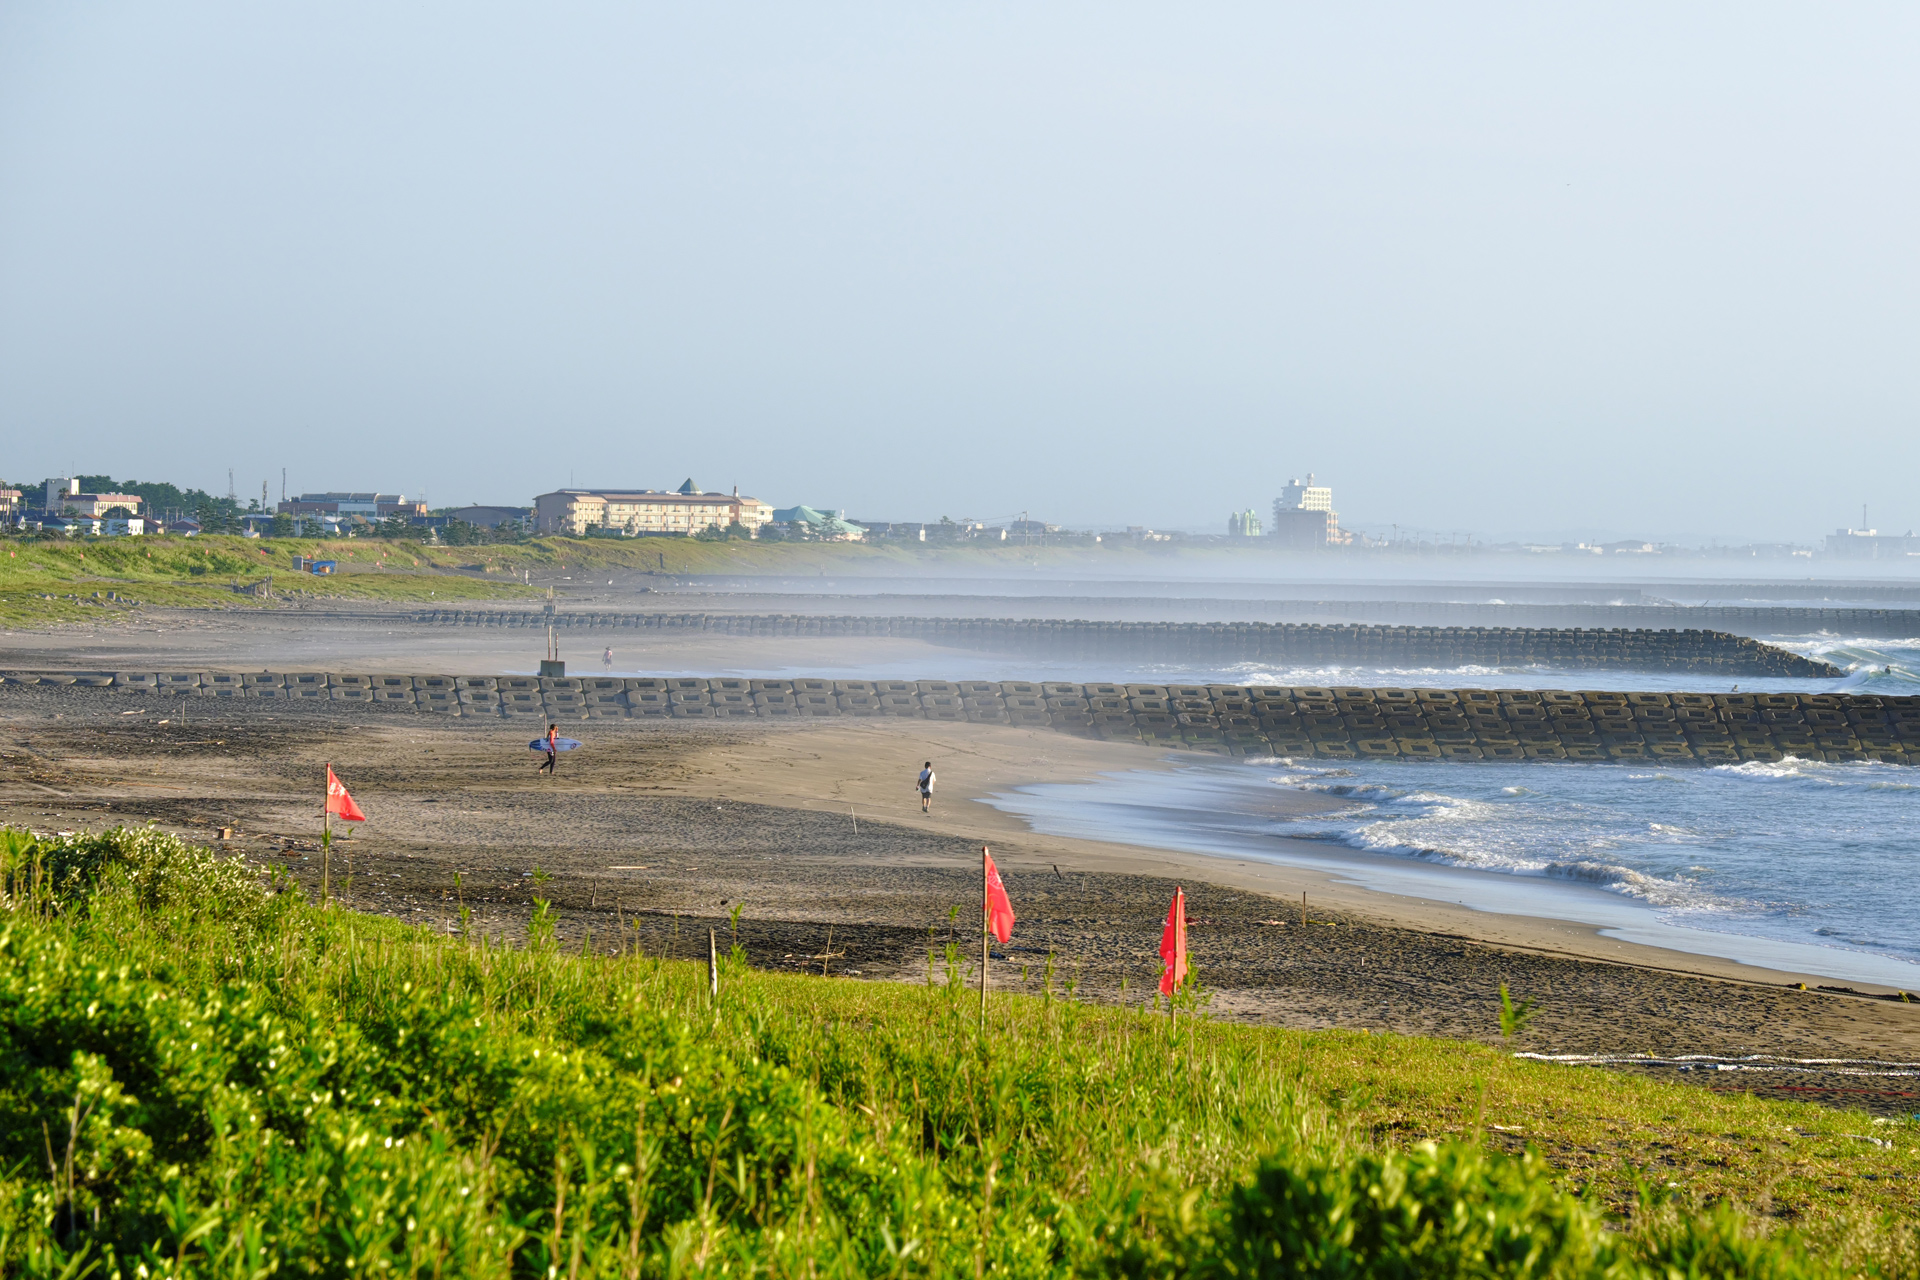
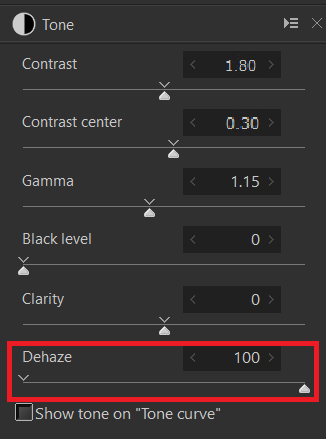
The Dehaze slider has been set to the maximum value of “100”. If you need more Dehaze, use “out-of-range edit input”. Parameter values from 101 to 130 exceeding 100 can be set.
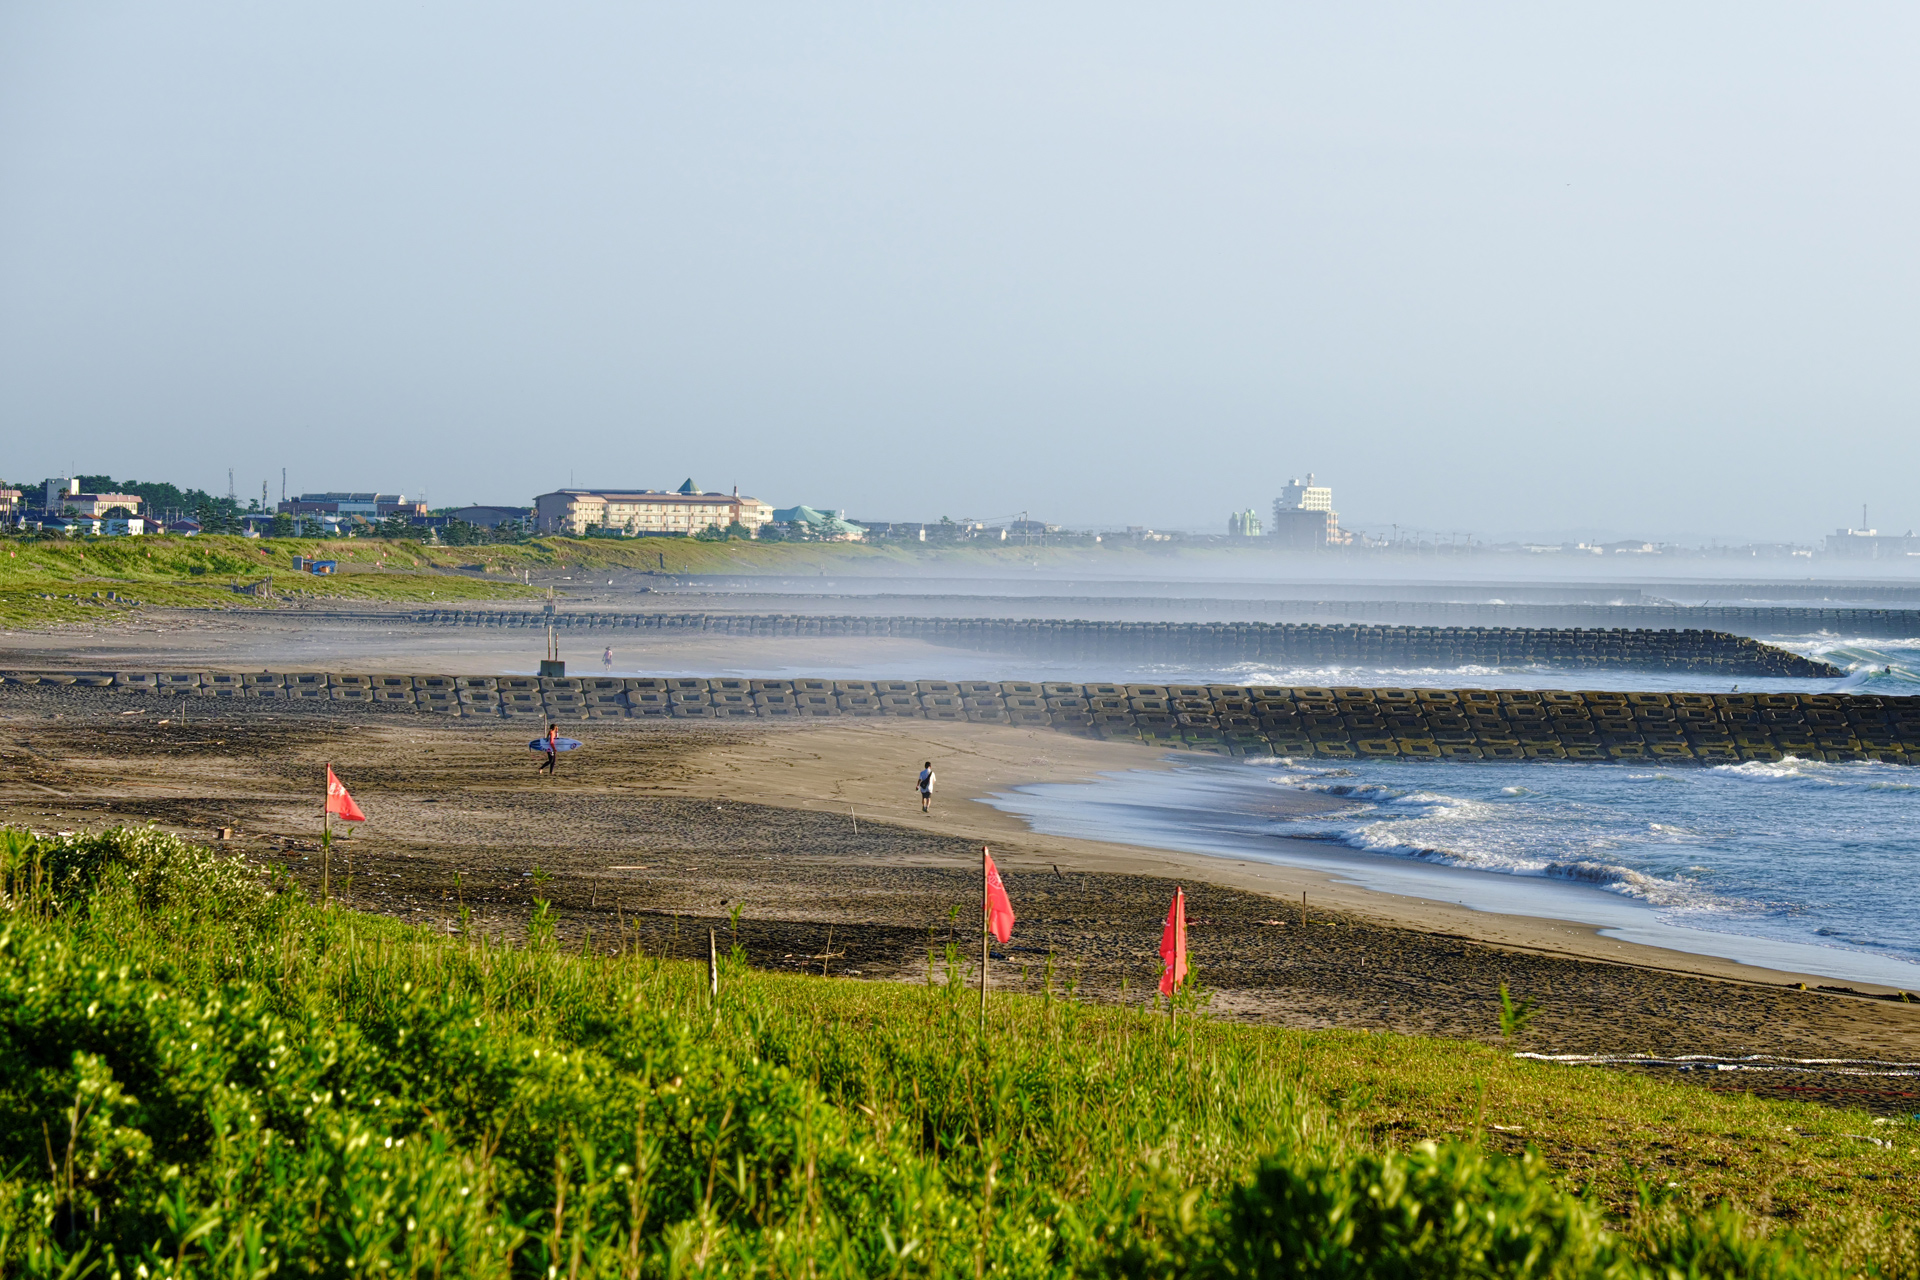
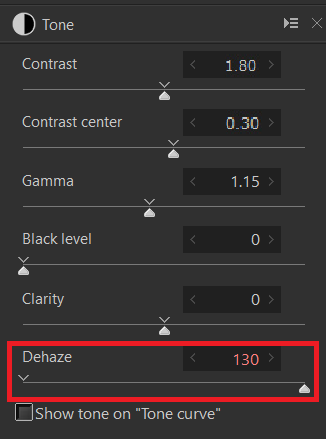
For “out-of-range edit input”, enter the numerical value directly with the keyboard in the edit box of the parameter. Alternatively, you can enter a value greater than or equal to 100 by pressing the “>” (spin button) to the right of the number.
The SILKYPIX has determined the maximum values of the parameters for a natural result. However, depending on the image, there may be times when you want to achieve more effect. In such a case, please use “out-of-range edit input”.
Example 3: Correcting Lens Flare
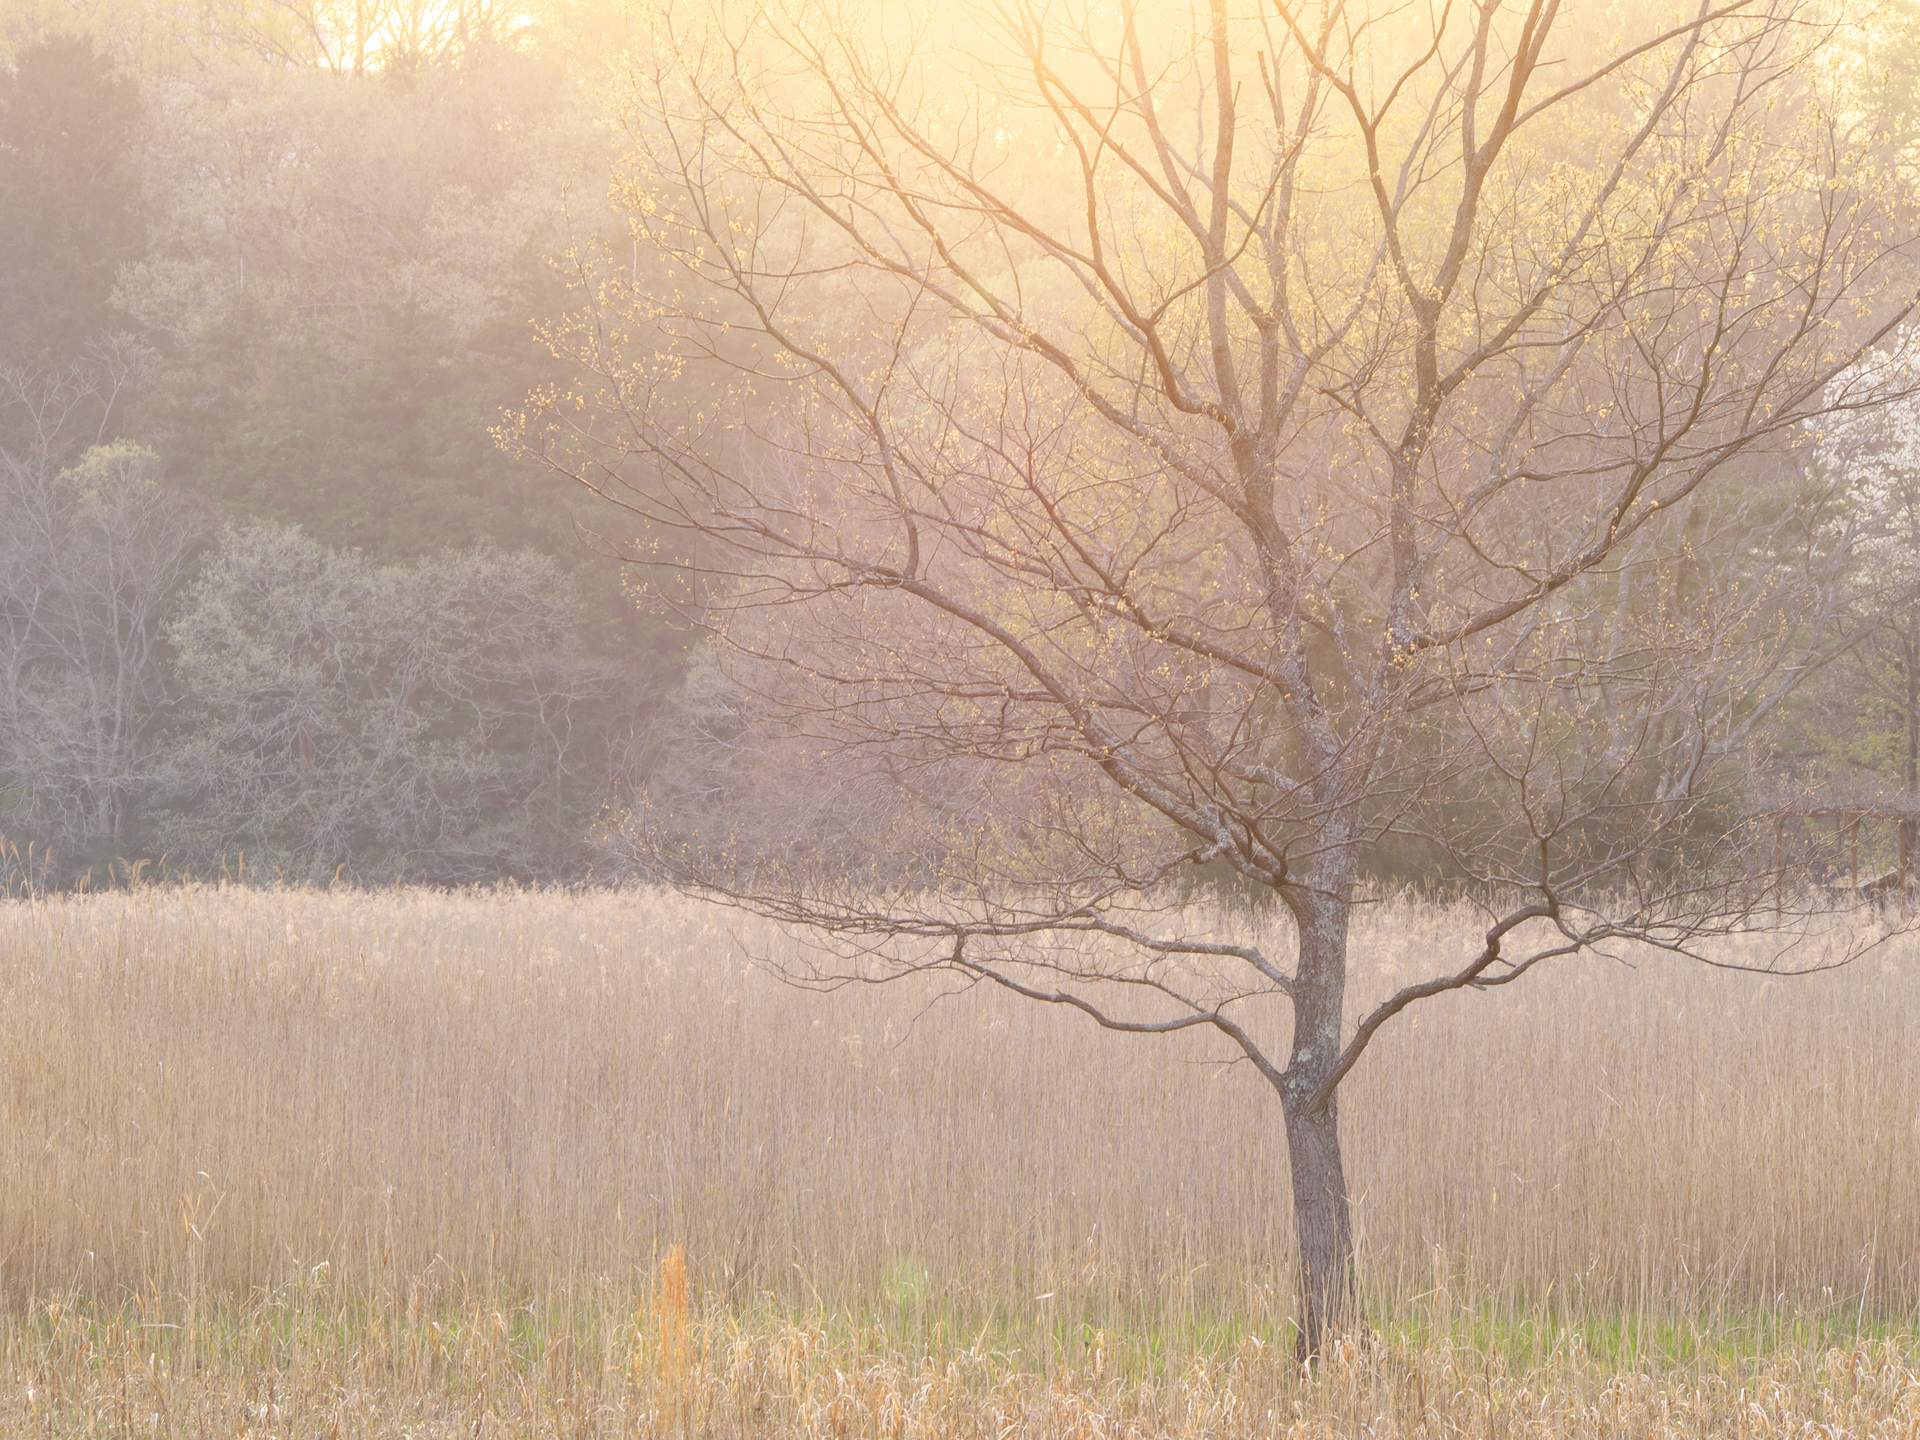
Dehaze can also reduce contrast degradation caused by lens flares that occurs when strong light enters the screen during backlighting. You can also use it in conjunction with tone curves and saturation to create flares image.
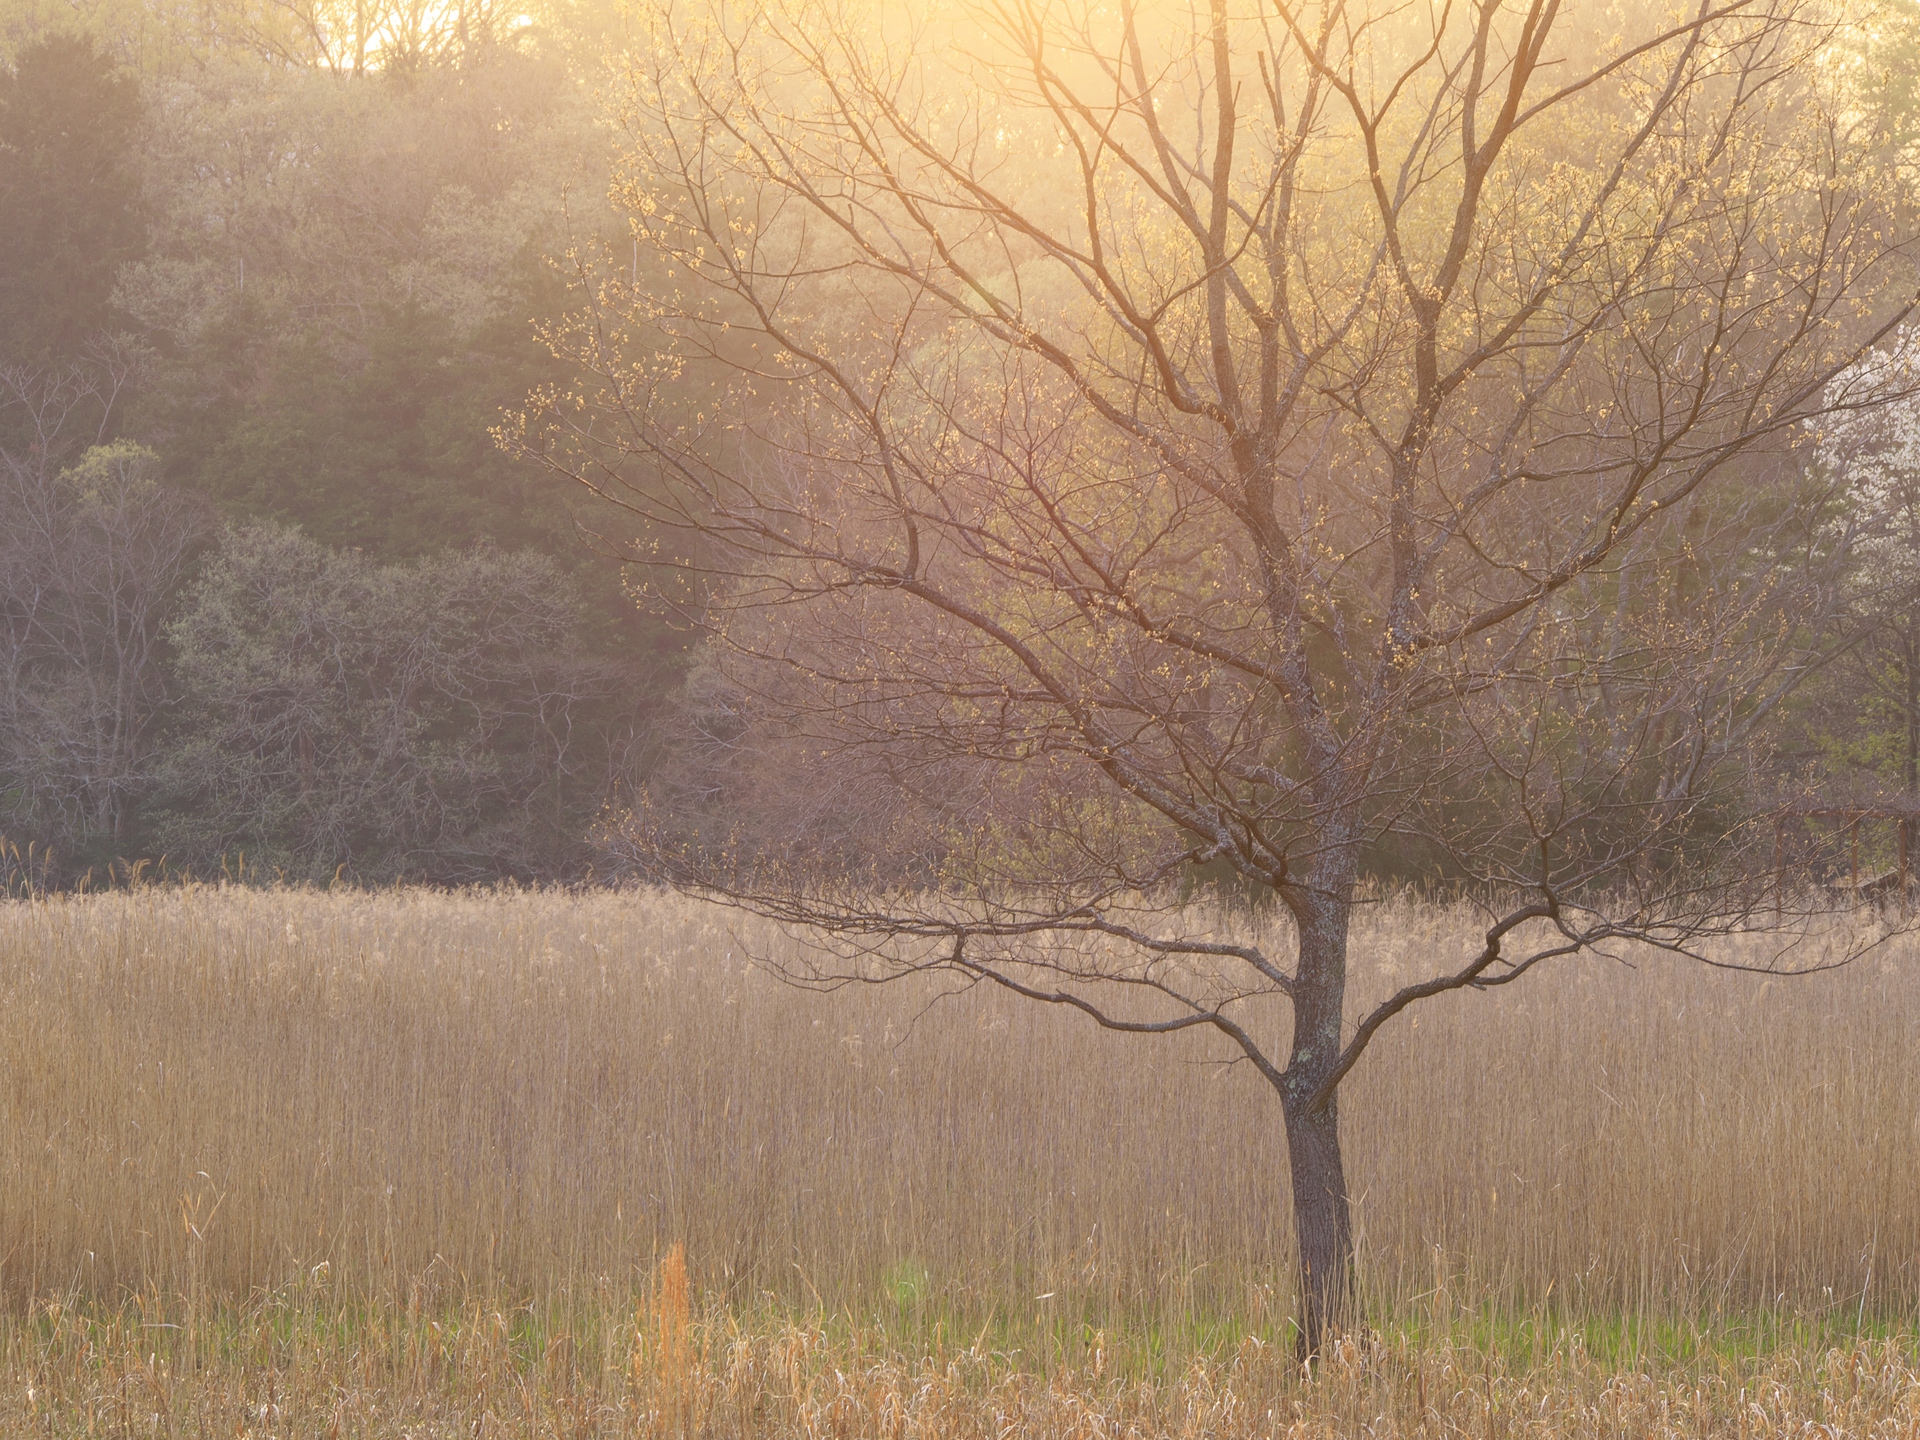
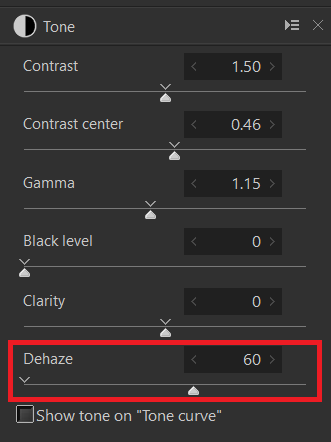
Setting the Dehaze slider to a high value allowed the lens flare to prevent the shadow from floating.
One point: Using with L-Channel tone curve and Saturation
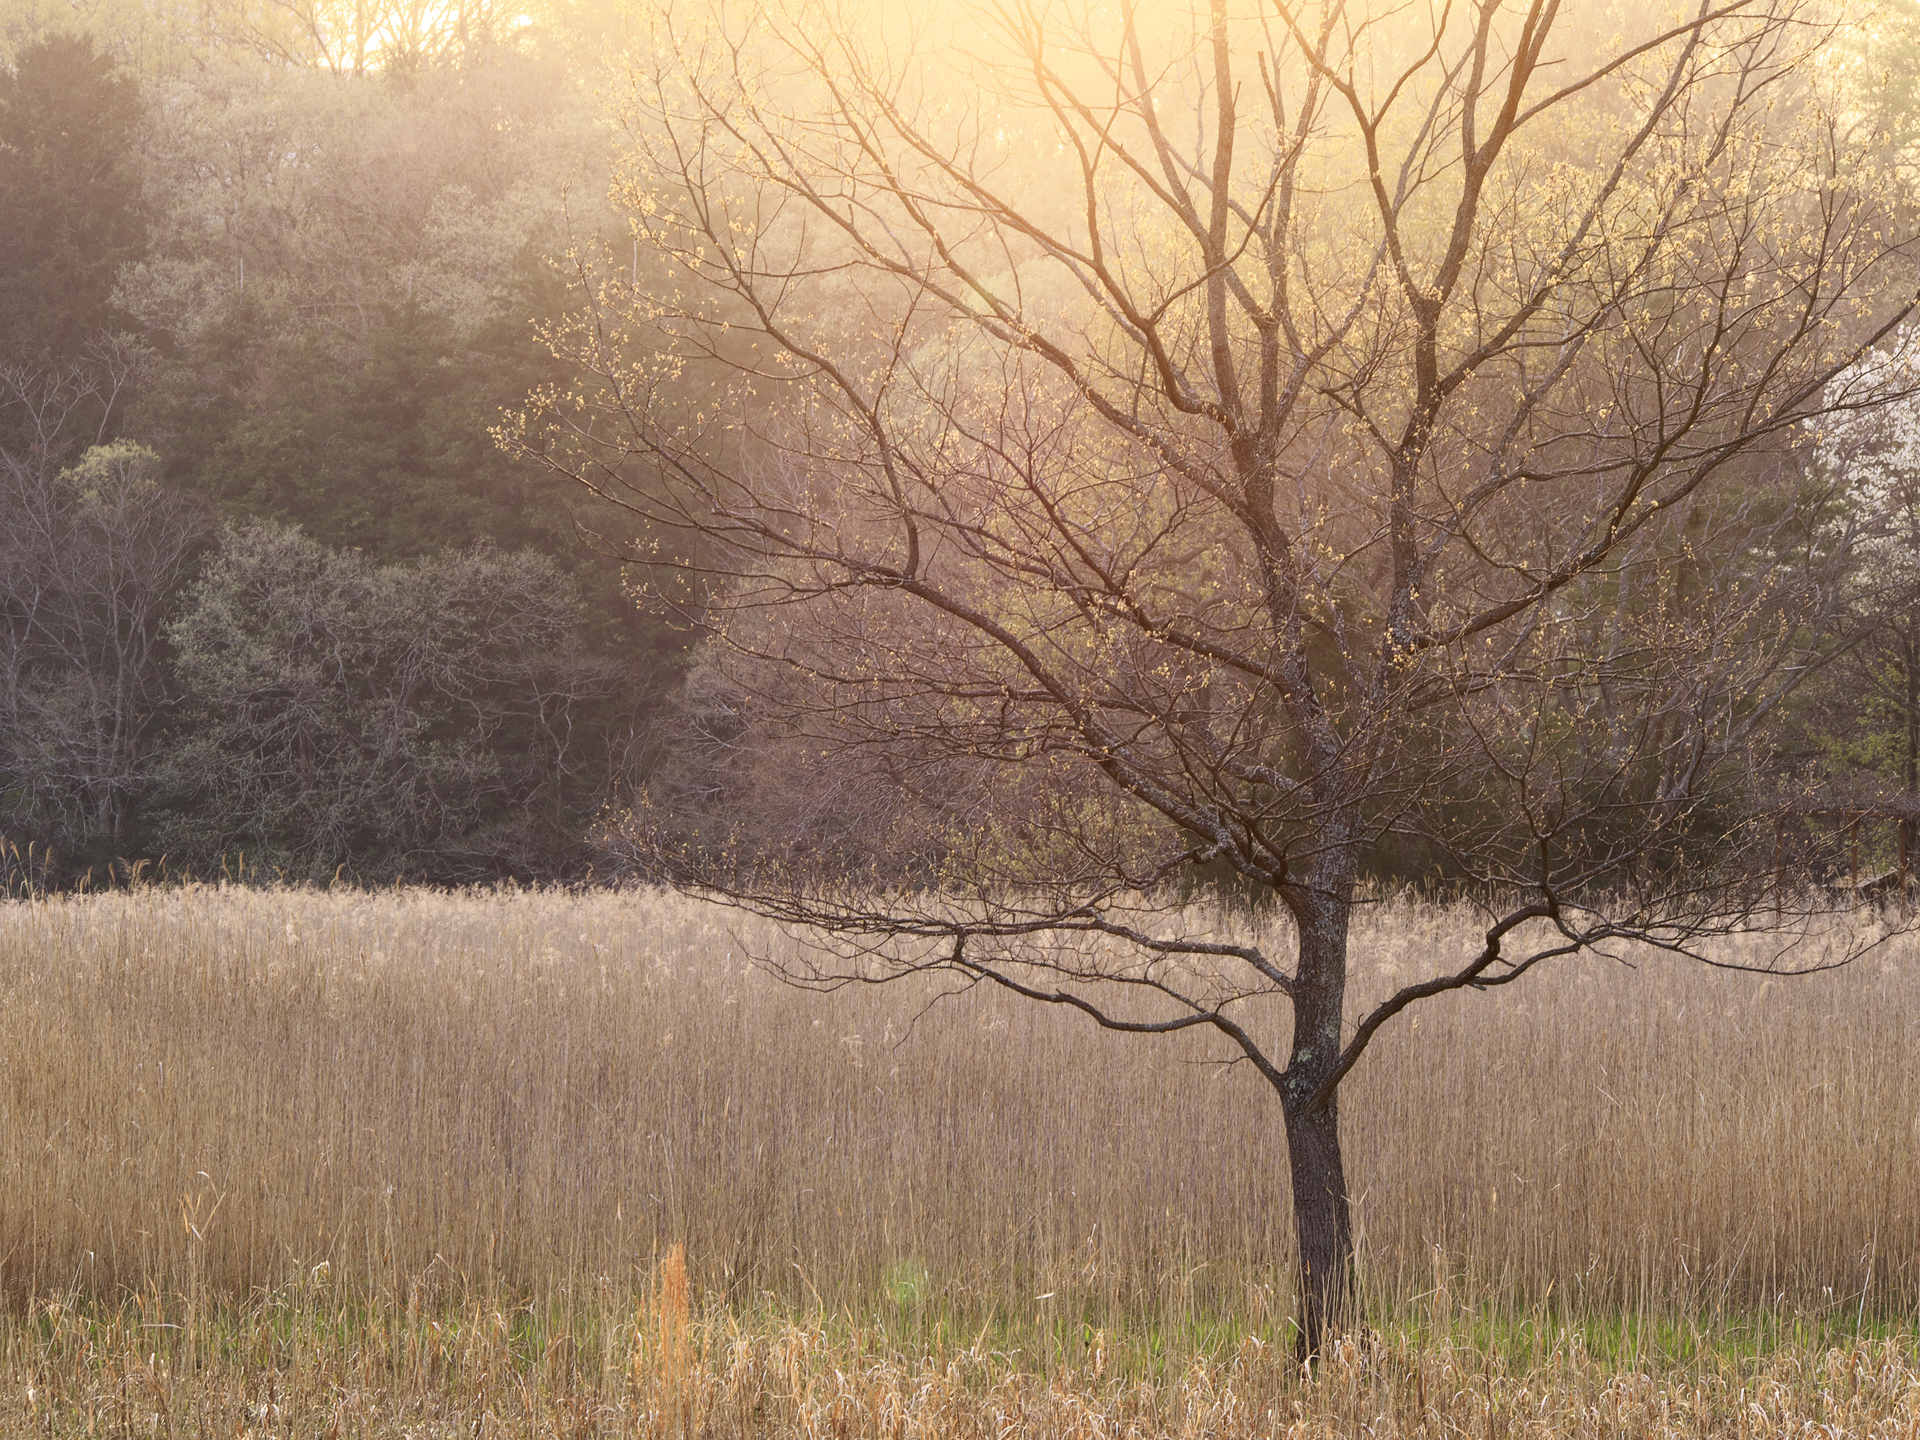
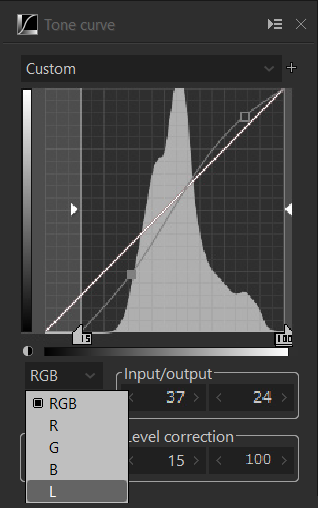
You can use the L channel tone curve to adjust the level of the dark area or the S curve to increase the contrast and sharpen the image.
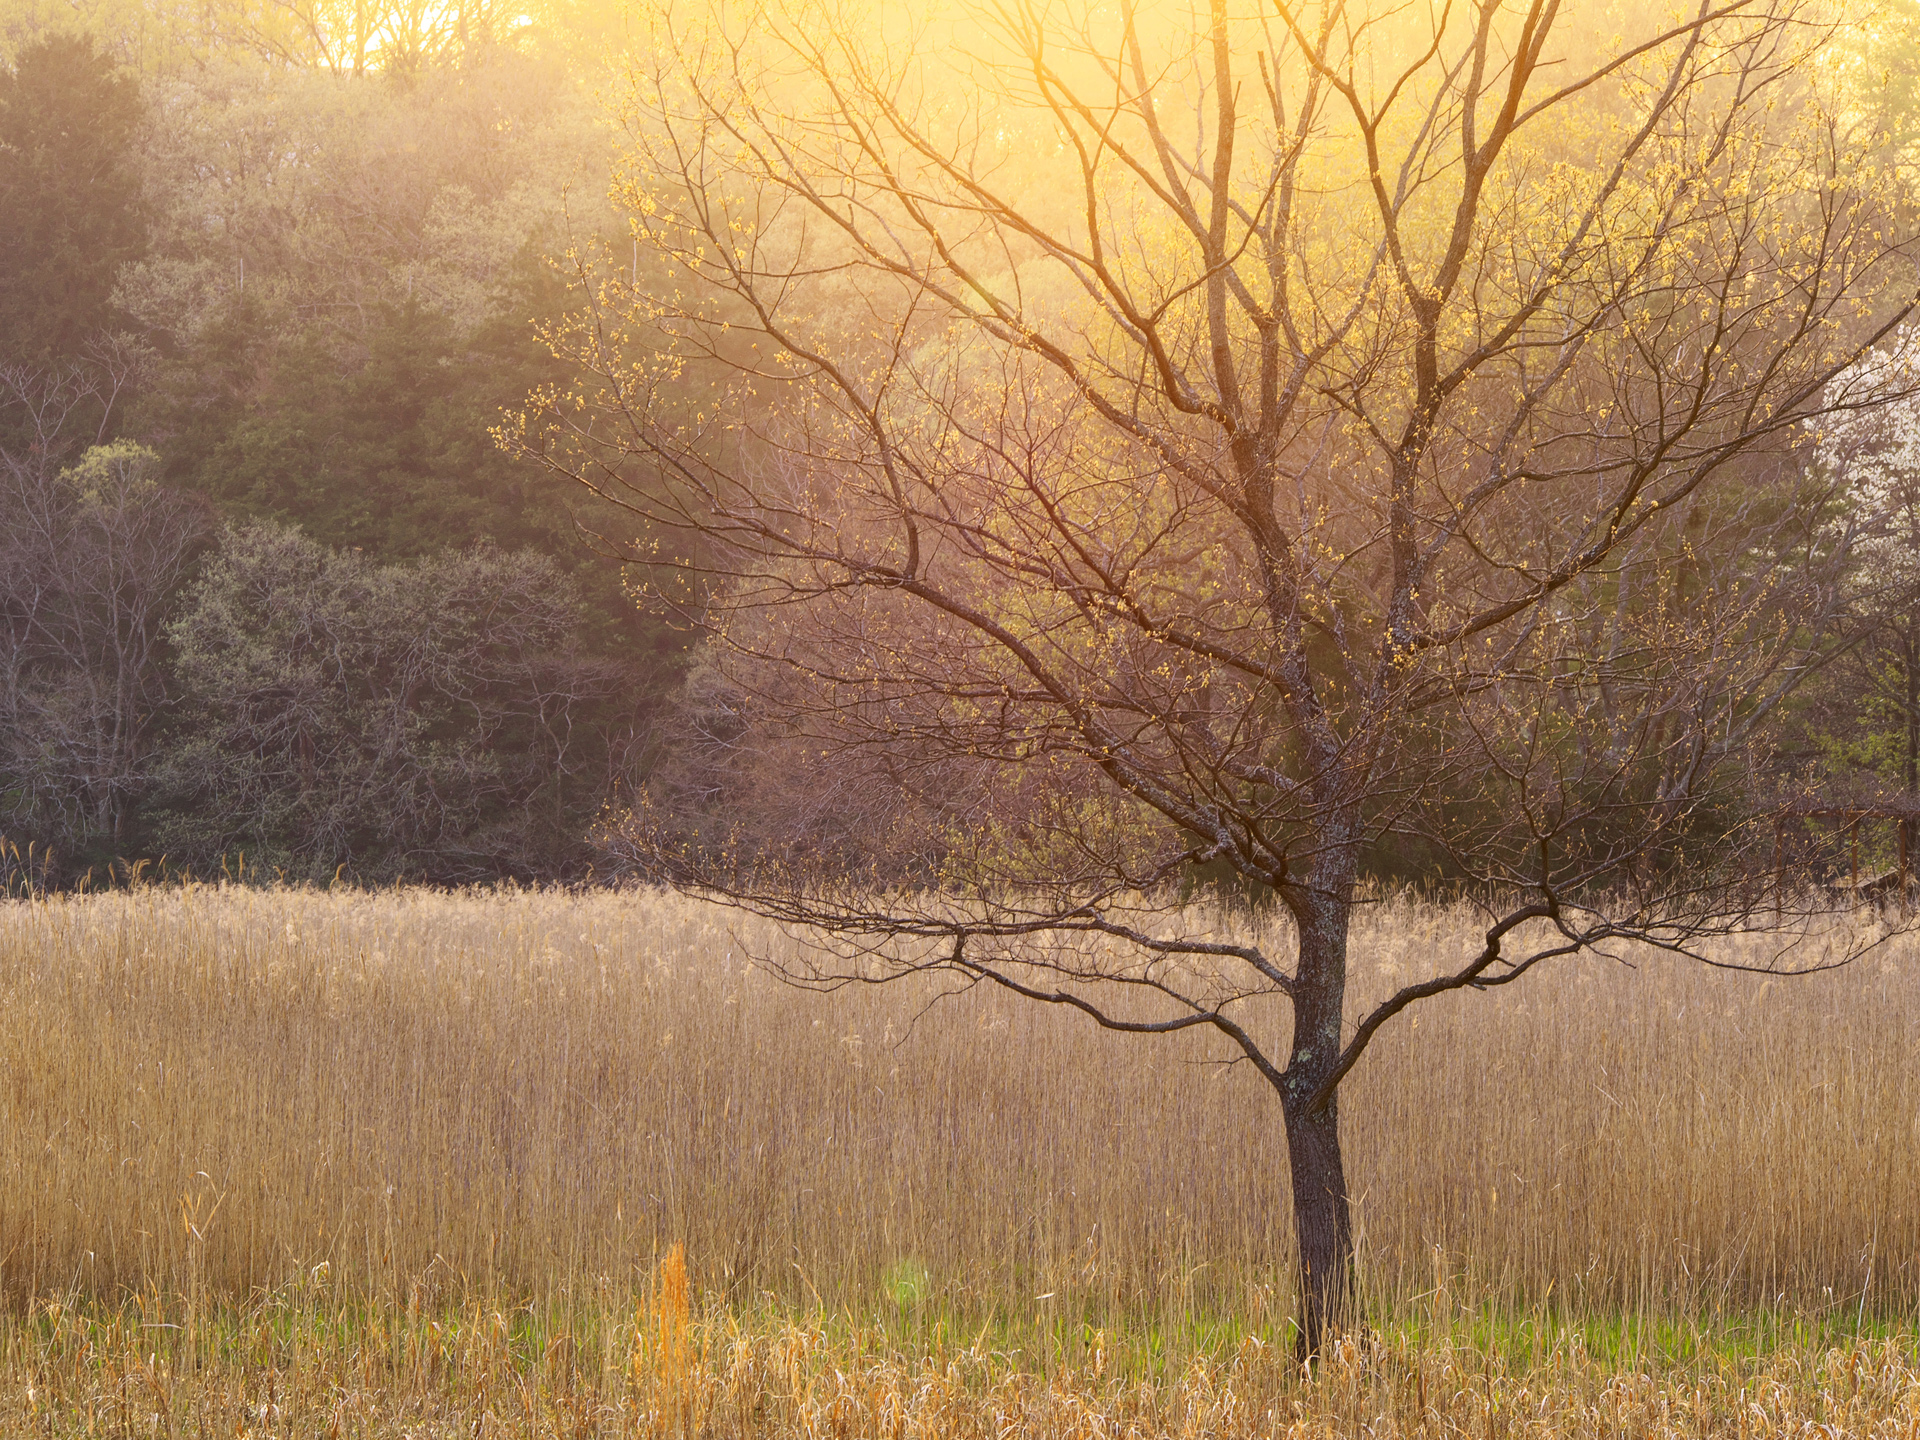
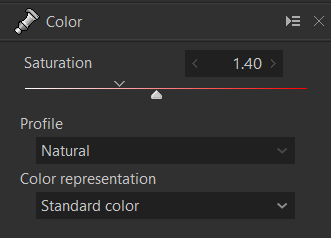
Adjusts the color tone closer to the image by setting a higher saturation setting for the vividness that is reduced due to flare effects.
Please try it out with your images!
You can download a free 30 days trial and try it out.

