This topics introduce you to the feature “Blurred/sharp periphery” in SILKYPIX Developer Studio Pro9!
Blurred/sharp periphery function lets you blur or sharpen the peripheries of an image.
Blurred/sharp periphery

Blurred periphery
For example, a wide-angle lens may be used, or focusing may be too bright to open. Then the background is not so greatly blurred. Therefore, by using the “Blurred periphery” function, you can control the blur around the specified location of the image. You can use the Blurred periphery function to control the blur around a specified point in the image.
Sharp periphery
When shooting with the focusing open or using an super-wide angle lens, the resolution and contrast around the image may decrease depending on the lens. When focusing is opened, the resolving power at the center of the lens increases. As a result, the difference in resolution between the center and the periphery increases, and the periphery may appear blurry. You can adjusted this case with Sharp periphery.
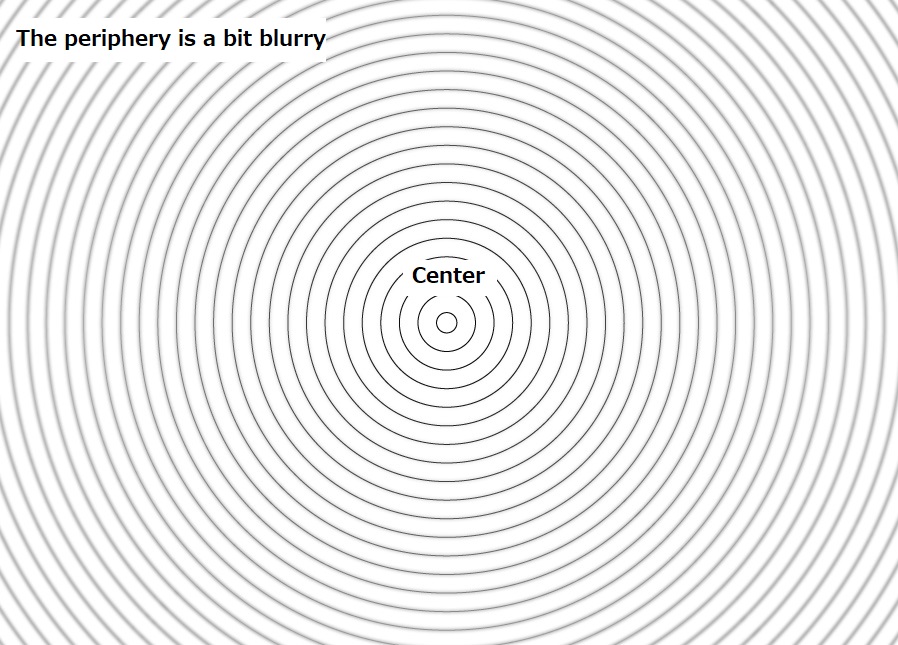
Blurred/sharp periphery parameters
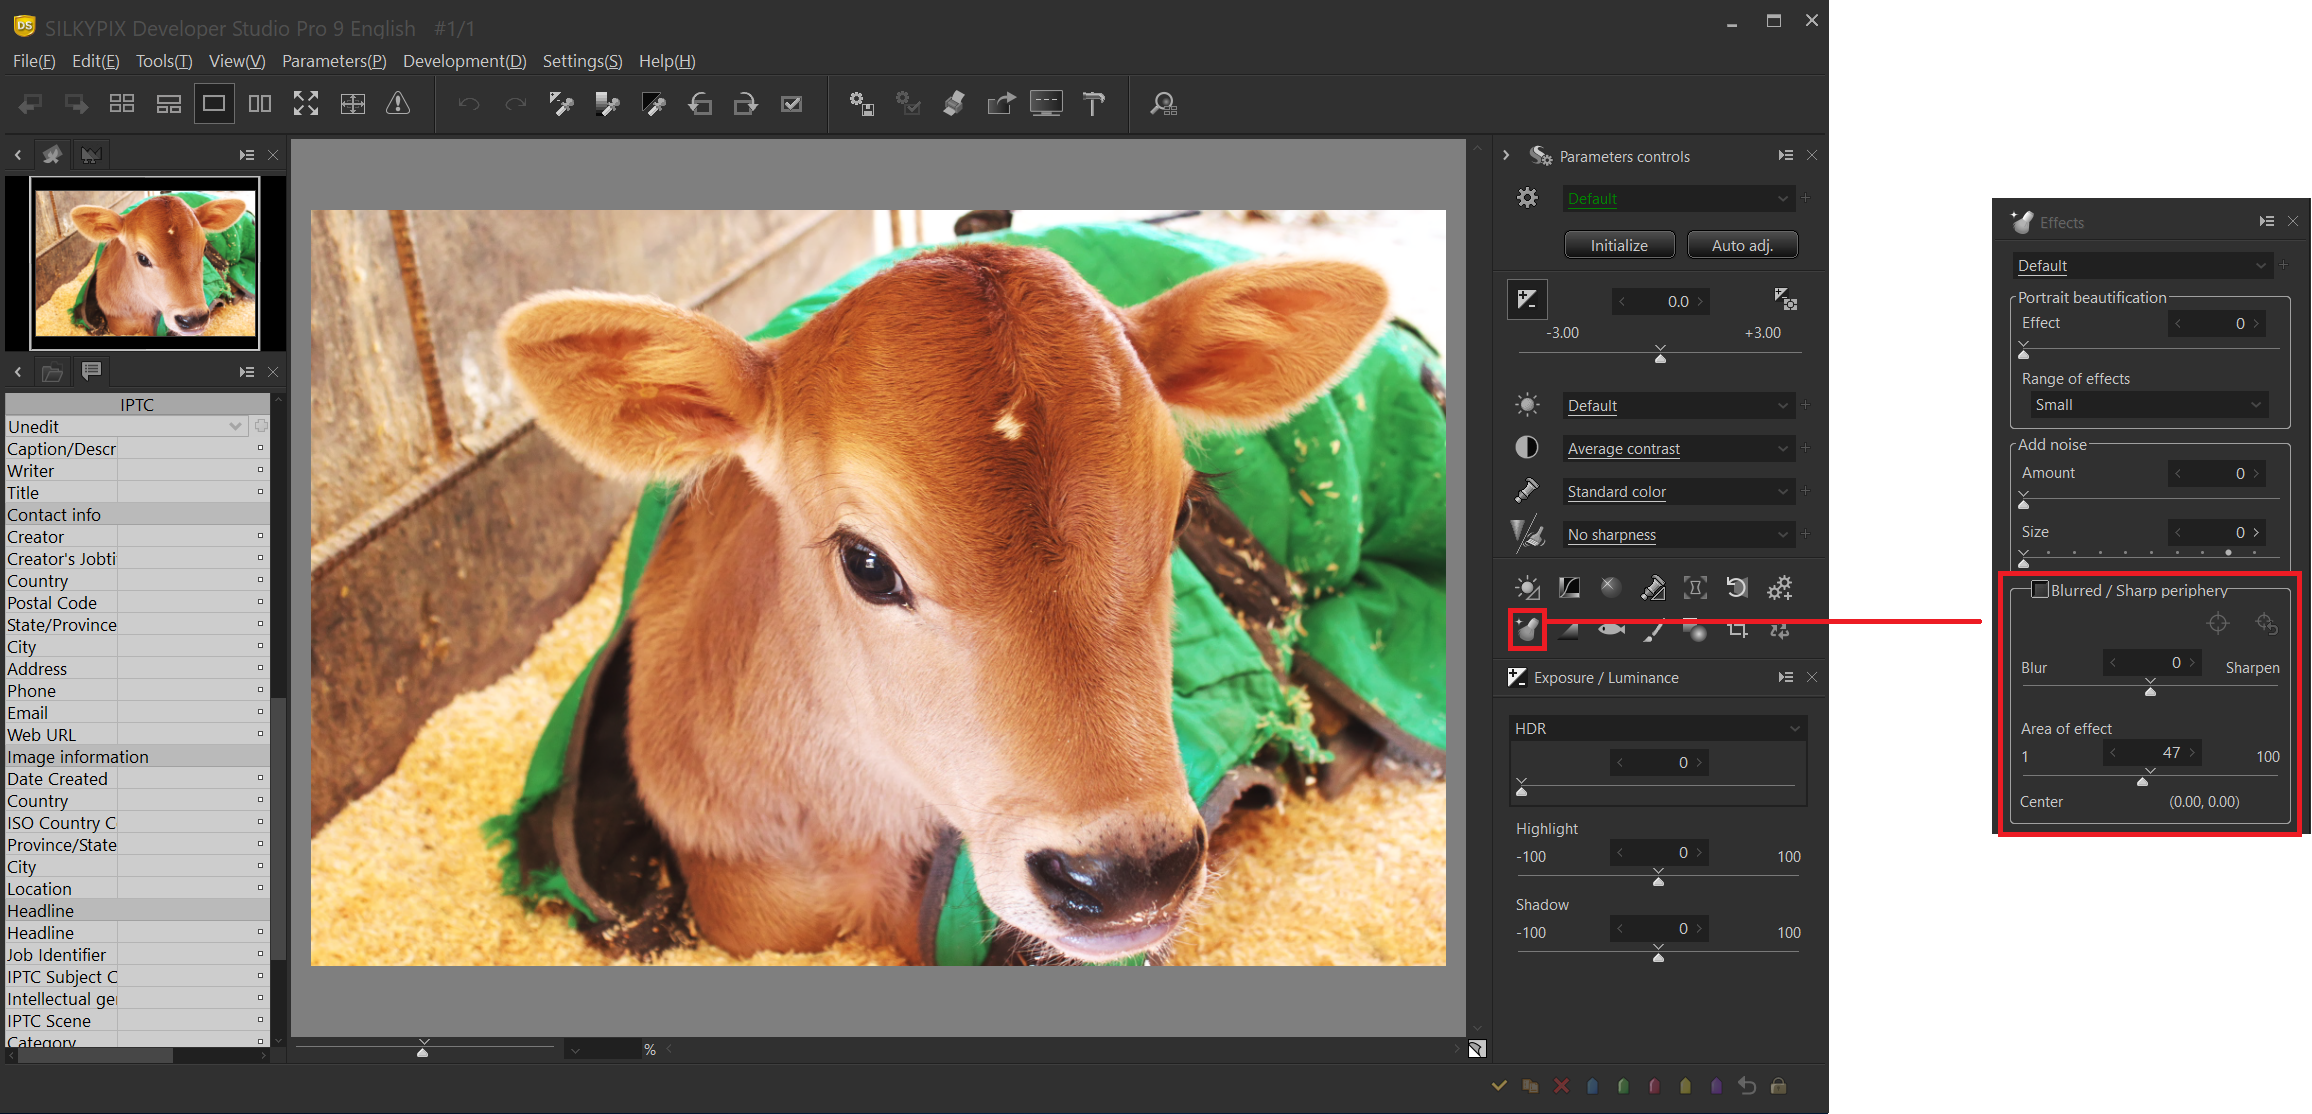
The Blurred/sharp periphery parameters are located inside the Effect controls of the sub-control icons.
Blurred/sharp periphery slider

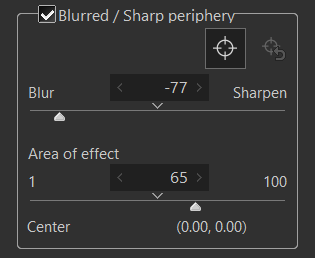
Adjusts the intensity of the blur or sharp. Move the slider to the left to blur the periphery area. You can adjust the sharpness by moving it to the right.
Area of effect

Set the area of the blurring or sharpening effect. Smaller values will only apply the effect farther away from the center. Larger values will apply the effect closer toward the center.
Tool for the center of the blurred / sharp periphery
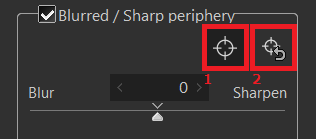
You can specify the center of the effect on the preview screen by clicking the center of the blurred / sharp periphery tool button in 1. To return to the default setting (center of the image), press the [Reset the center of the Blurred/sharp periphery] button in 2.
Blurred periphery
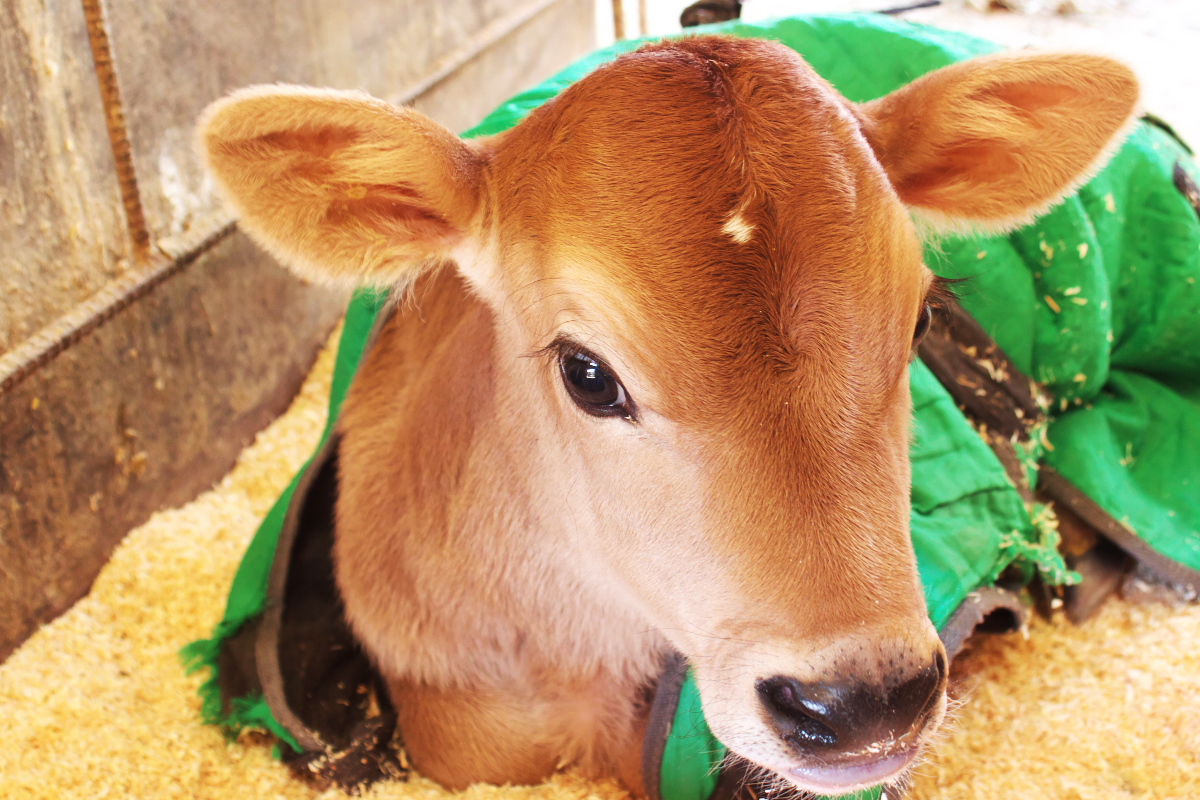
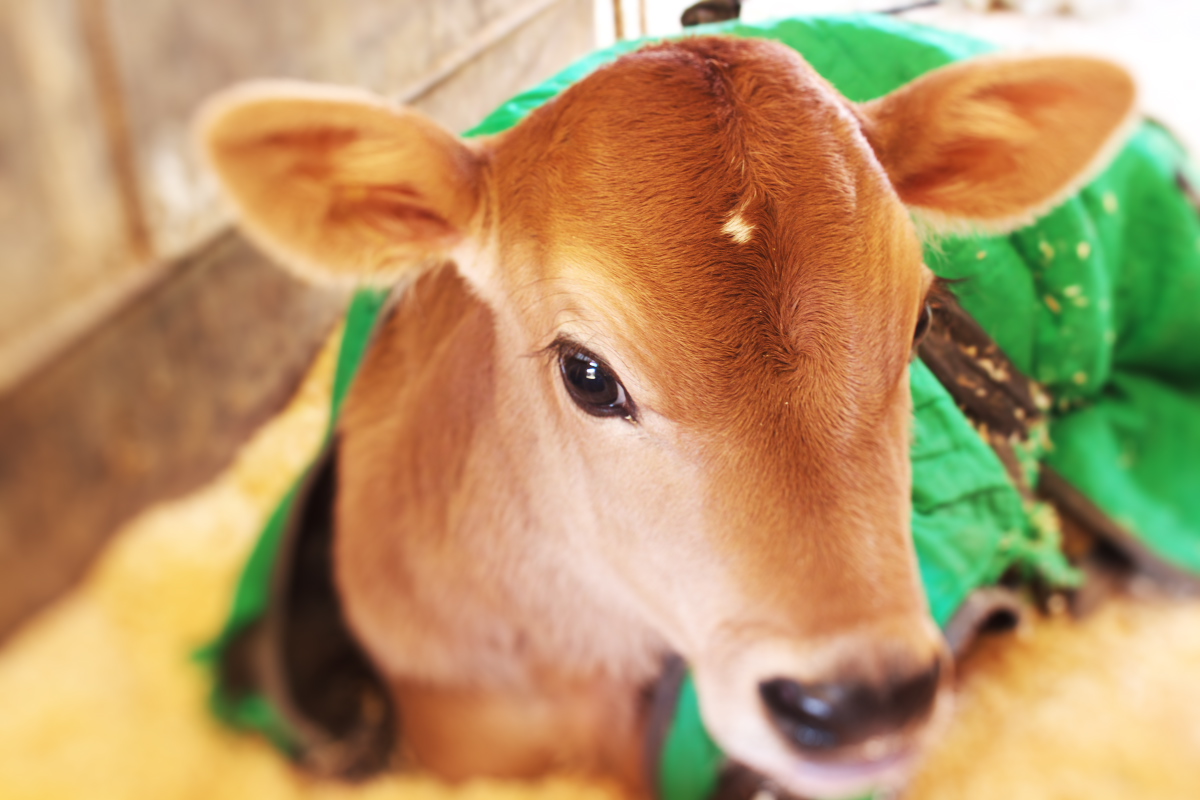
A calf that has just been born. The beautiful eyes were impressive. I want to blur the background and emphasize the eyes.

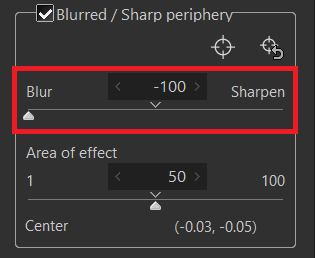
The Blurred/sharp periphery sliders sets the amount of blur. By adjusting to the “blur” side, the more you get to the four corners of the screen, the bigger the blur. This time, the blur is strongly applied to the image as if it were taken with a wide-angle lens.
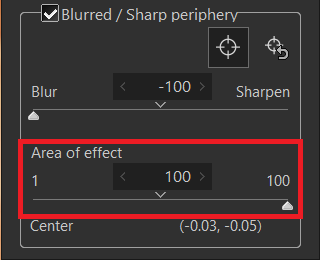
Effect range slider lets you adjust the range of the blur. Larger values will apply the effect closer toward the center. Smaller values will only apply the effect farther away from the center. A high setting is used here to achieve a shallow depth-of-field effect.
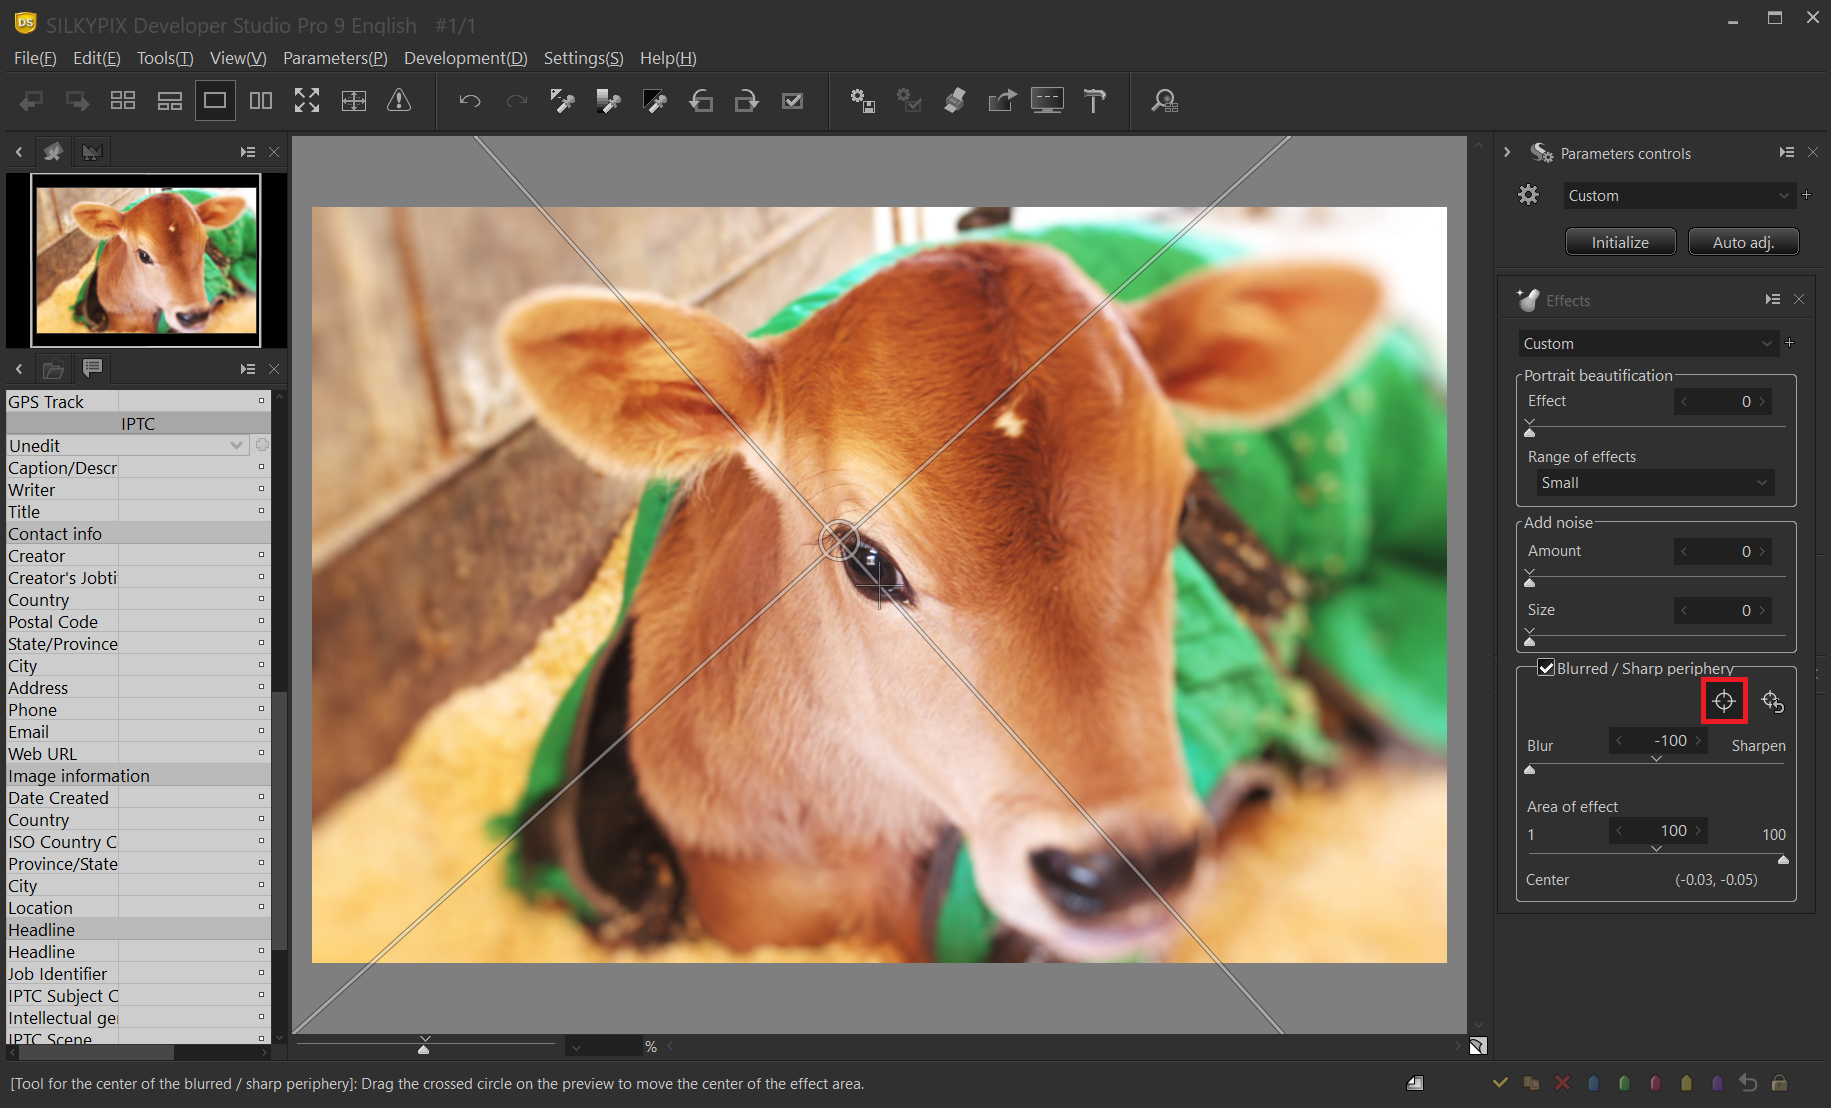
Use the center of the blurred/sharp periphery tool to move the center of the blur to the point of the pupil. Click the center of the blurred/sharp periphery tool to display a guide on the preview screen. Drag the guide to move it to determine the center of the blur. Use it as if to determine the focus position.
Example

Because it is in pan focus, the background is clear and the subject is not clear on the screen.

Used Blurred periphery to emphasize the subject.
Sharp periphery
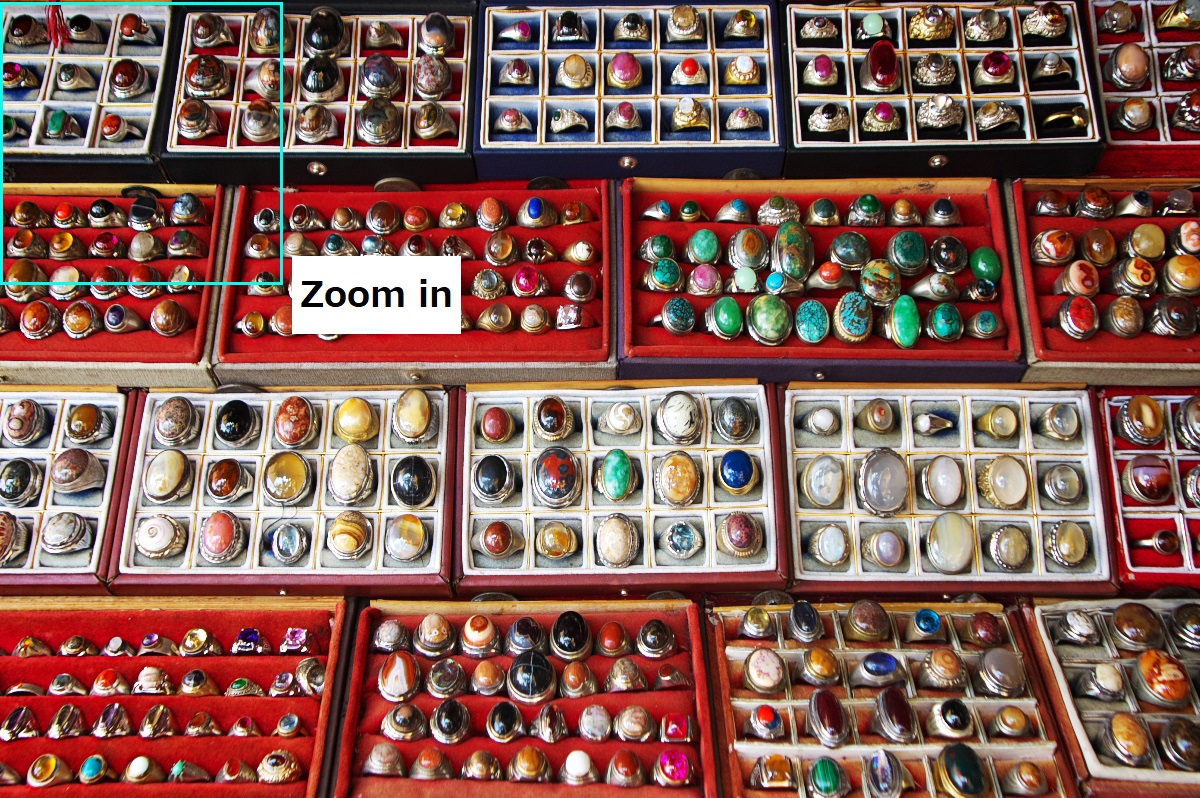
In the center of the screen, the image may appear blurred as it reaches the four corners, even if it is in focus. This is often seen in a wide-angle lens and large-aperture lens. It is noticeable because the resolution at the periphery of the screen is lower than at the center.

The Sharp periphery adjusts the sharpness of this perimeter to restore resolution.
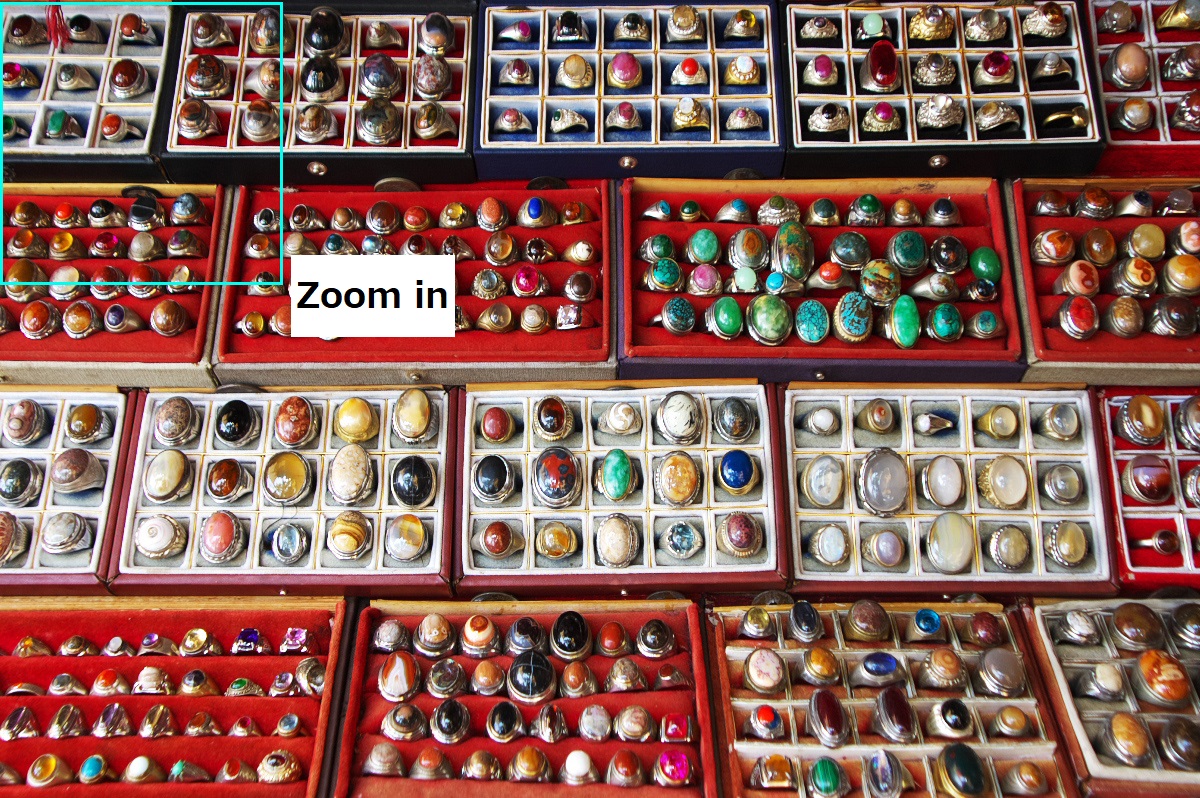
Details cannot be checked when the preview screen is full-screen and the image is reduced. Enlarge the preview screen to 100% and adjust the Sharp periphery.

Move the Blurred/sharp periphery slider toward sharp to increase or decrease the intensity of the sharp. Effect range slider lets you adjust the sharpening range. Larger values will apply the effect closer toward the center.
Example

The contrast of the area around the screen is reduced, making it look blurred. This is often the case with wide-angle lens in the open.

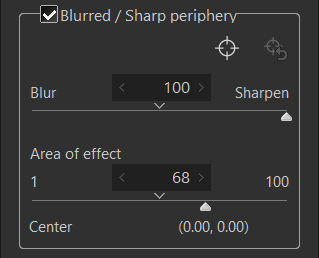
I set the Sharp periphery strongly and restore contrast and resolution of peripheral part.
Please try it out with your images!
You can download a free 30 days trial and try it out.

