 SILKYPIX Shot - RAW/JPEG Camera
Getting Started with SILKYPIX
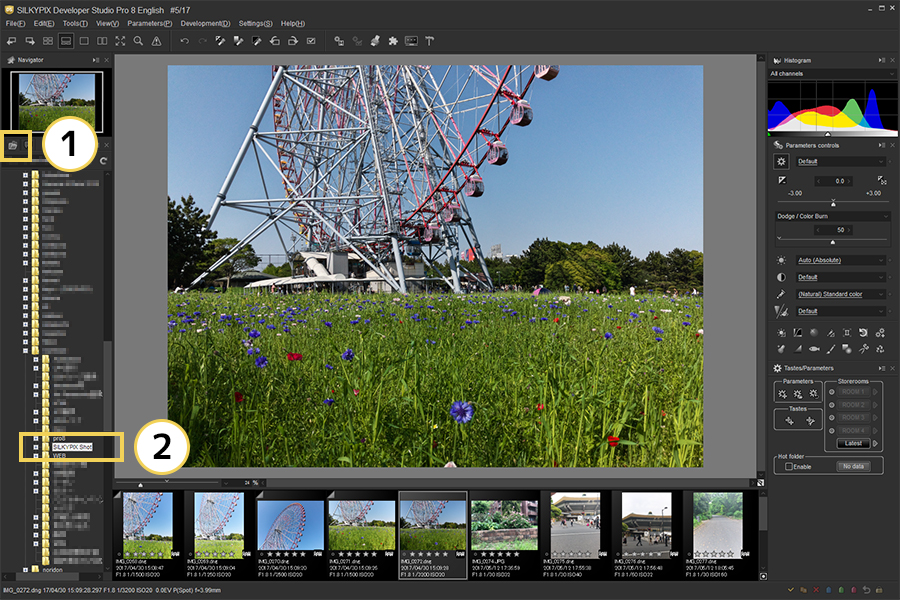
Open a RAW file
- Click the Folder to display the folder list.
- If you select a folder containing images imported from an iPhone, SILKYPIX displays a preview in the center of the screen and a list of thumbnails.
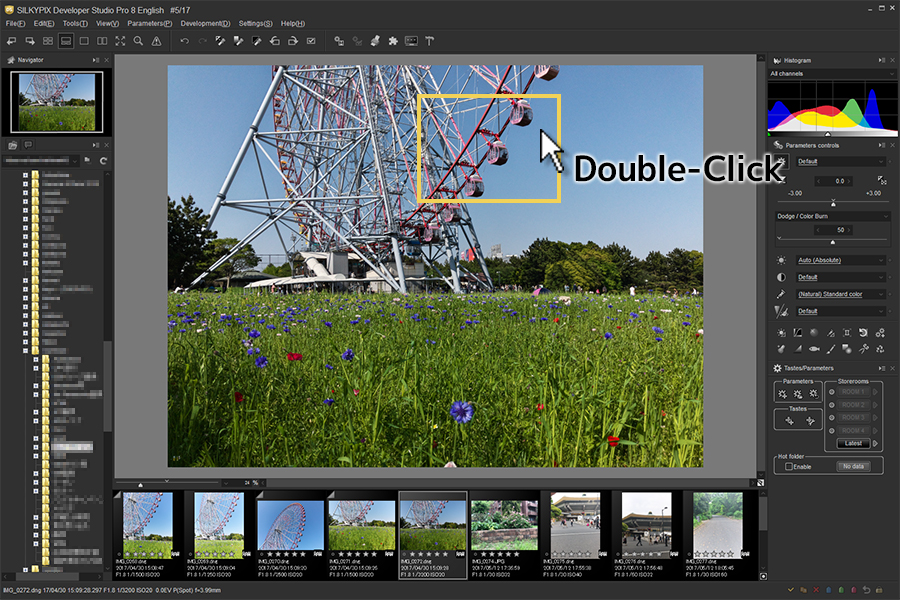
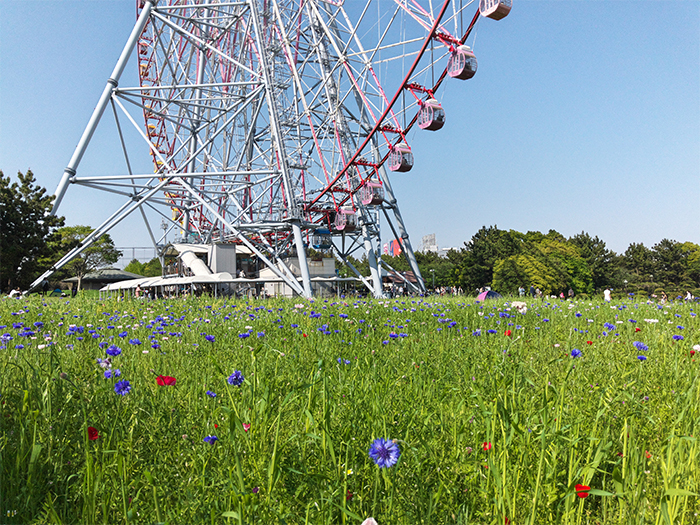
Zoom to check the details of the photo (Check focus position and blur)
- In the Preview, locate the area you want to check, then double-click the location. The area you want to check enlarges to fill 100% of the Preview area.
- Within the Preview, click-drag with the mouse, or from within the Navigator, click-drag. The Preview updates to display the area of the photo.
- Anywhere within the Preview, double-click to return to full view.
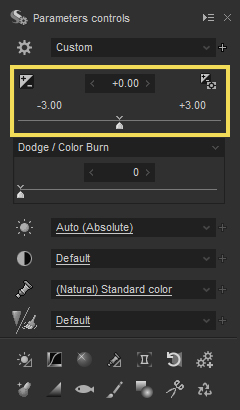
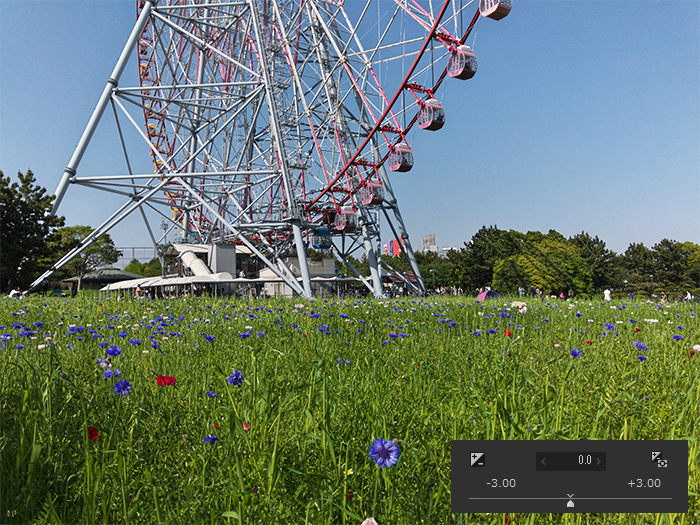
Adjust the exposure of your photo
You can make global adjustments to the overall brightness of the photo.
- Locate the Exposure Bias Slider.
- Drag the slider to the left or right to apply global adjustments.
The Preview updates as you move the slider. Stop sliding when you achieve the result you want.
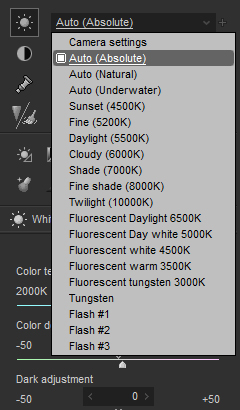
Adjust the White Balance of your photo
You can improve the color tone of the entire photo by adjusting white balance.
- From the White Balance settings, from the Taste List, select a light source.
- If you want to fine tune the result, use the Color Temperature slider and Color Deflection slider.
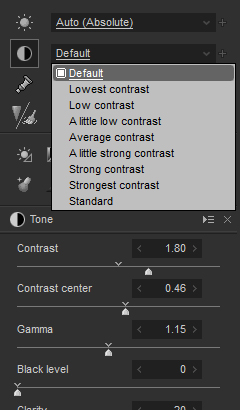
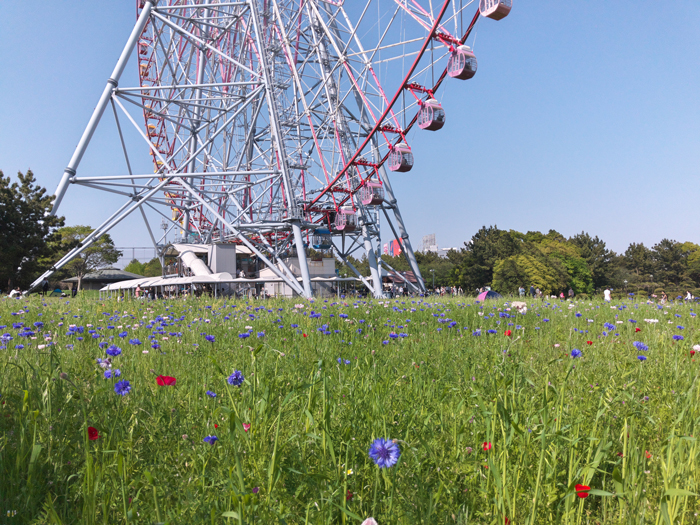
Adjust the contrast of your photo
You can modify the intensity of the contrast within your photo.
- From the Contrast control, locate the Taste list and select an option for your photo.
- If you want to fine tune the result, use the Contrast slider to make adjustments.
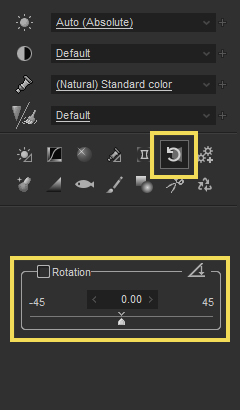
Correct the orientation of the photo
If your camera was tilted a little, you can correct it using the Rotation / Lens Shift Effect..
- Select the rotation tool and slide the rotation slider to correct the tilt.
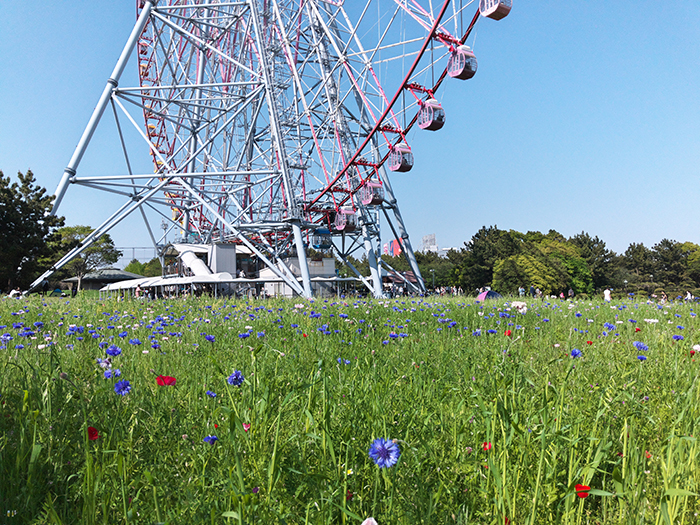
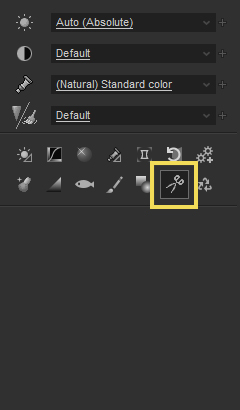
Crop your photo
Crop your photos to change the composition or match the aspect ratio of the paper you will use to print your photo.
- Click the Crop tool (scissors).
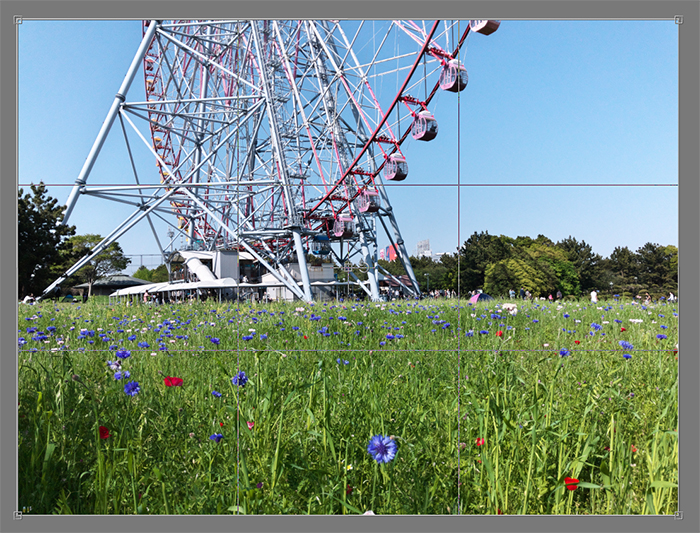
- Drag the clipping handle displayed in the preview to determine the composition and aspect ratio.
- Click the Crop tool again to finalize the photo crop.
(You can always adjust again by selecting the Crop tool again)
Caution: SILKYPIX always stores the adjustments to photos automatically in a separate file. It is not necessary to save the file even if you want to finish the adjustment during work. The next time you open the file, you can continue your work of the previous session.
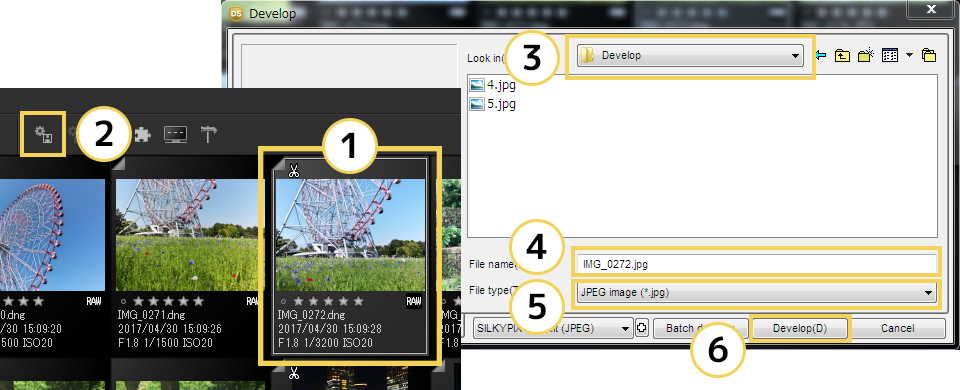
Convert to JPEG/TIFF (Develop)
When you complete all of the adjustments you want to make to your photo, you can convert the adjusted RAW data to JPEG or TIFF. In SILKYPIX parlance, we call this developing your photo.
- Select the photo you want to develop from the thumbnail display.
- Click the Develop tool
- Specify the file save location.
- Enter the file name.
- From the file format option, select JPEG or TIFF.
- Click the "Develop" button to export your final image.
Caution: SILKYPIX save JPEG and TIFF as a separate file from the original image (RAW data) when "Develop" is executed.
Take RAW image by SILKYPIX Shot,
develop it with SILKYPIX Developer Studio!

SILKYPIX is "RAW development software" that generates a high-resolution picture from the RAW data of a digital camera and offers accurate color from shadows through to highlights. This is pure made in Japan software. SILKYPIX corresponds to more than 600 different models digital camera and are supported from professional photographers and shutter bugs. SILKYPIX is selected as digital camera manufacturers’ standard bundled software over the world. Since 2004 when we released "SILKYPIX series", we are always pursuing "High Quality Image" and SILKYPIX can represent it to customers.
Go to SILKYPIX Web site* SILKYPIX Developer Studio is only available for PC/Mac.