This topics introduce you to the feature “Partial correction tool” in SILKYPIX Developer Studio Pro9!
In SILKYPIX Developer Studio Pro9, the Partial correction tool, a feature that corrects a specified portion of a image, is useful function. We introduce “Circular correction filter”, “Gradual correction filter”, and “Select area with brush”.
This method is effective when a image contains a “subject composed of curves” or a “subject composed of straight lines”. The point is to see the shape of the subject and use it separately.
Curve/Polygon area selection
Curve area selection
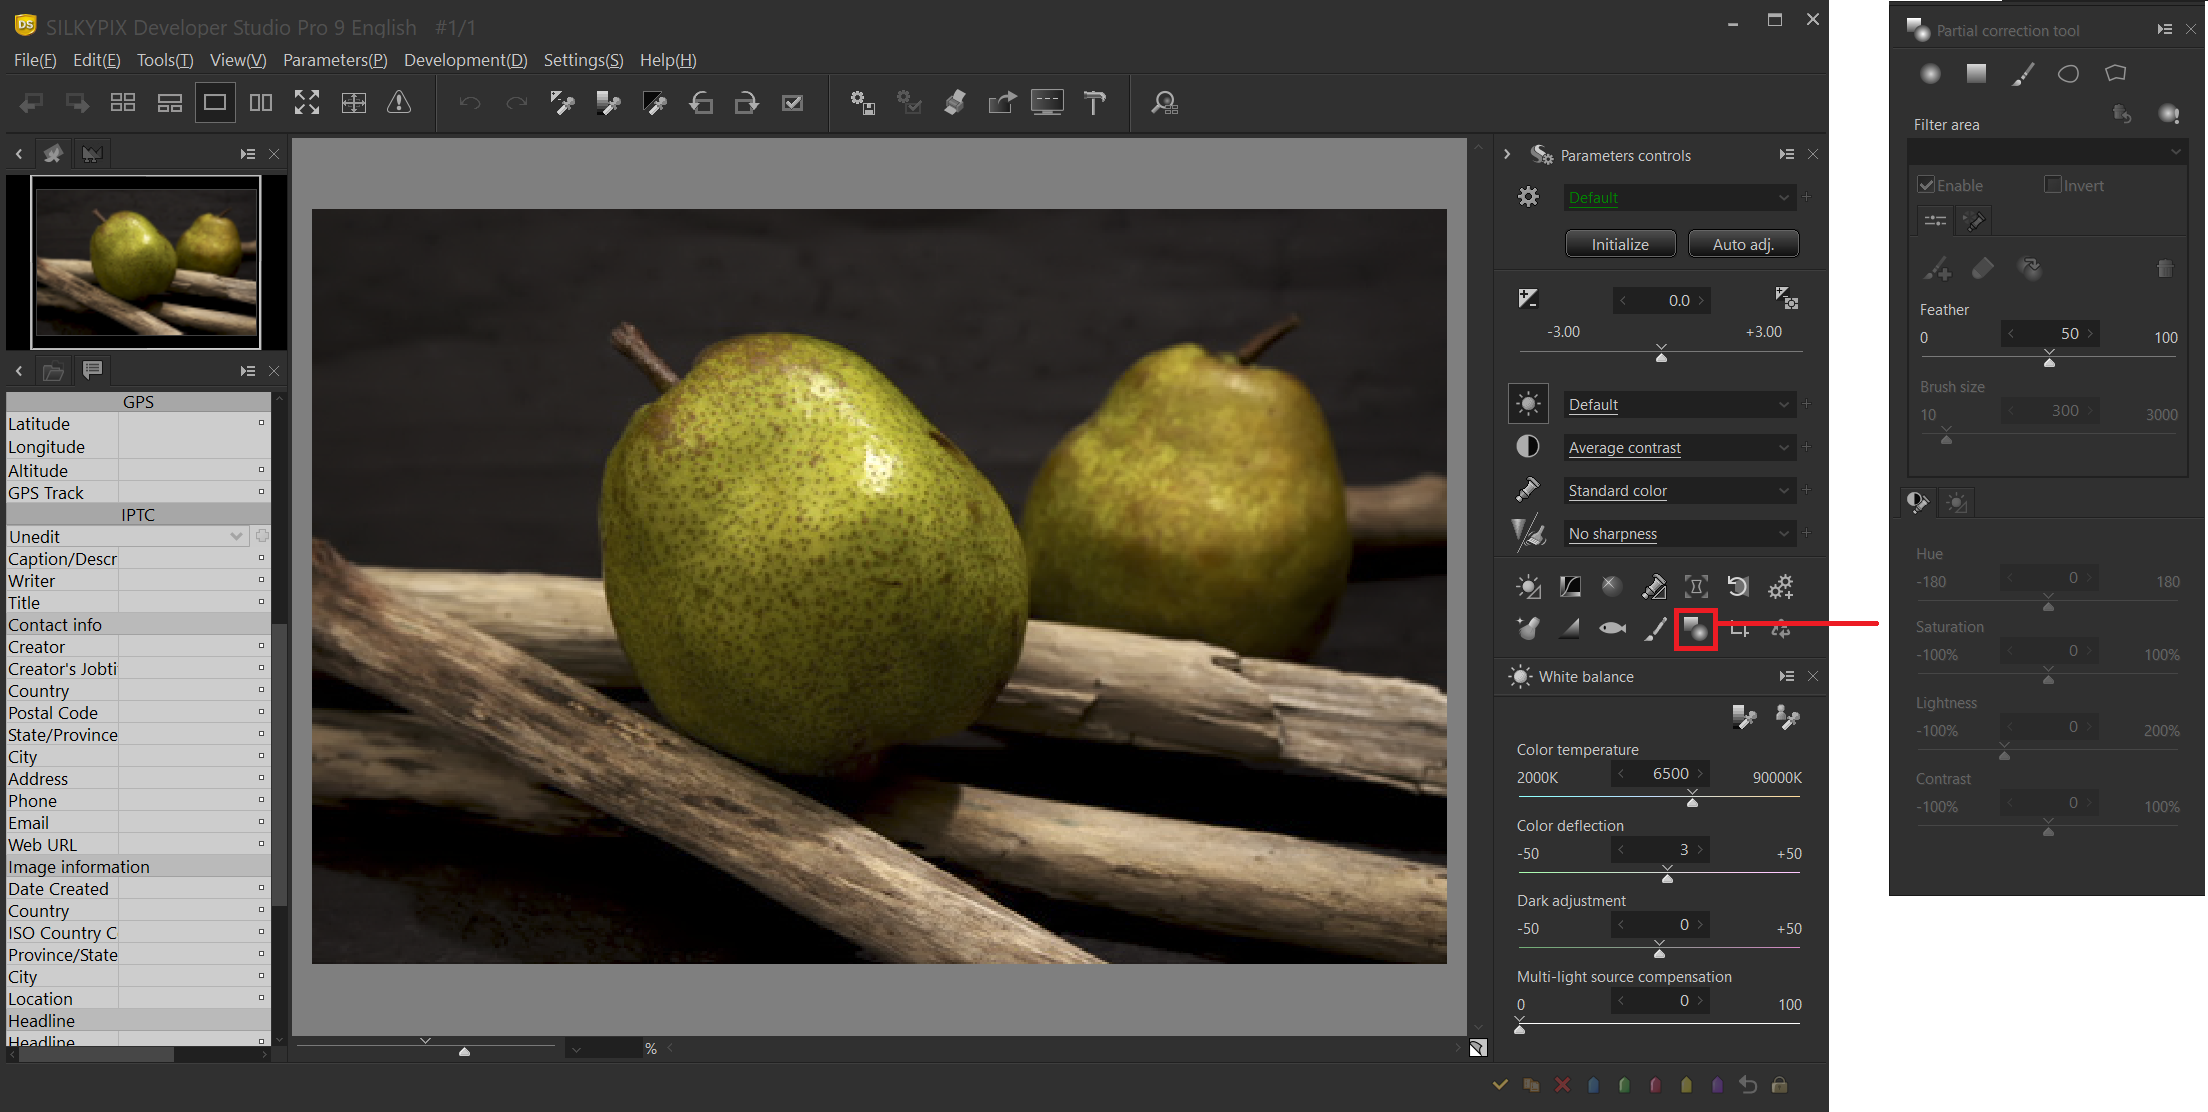
The Partial correction tool is located inside a sub-control icon.
First, we will take a look at how to use curve area selection.
Add curve area
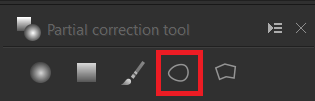
Click add curve area from the Add filter submenu of the partial correction tool.
Specifying the correction area
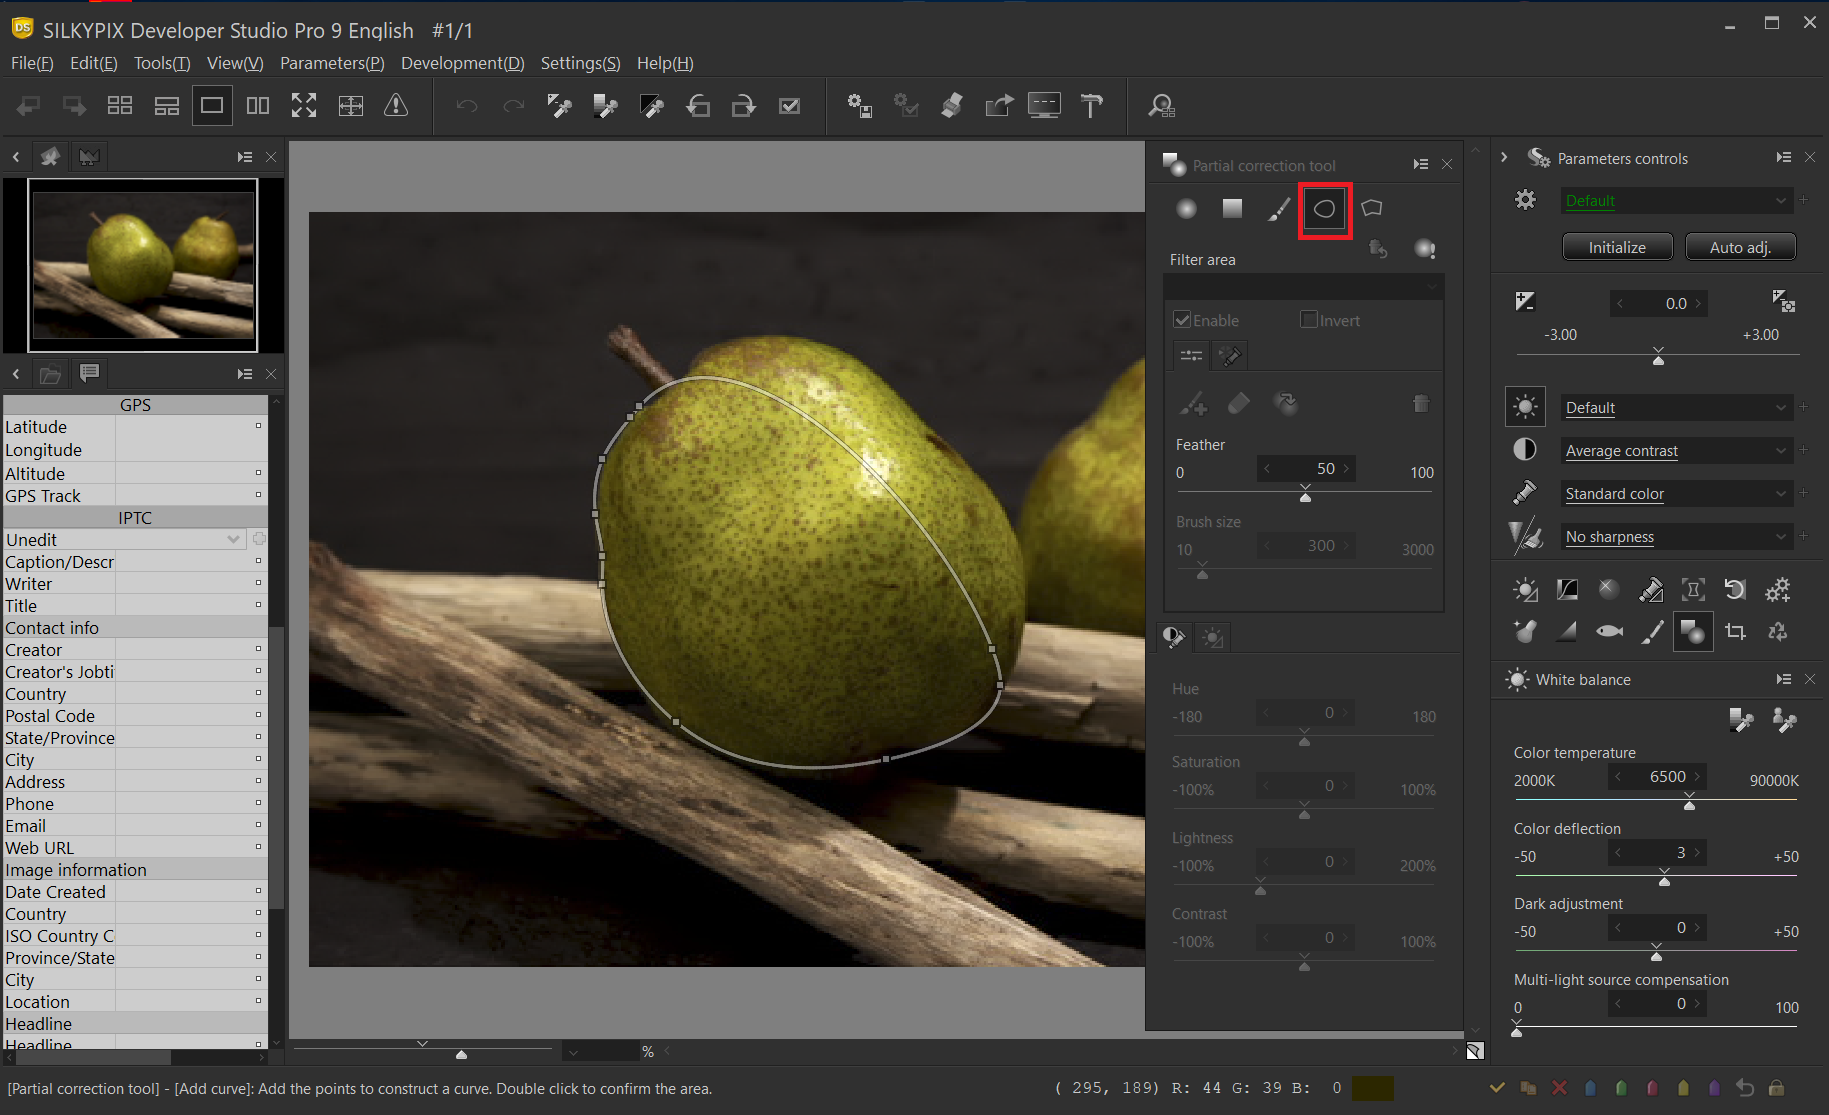
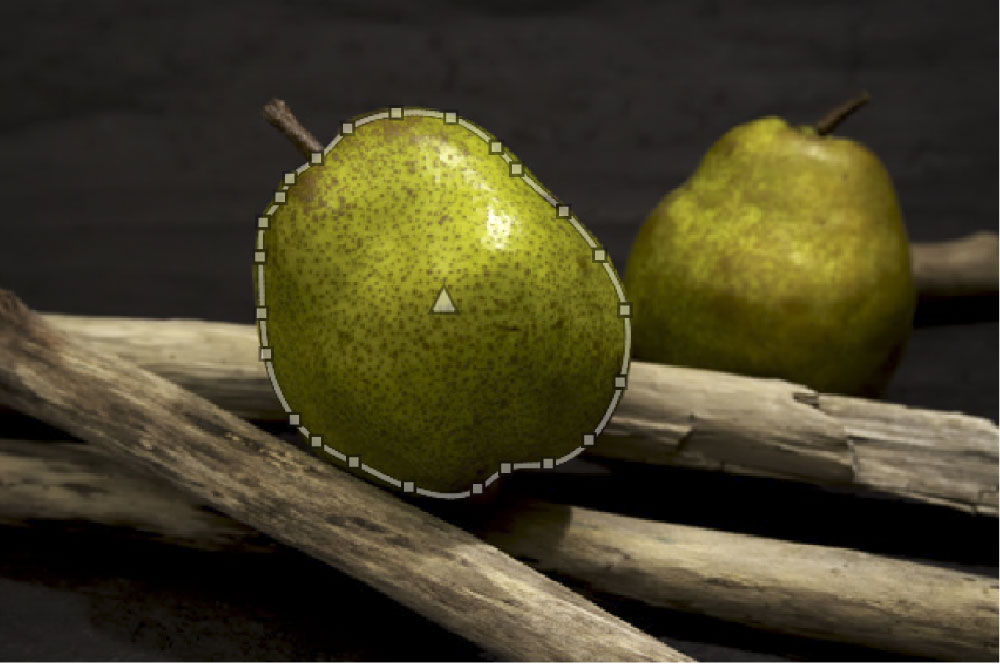
Move the mouse cursor to the outline of the subject you want to specify an area on the preview screen and left-click to specify an area surrounding the subject while adding a configuration point. If a configuration point is added incorrectly, it can be deleted by right-clicking. At this time, the point is to specify a little inside the outline of the subject.
Determining the correction area
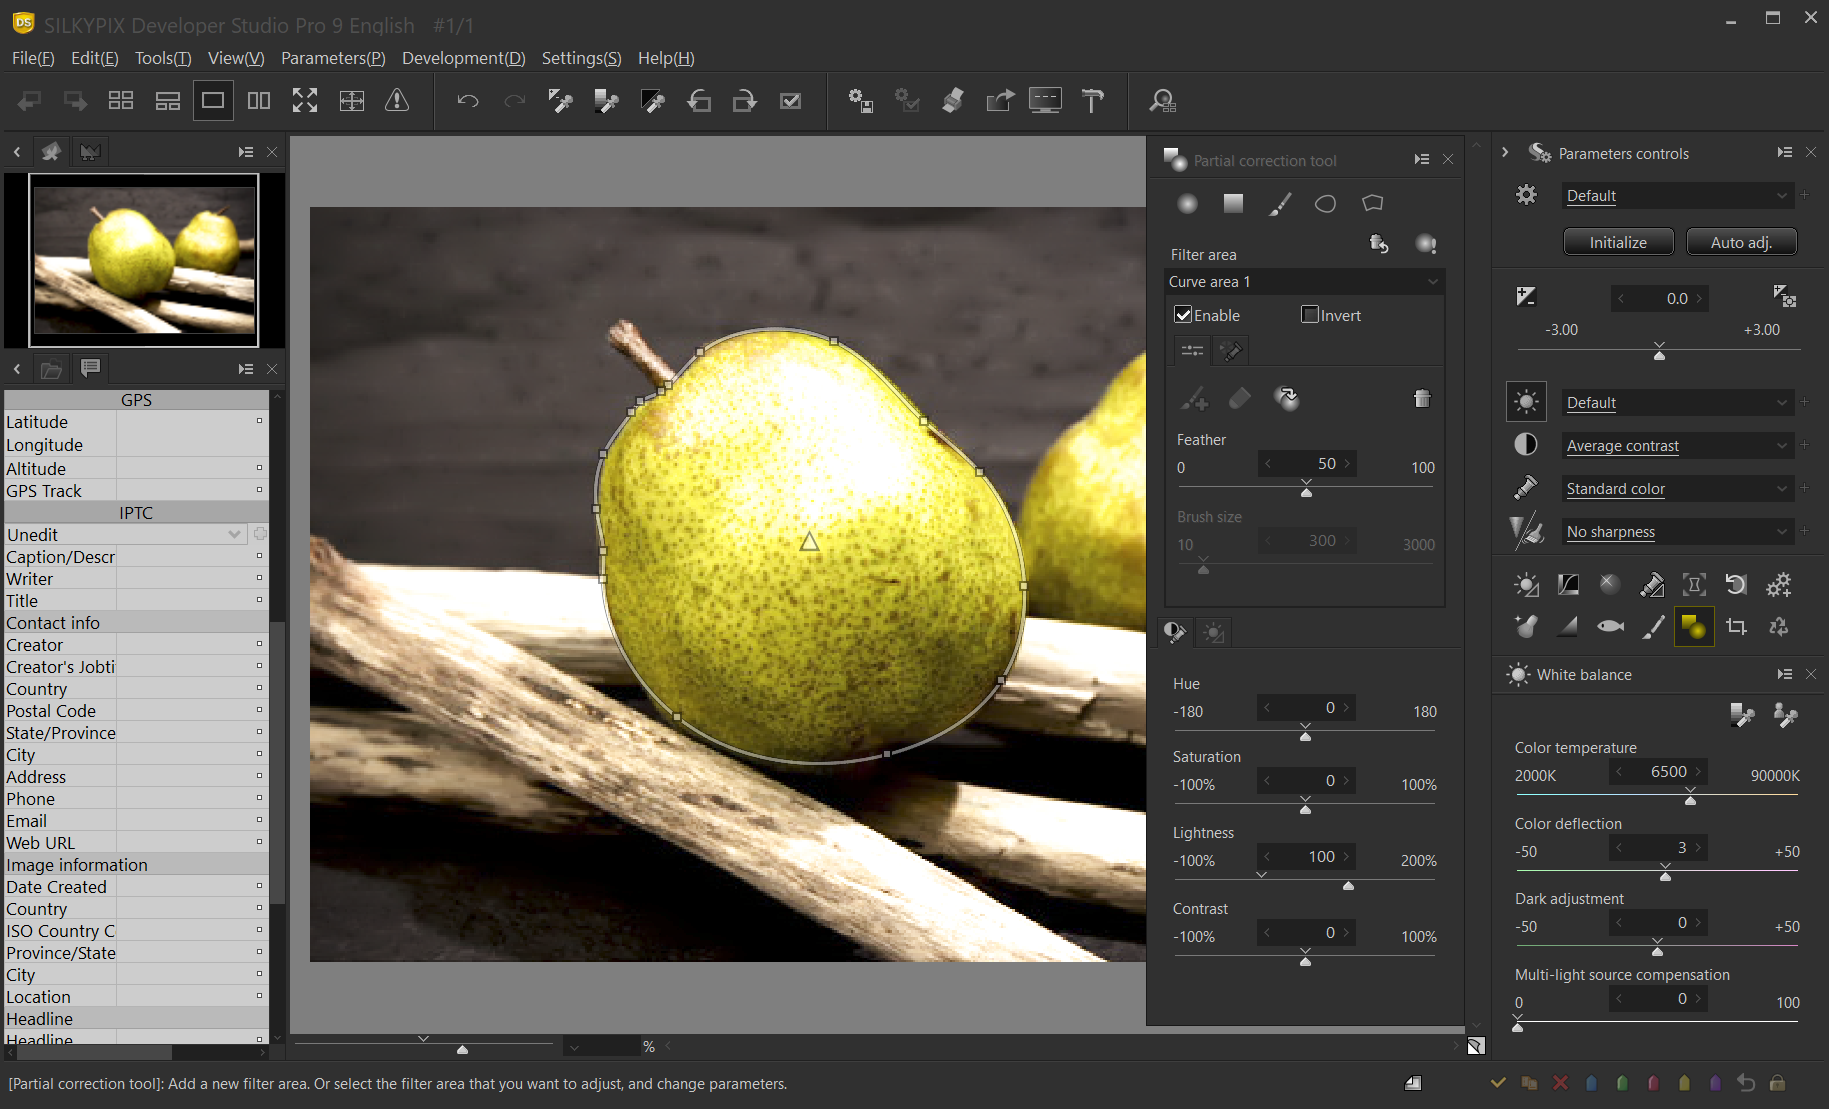
Double-click the area around the subject to complete the area specification and enter the correction mode. When the selection is completed, the brightness of the correction area will be 100. The brightened area is the area to be corrected. In addition, because the “blur amount” of the correction area is set to a large value, the correction area extends beyond the subject.
Setting the blur amount
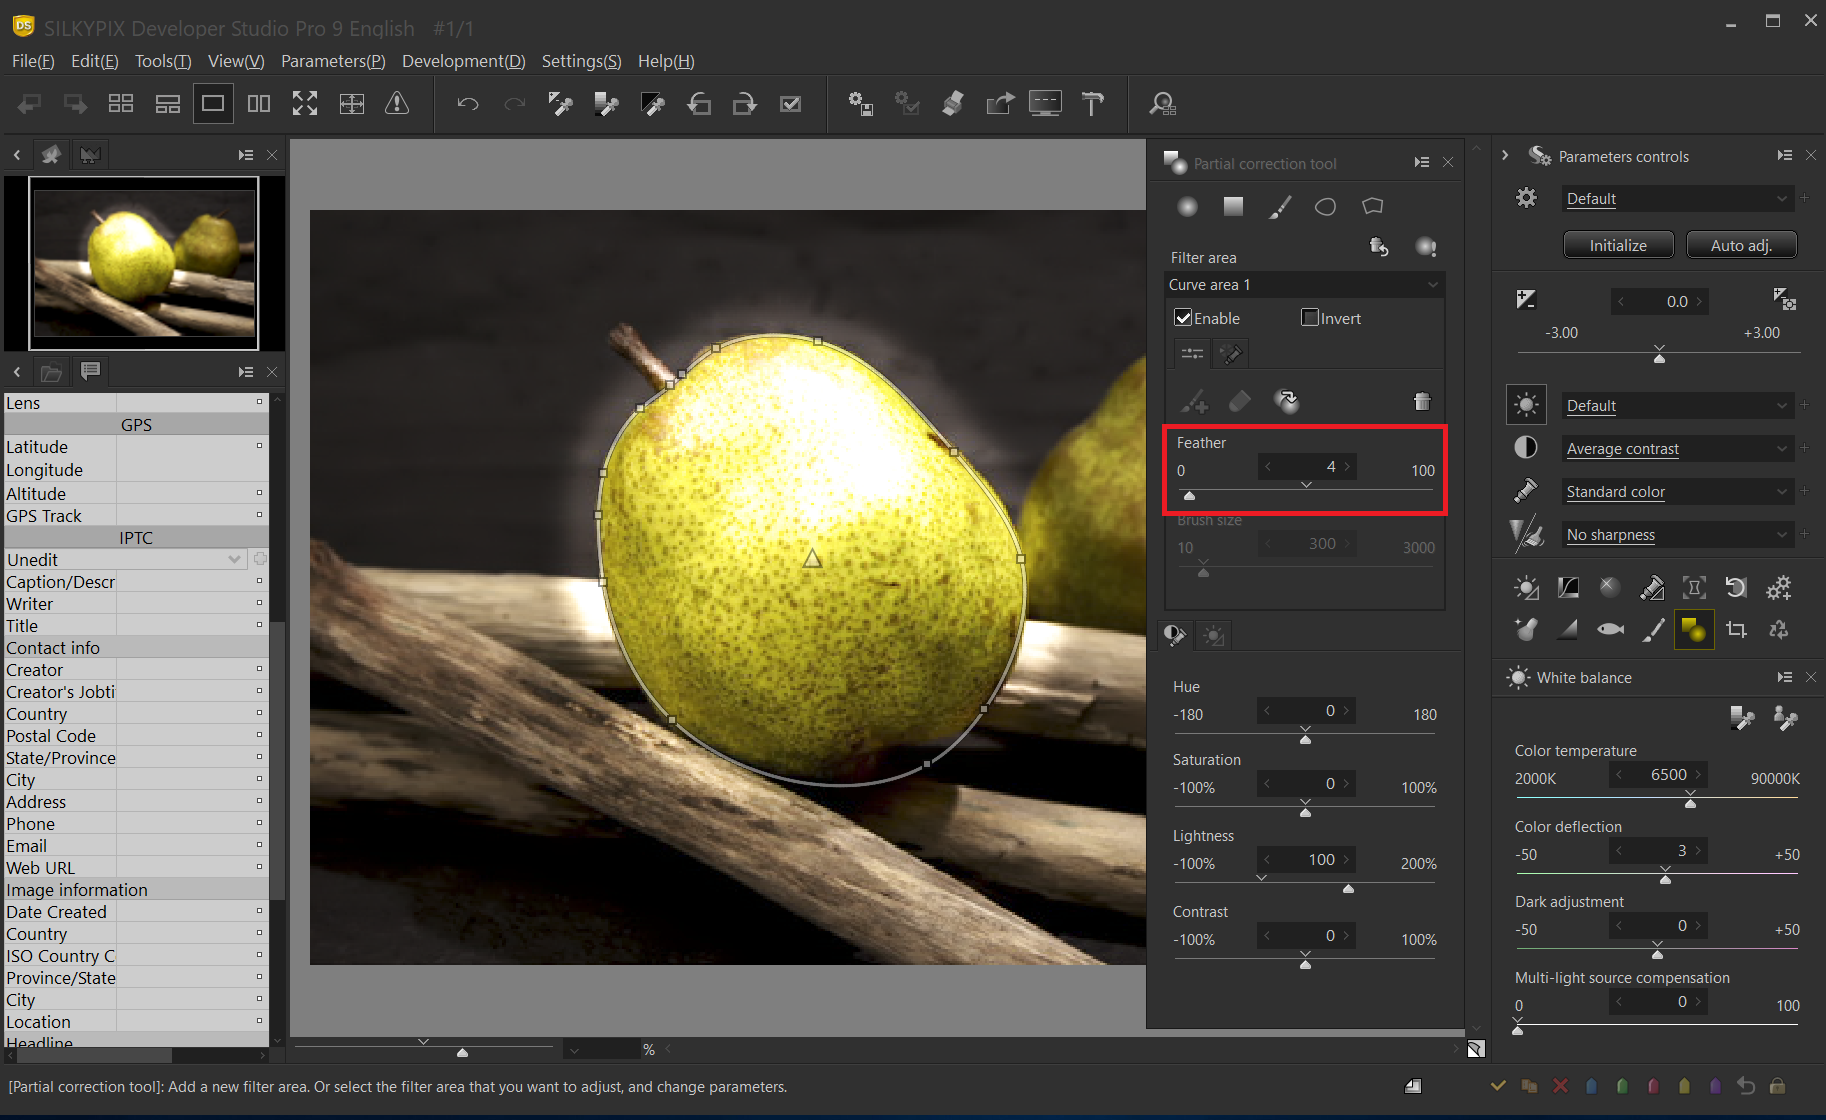
By default, the amount of blur, which is 50, is reduced. As a result, the outline of the correction area becomes clear and the correction outside the specified outline is also reduced.
Setting of correction value
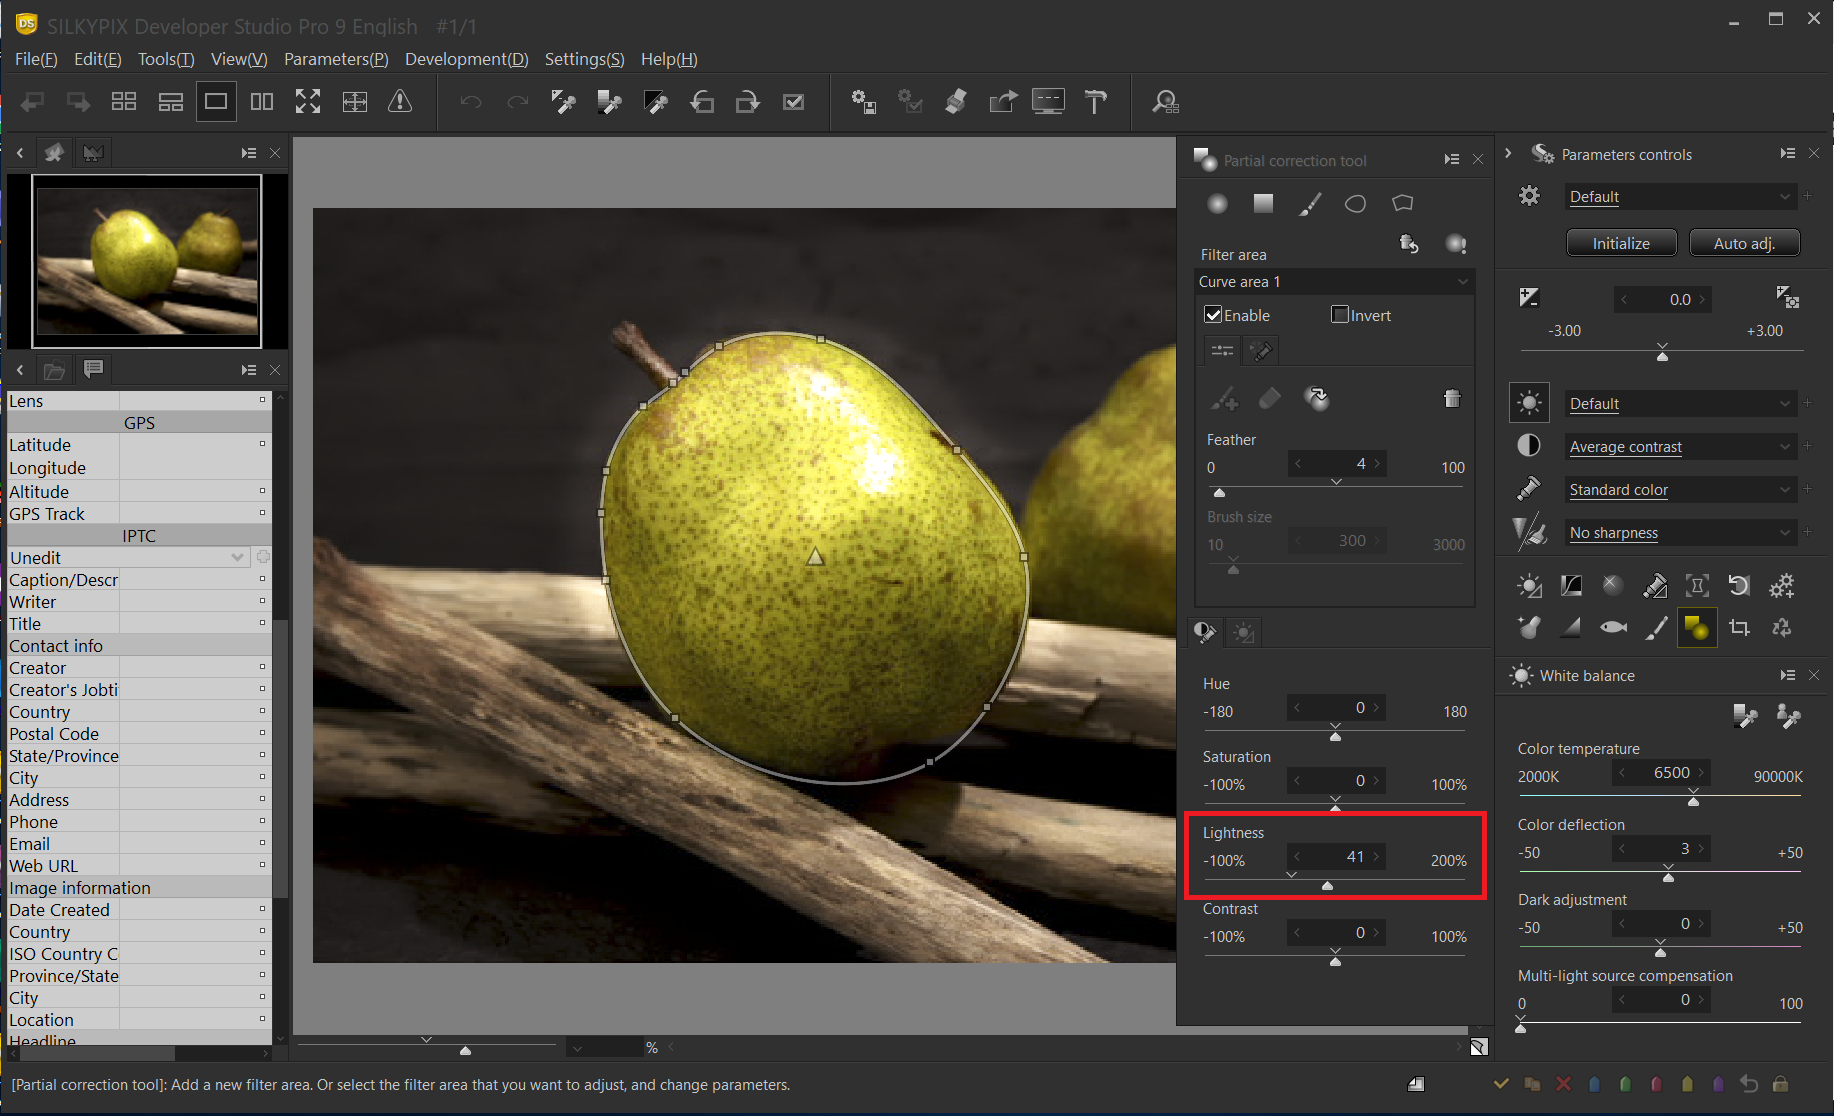
Adjust the correction parameters of the Partial correction tool. In this example, the brightness is increased and adjusted.
Correction area correction
Even after determining the correction area, you can adjust the correction area by dragging and moving the configuration point with the mouse.
Polygon area selection
Add polygon area
Click Add polygon area from the add filter submenu of the Partial correction tool.
Specifying the correction area
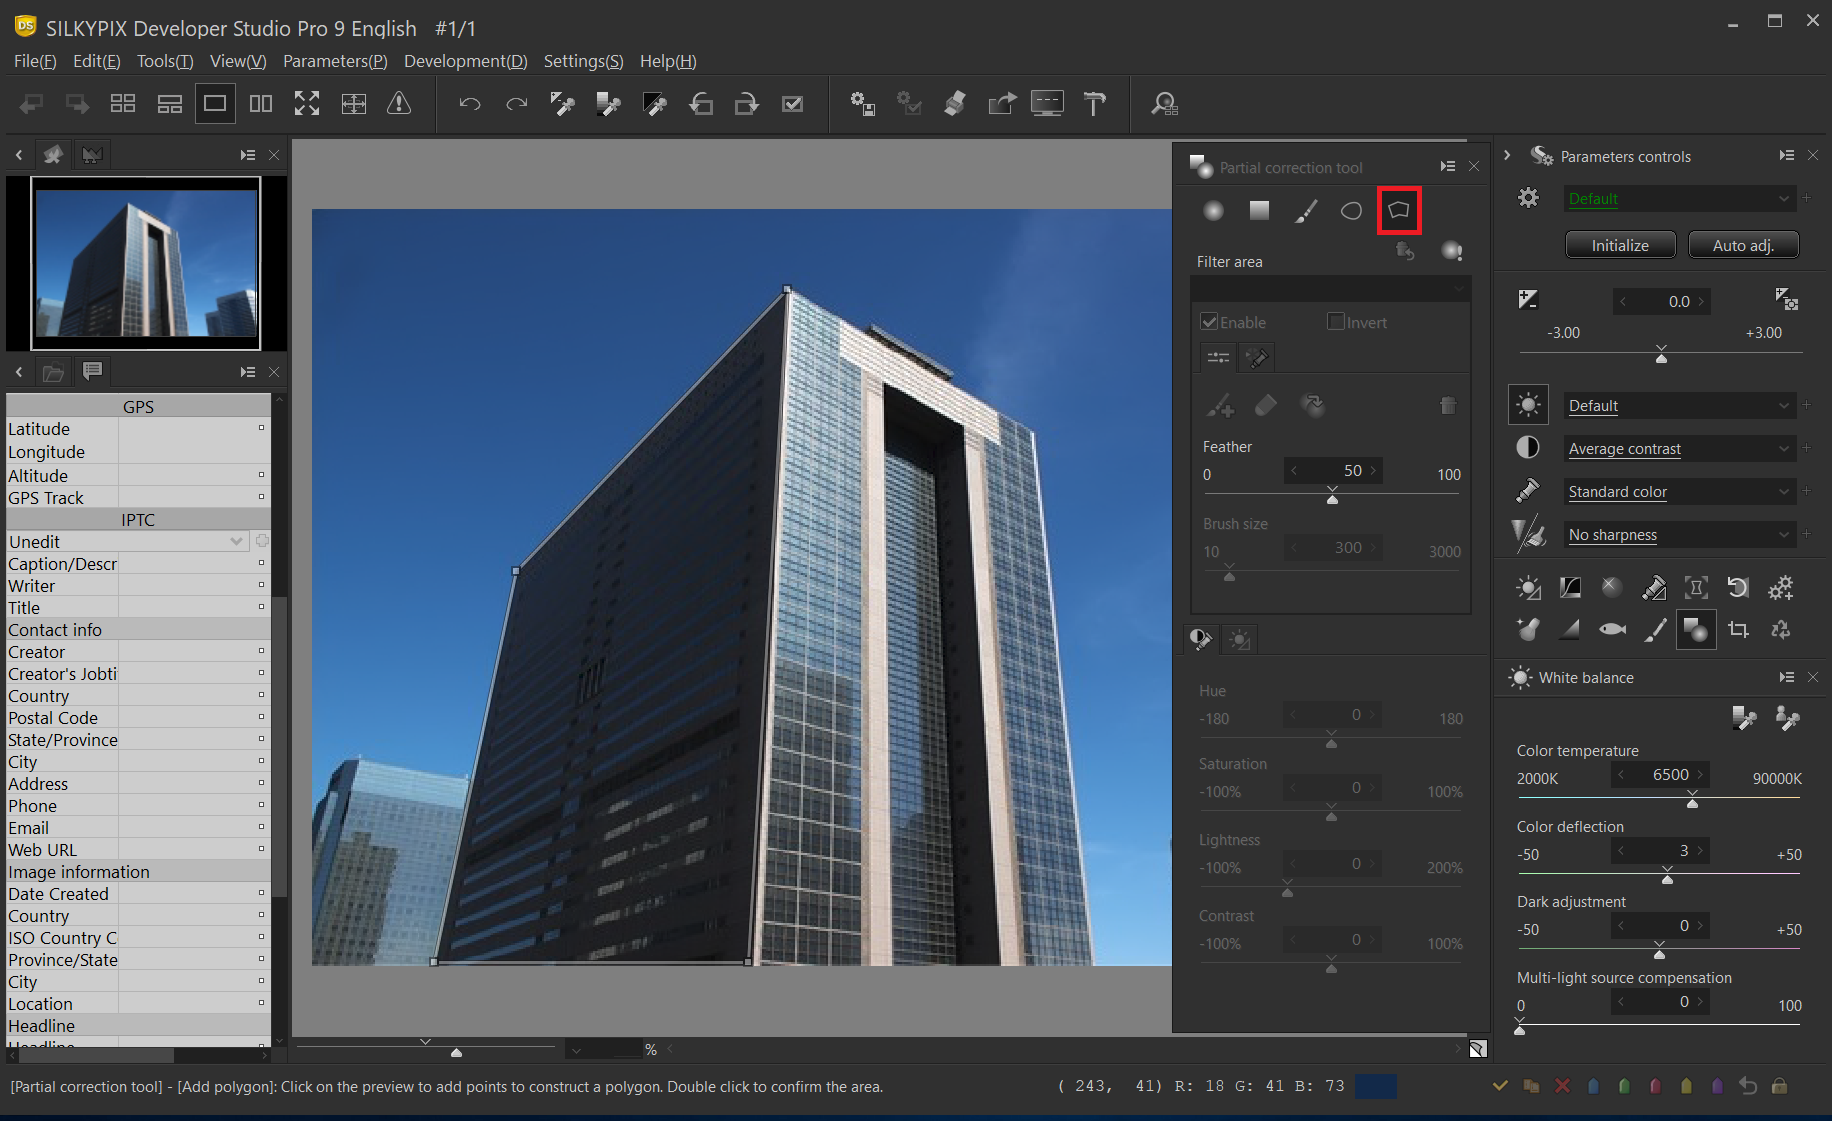
Specify the area so as to enclose the subject while adding the configuration point in the same way as the curve area. In a polygon region, the configuration points are connected by a straight line between the configuration points.
Determining the correction area
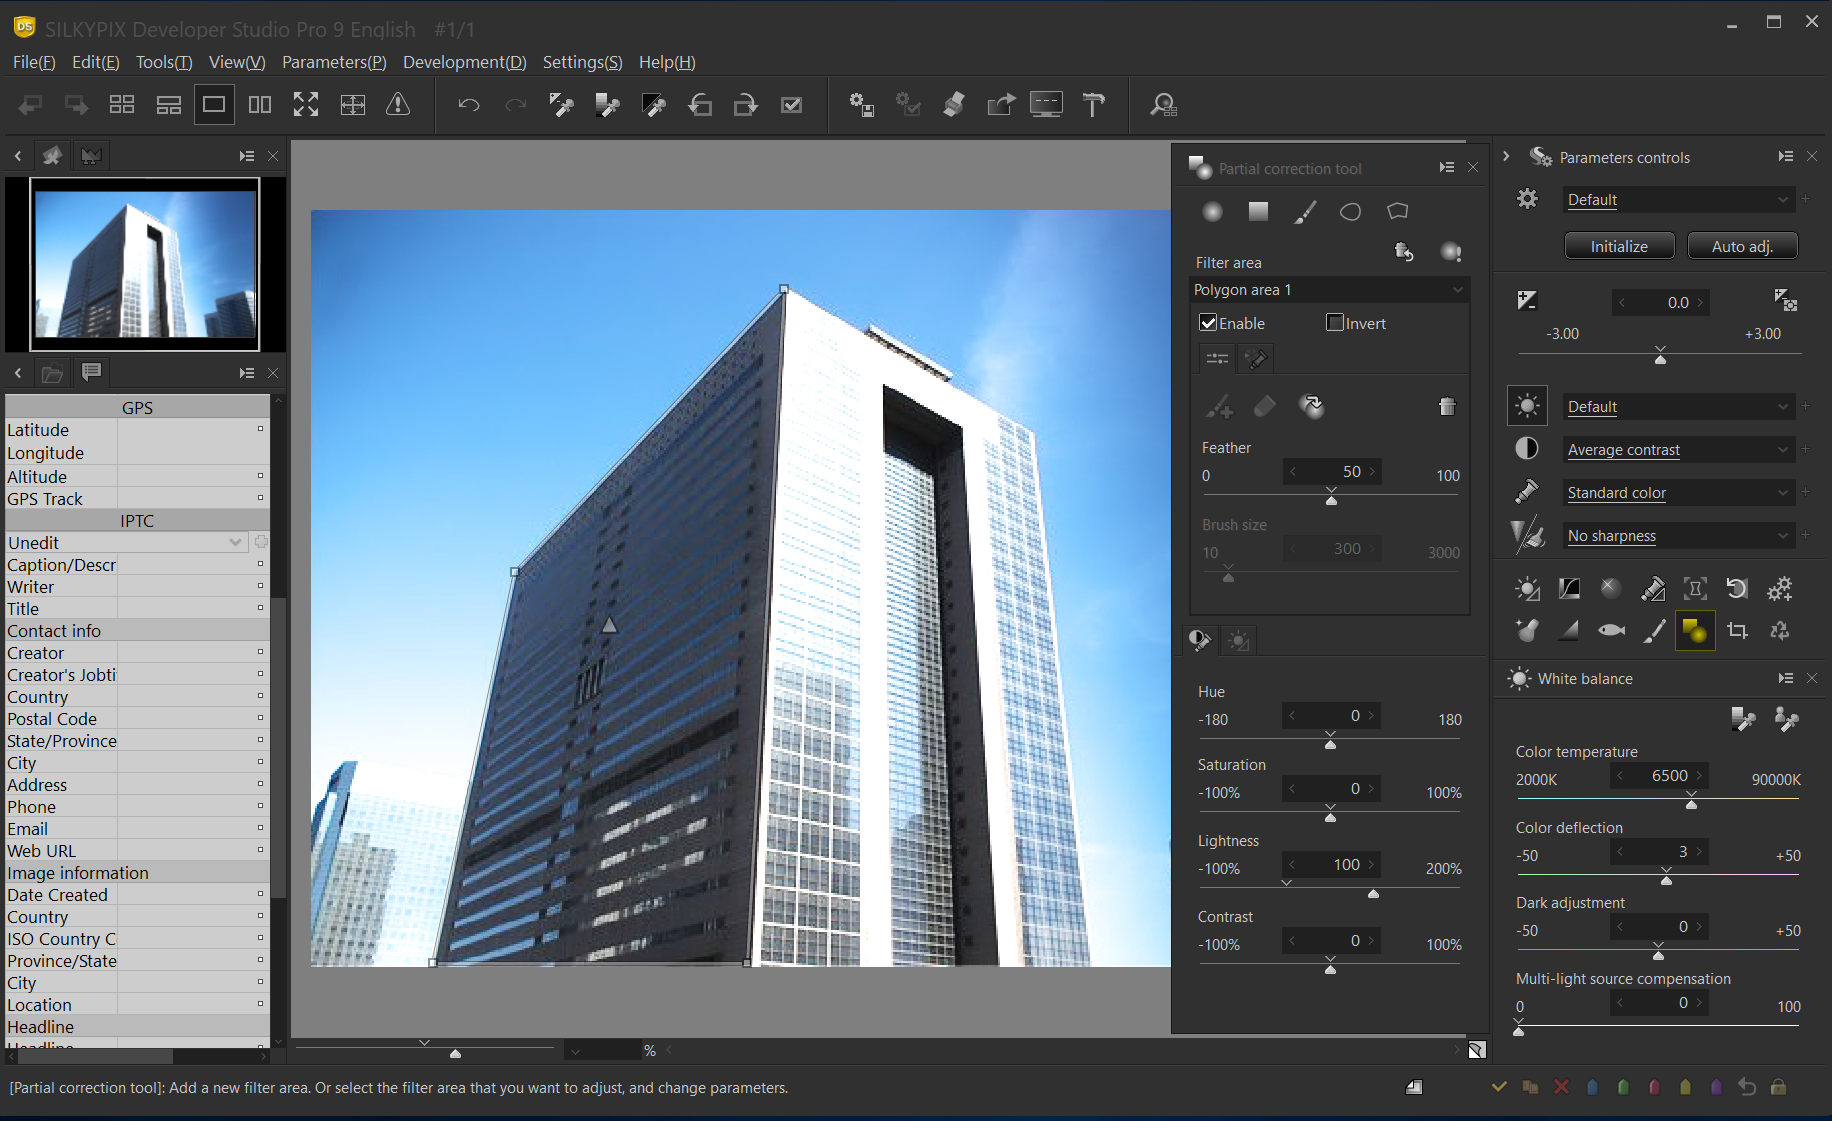
Double-click the area around the subject to complete the area specification and enter the correction mode. After that, use the same procedure as described above in “Add curve area” to set and correct the blur amount.
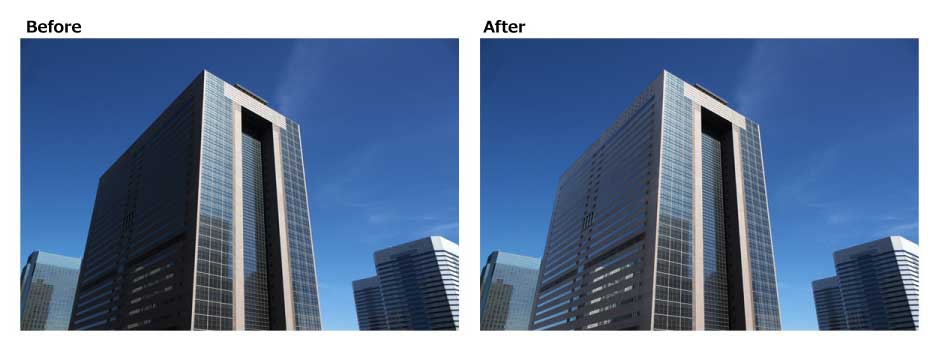
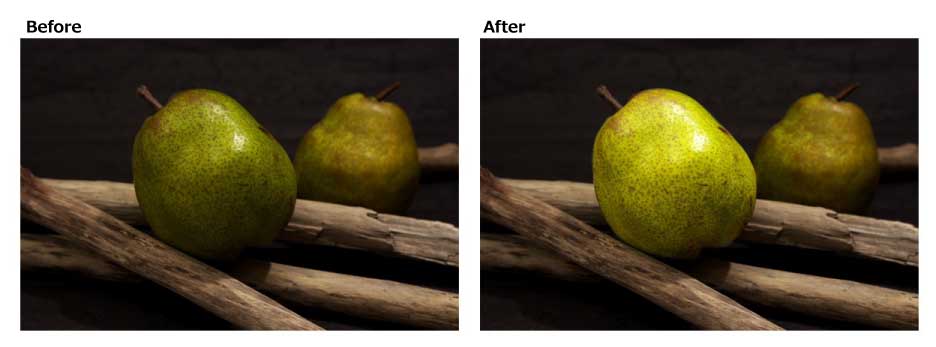
In this example, the specified part was brightly corrected. It’s now much easier to specify a range that’s difficult to do when specifying correction ranges in circles, stages, and brushes so far with this functions.
Next topics we will introduce the “Select color to be corrected” function and the “Invert the filter area” function.
Please try it out with your images!
You can download a free 30 days trial and try it out.
![]()