We introduce you to SILKYPIX Developer Studio Pro10’s recommended functions on the subject of Cosplay photos. Click here for Part1.
This time, you can know the functions that are recommended for the Cosplay photos, such as the “Tastes,” “White Balance Adjustment,” and “Partial correction tool.”
If you haven’t tried SILKYPIX Pro10 yet, you can use it for free for 30 days! Click here to download.
We think it will be a reference for finishing not only for cosplay photos but also for general portraits as well.
Simply adjust by selecting! “Tastes”
SILKYPIX series has the function called “Tastes” that allows you to edit images simply by selecting a combination of adjustments (parameters) for the theme. The set parameters can be adjusted later. Therefore, you can start the adjustment after selecting a taste.
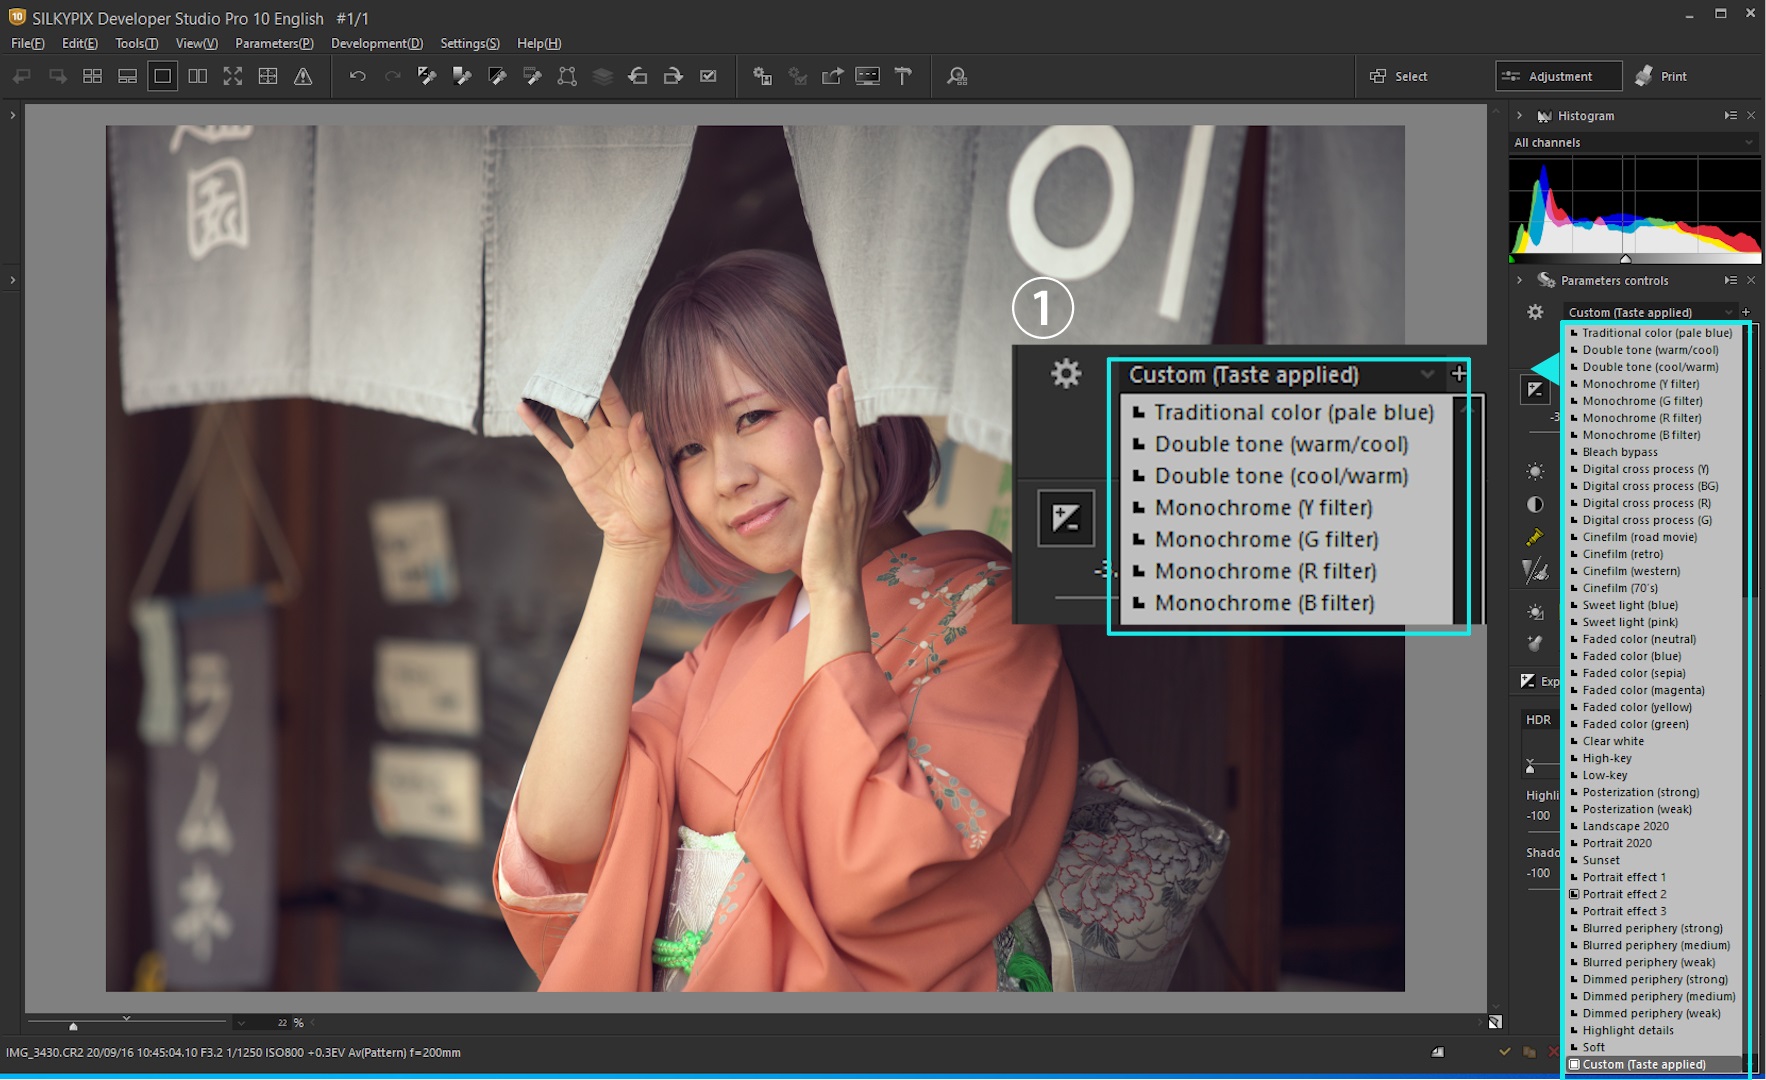
The taste can be applied simply by selecting the desired item from the drop-down list to the right of the taste icon (gear) in (1).
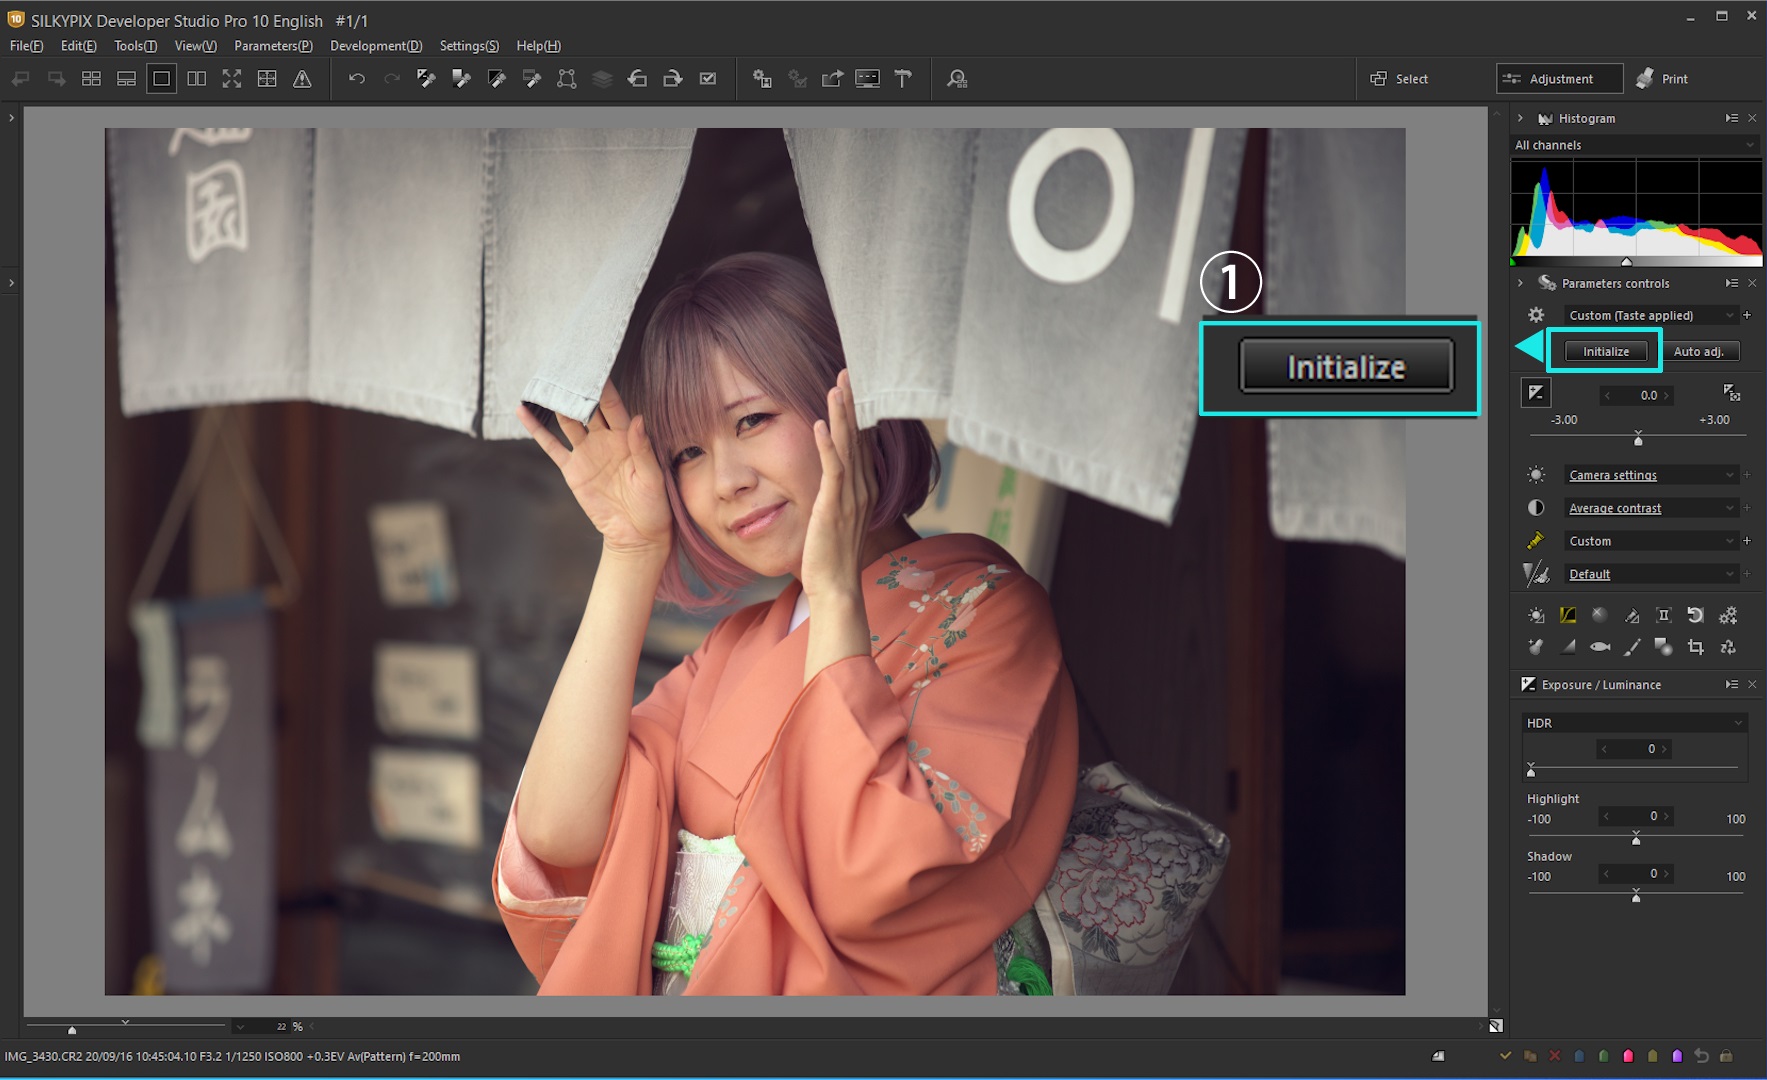
When you want to switch to a different taste once it has been applied, press the “Initialize” button in (1) and select again.
Then let’s see what tastes are there.
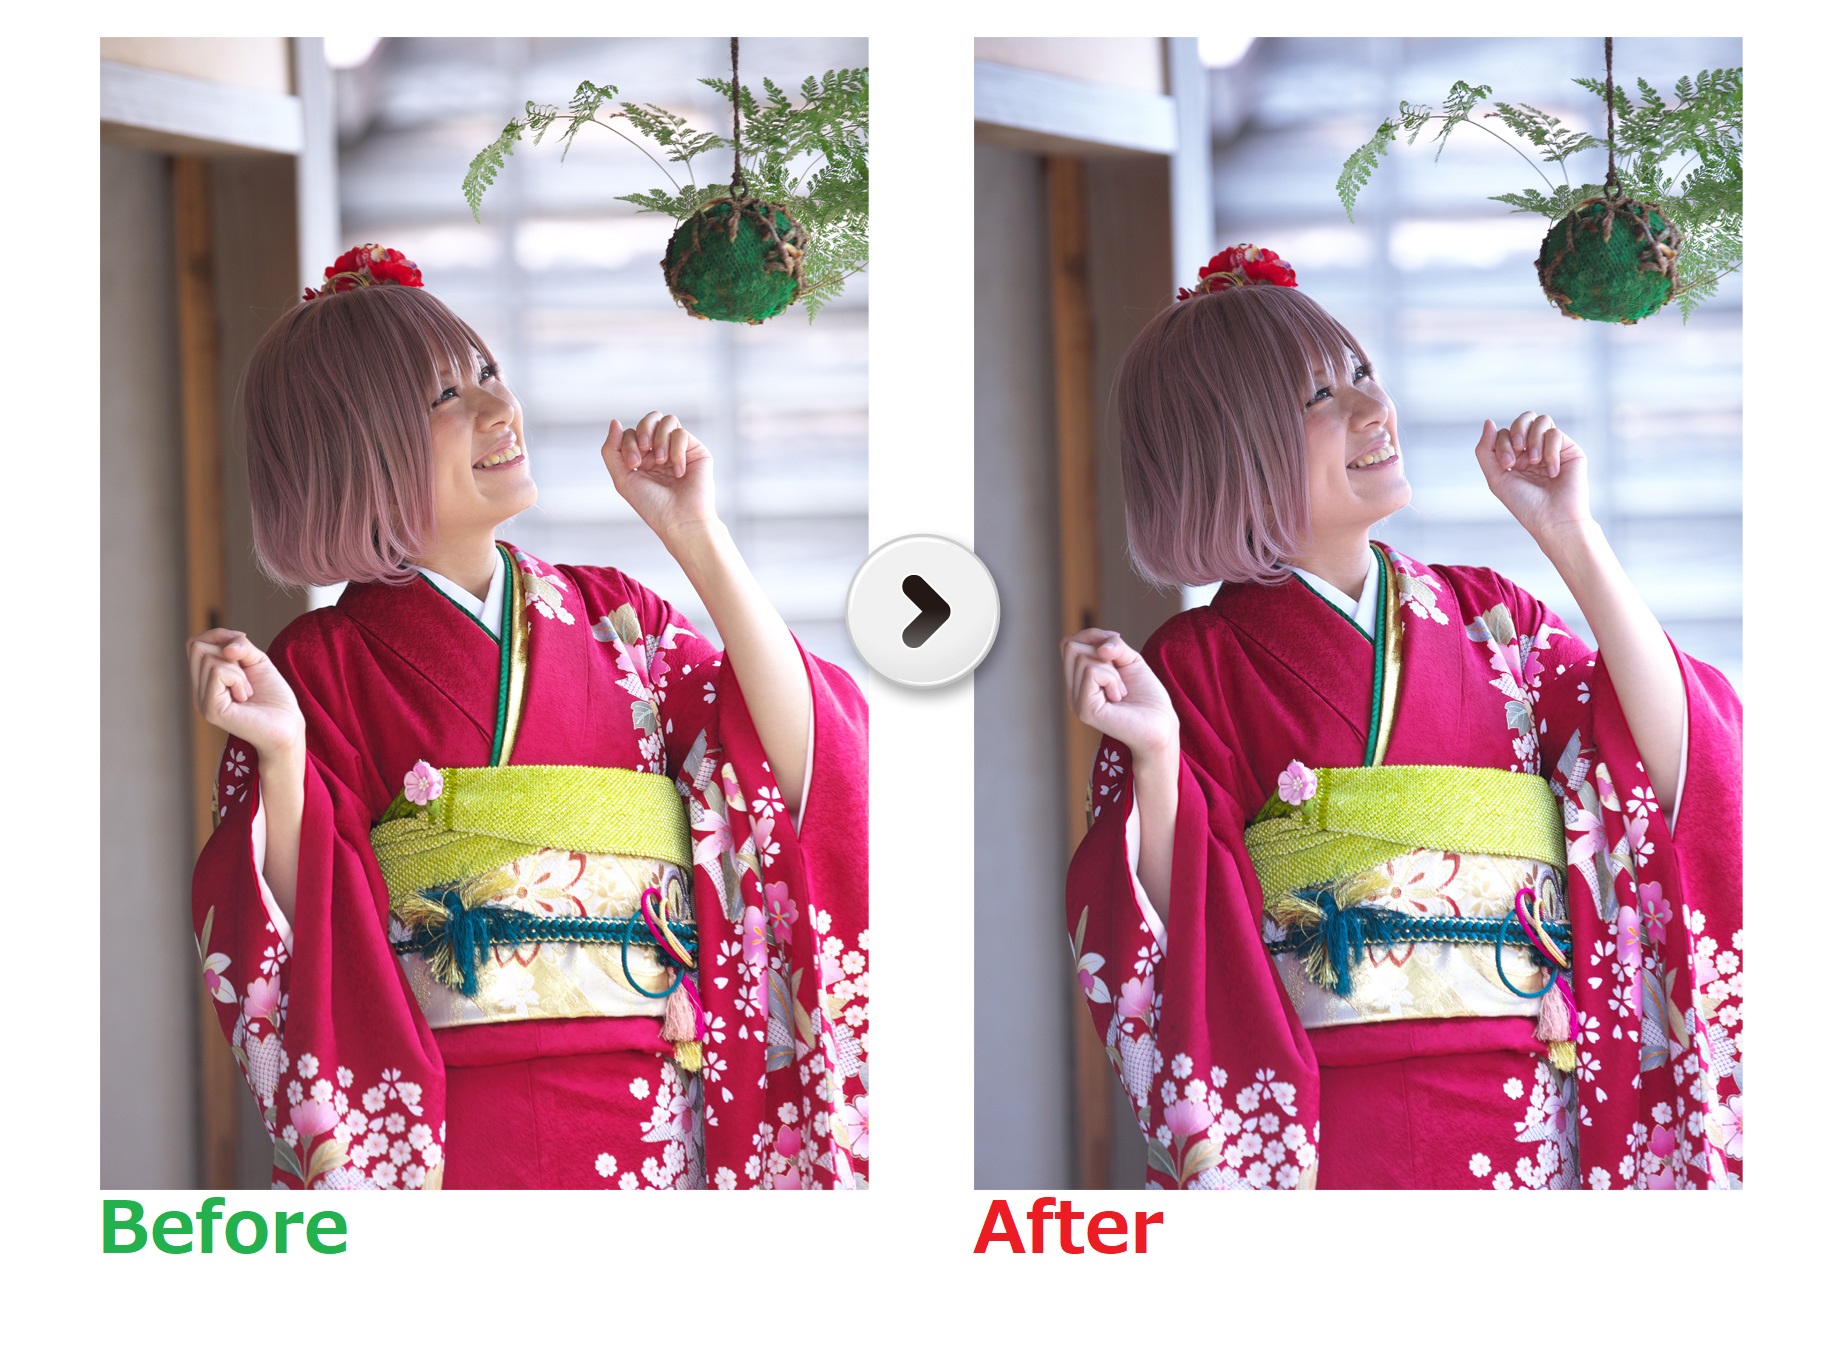
Portrait 2020
This is a portrait mode using a relatively new feature of SILKYPIX, such as the Clarity introduced in Part1. You can reproduce bright and healthy flesh tones.
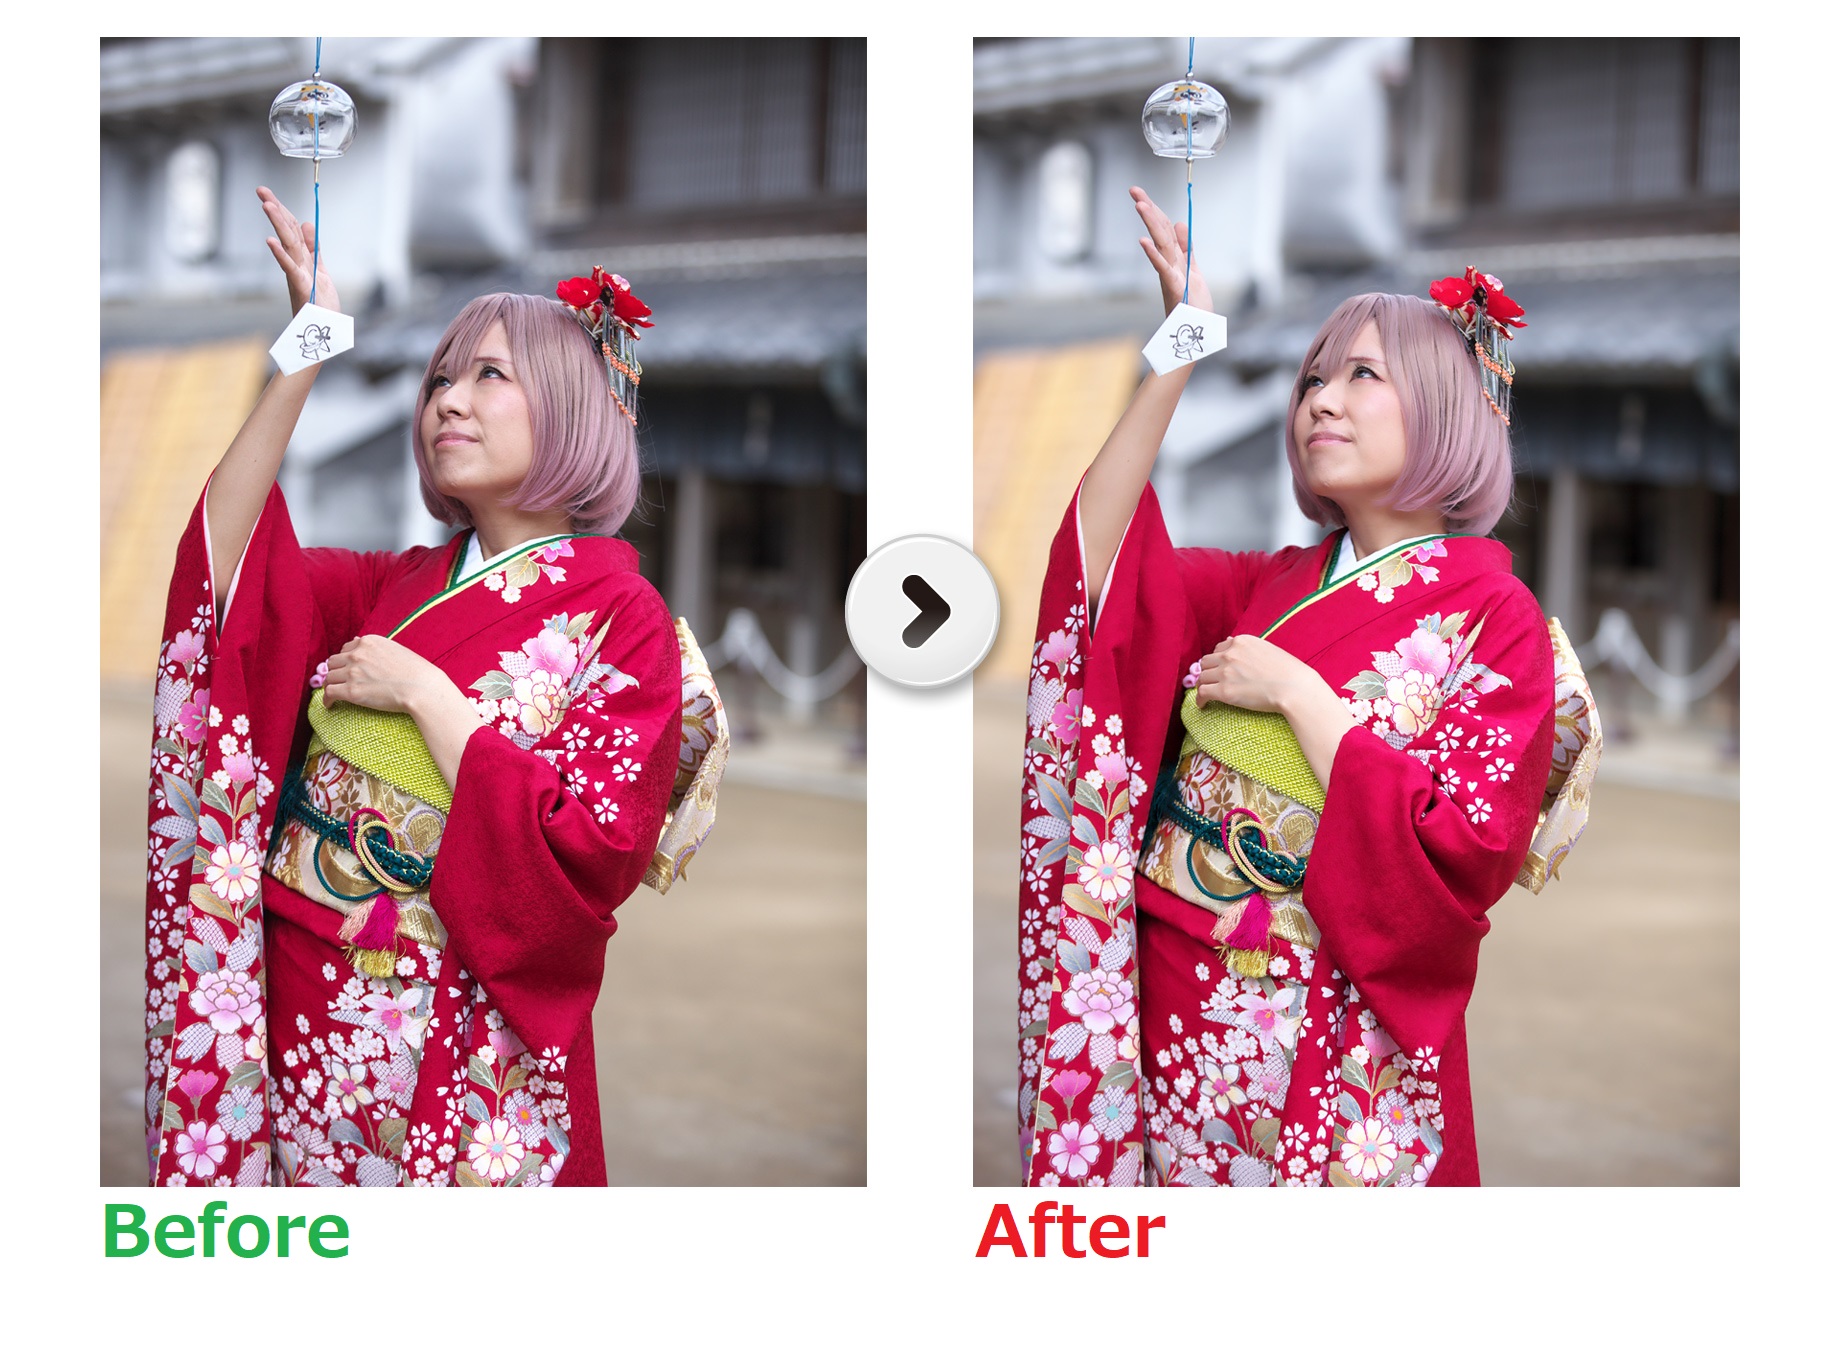
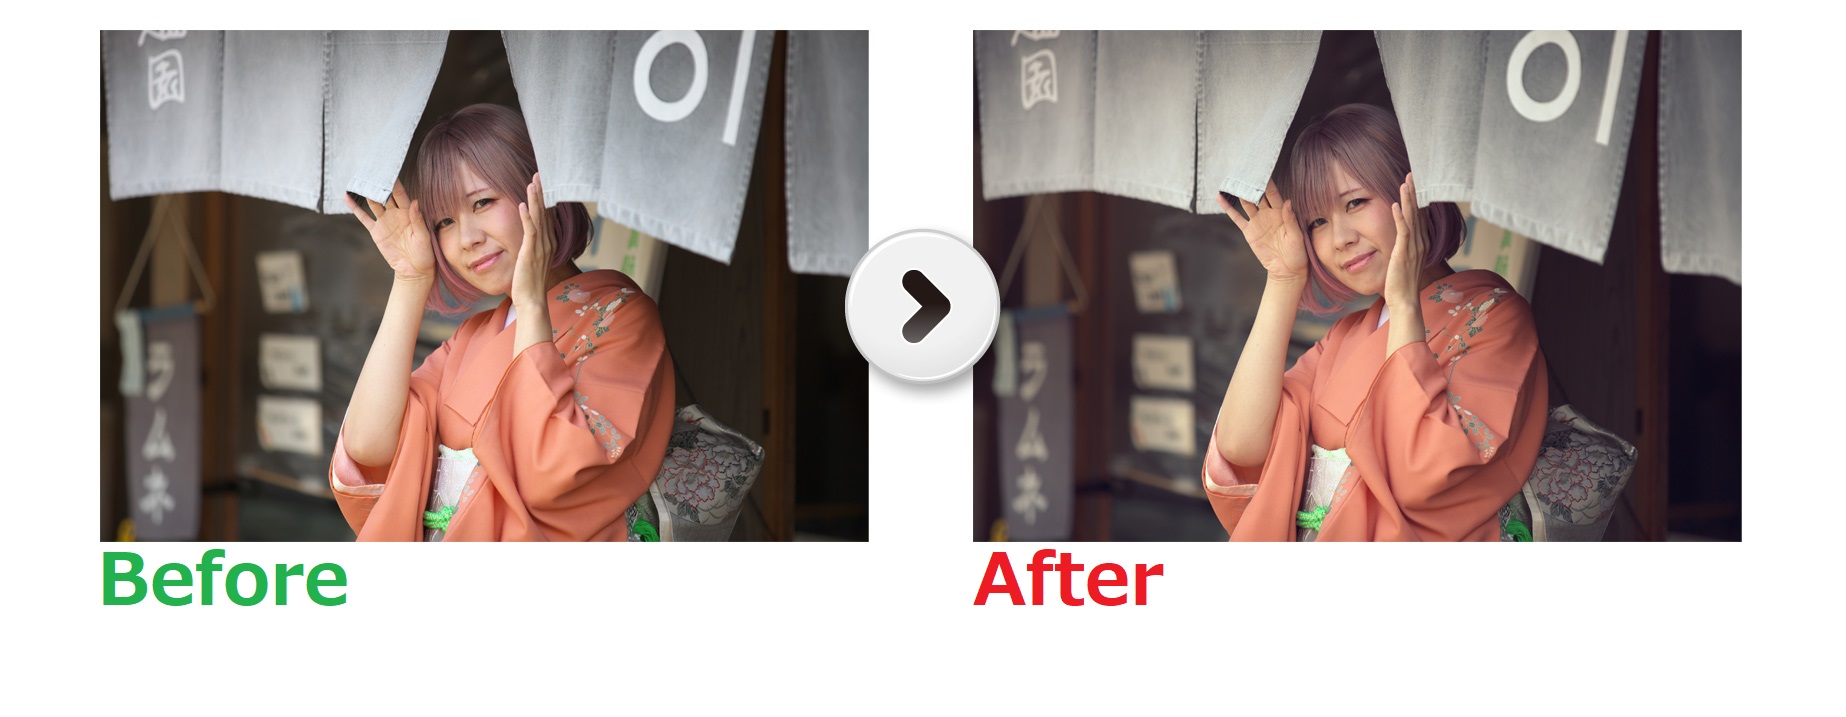
Portrait effect 1
This is a classic, slightly pop red style taste for a portrait. Recommended for photos with a large background.
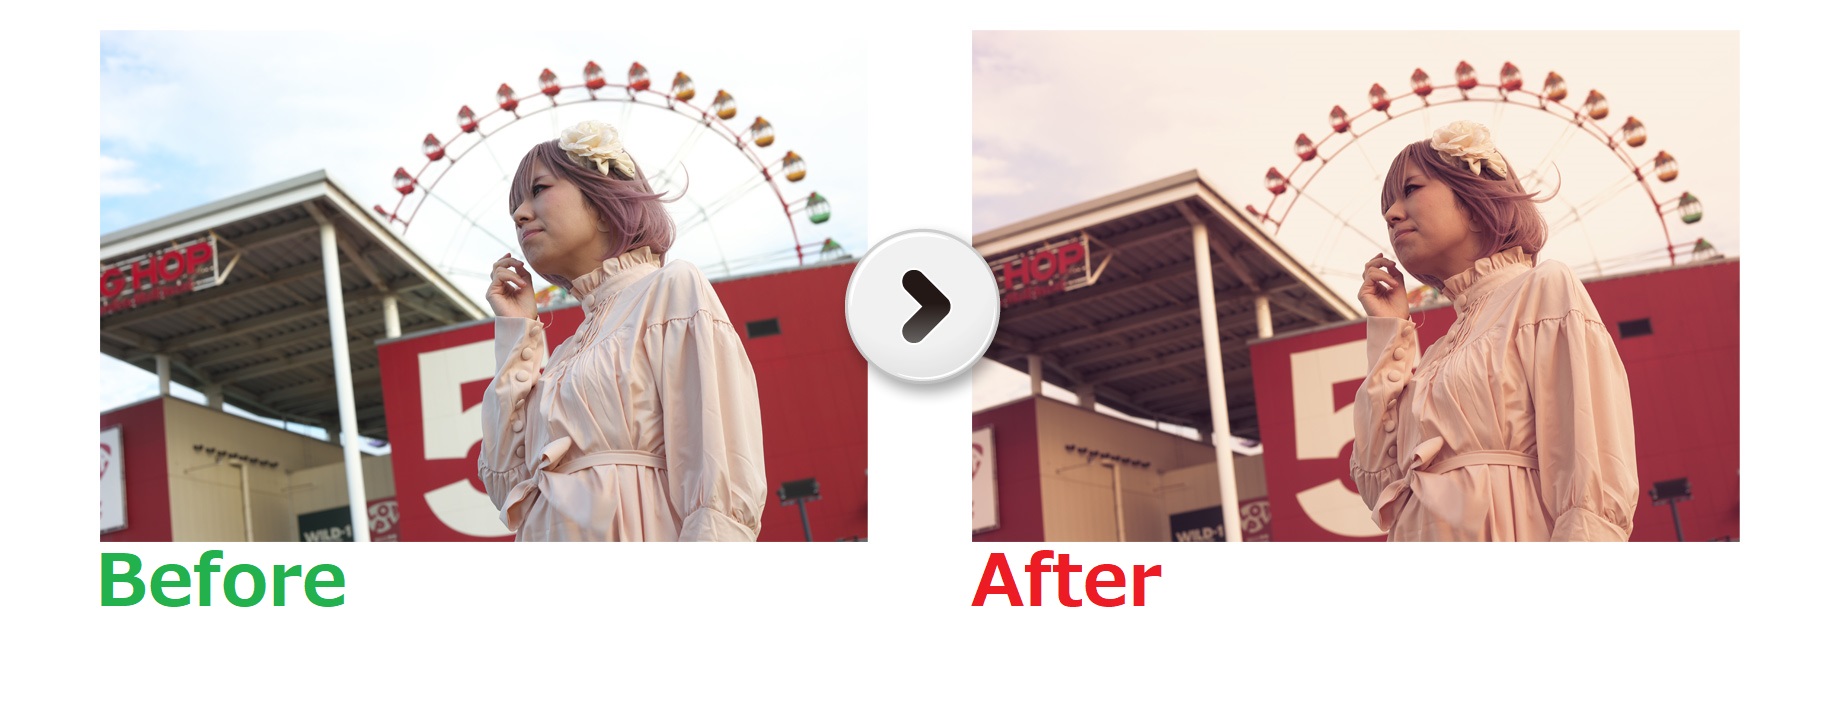
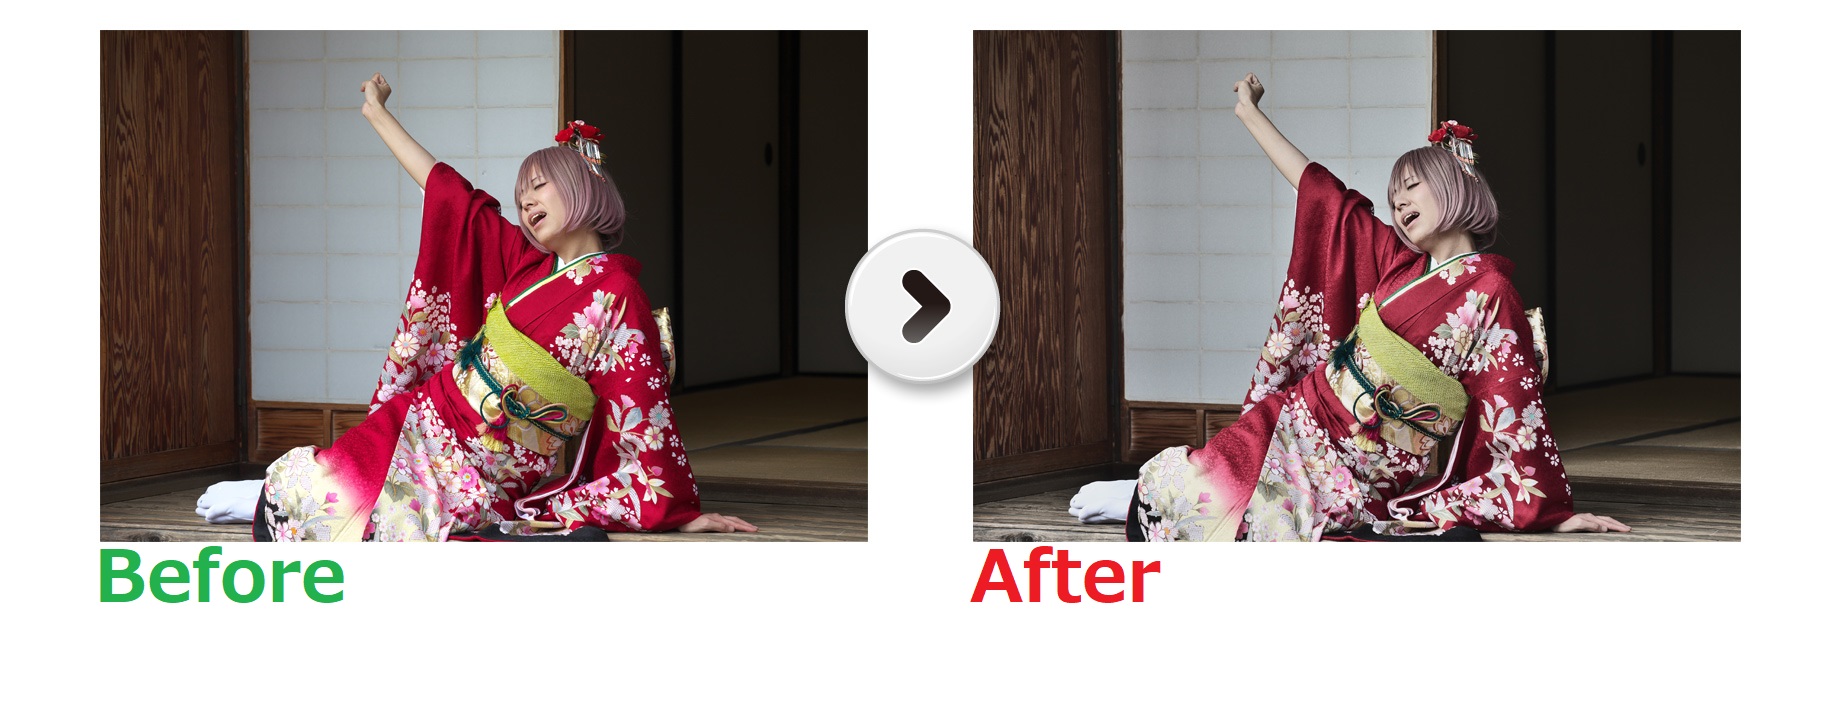
Portrait effect 2
This is a portrait taste that can represent warm tones, such as older fashion magazines.
Portrait effect 3
It is a portrait taste that emphasizes blueness and expresses refreshing.
Bleach bypass
This is a taste simulating the technique of silver halide film used in movies, etc.
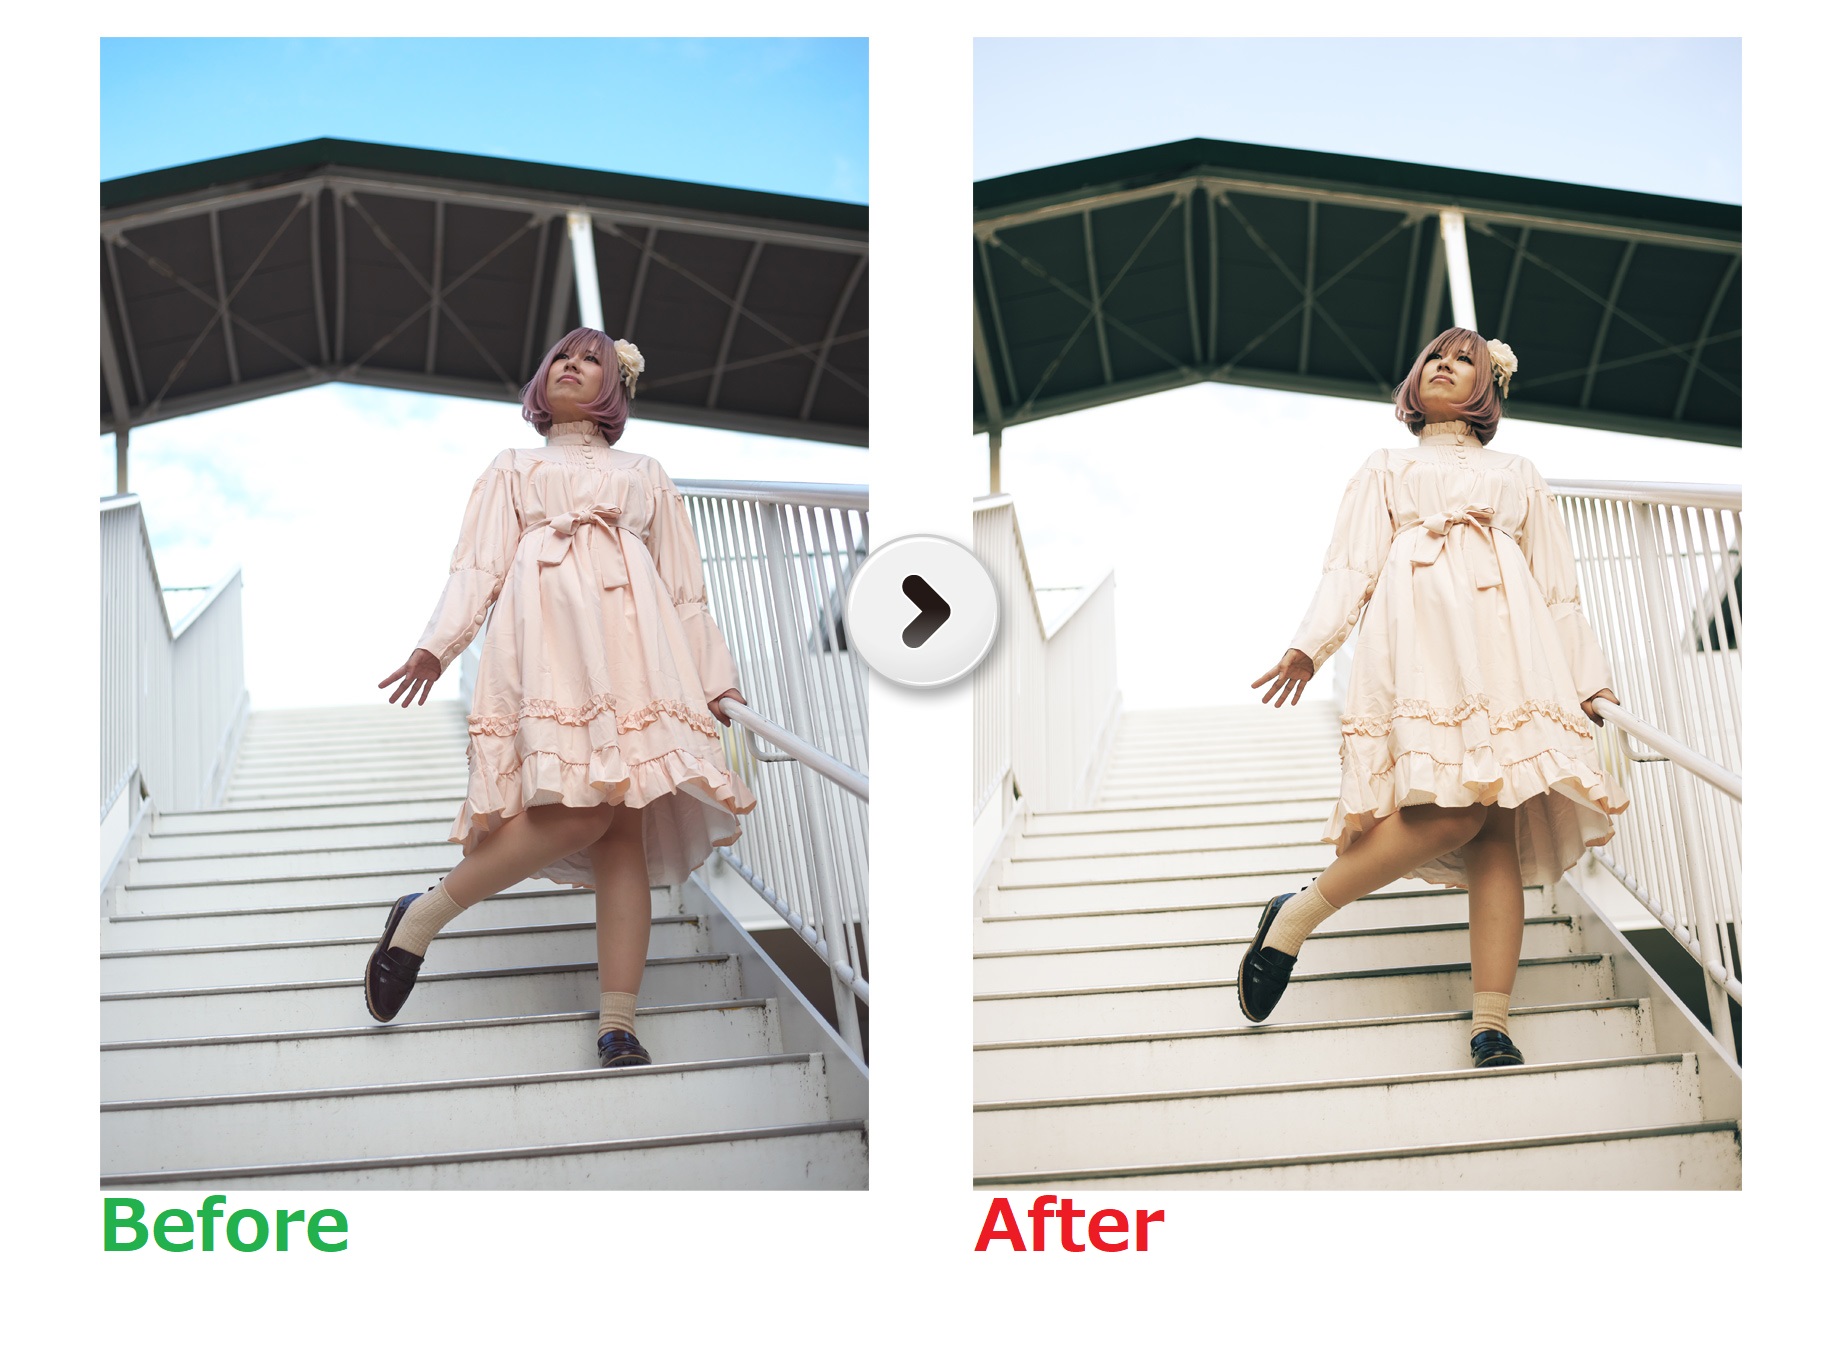
Cinefilm (Road movie)
This taste is simulating the mood of a documentary movie.
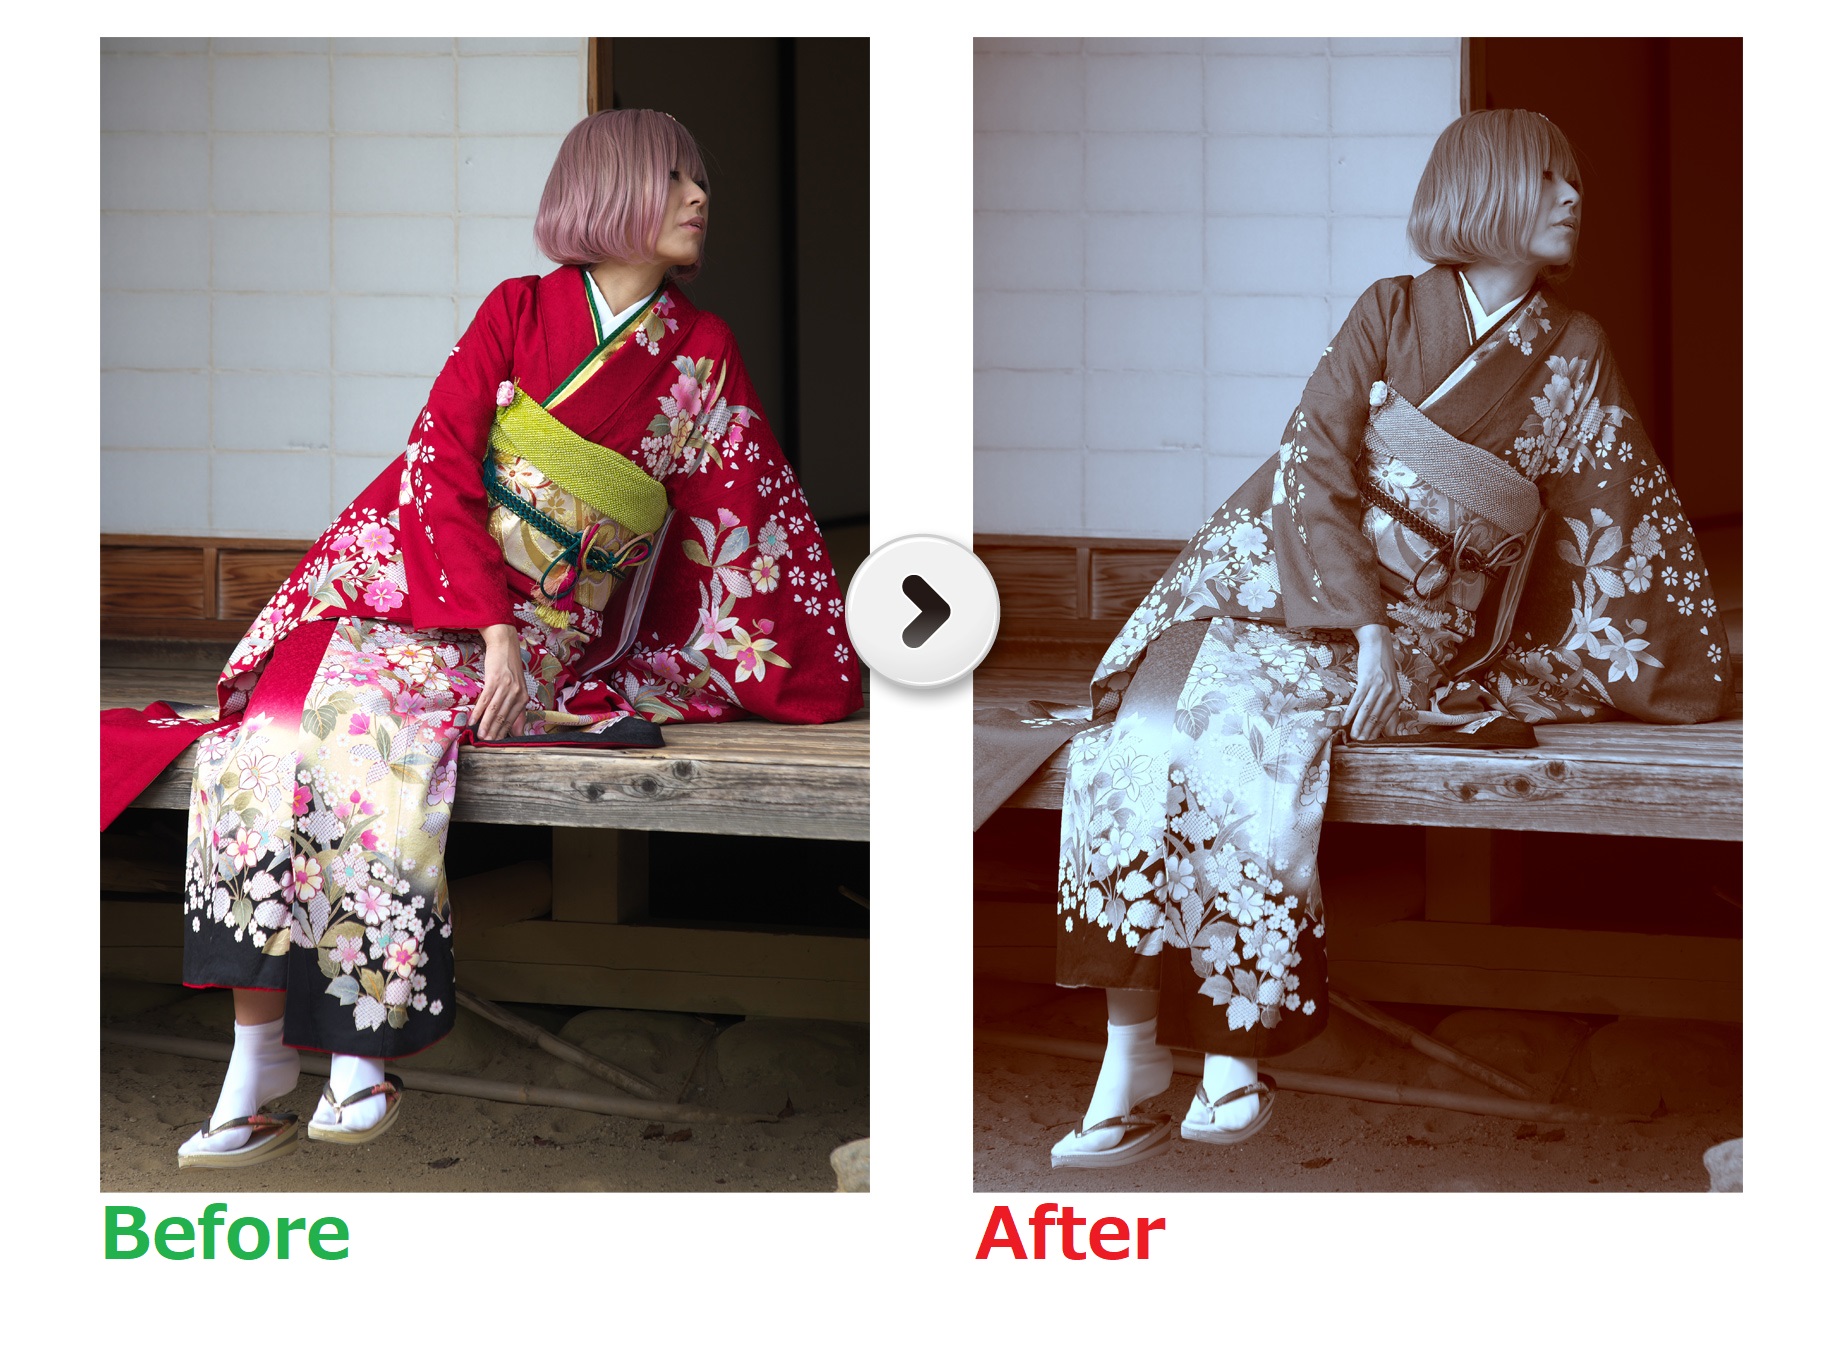
Double tone (Cool/Warm)
This is a monochrome image with the dark part shifted to brown and the light part shifted to blue.
The other Functions recommended for Cosplay photos
The Partial correction tool for adjusting the brightness and color of a part of the image
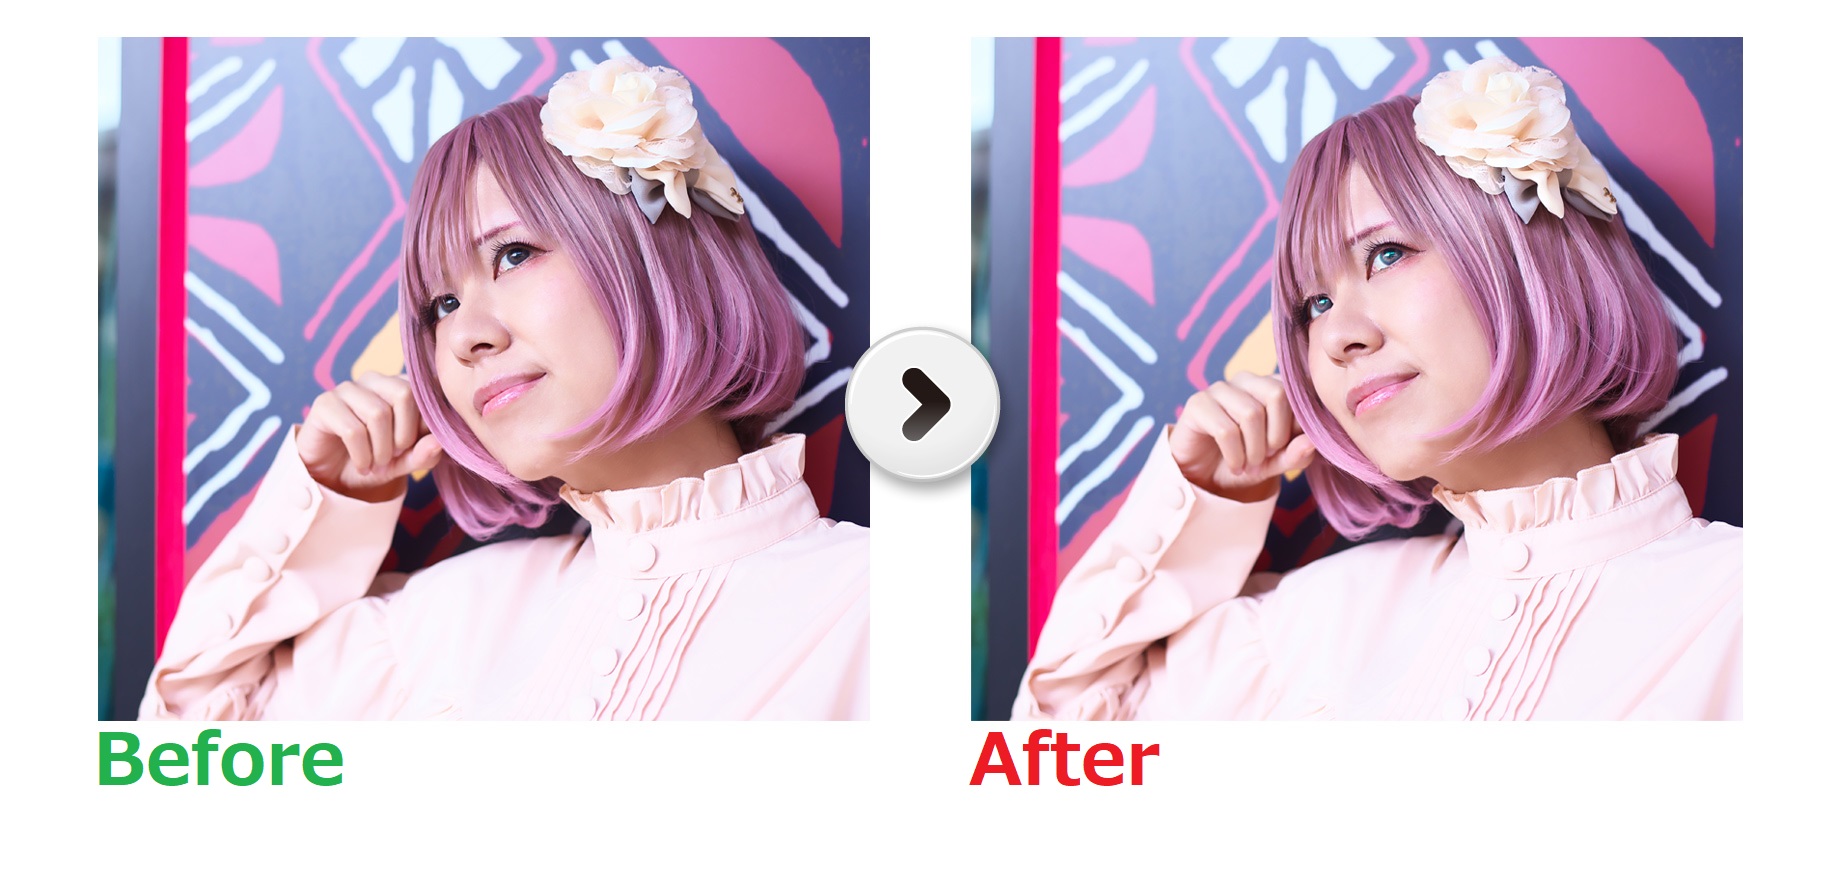
If the color or brightness of a particular area, such as a color contact lens or wig, is different from your image, then the Partial correction tool is useful for adjusting only that area. This time, we will introduce “Brush” which allows you to freely select the adjustment area. There is no effect other than the specified part.
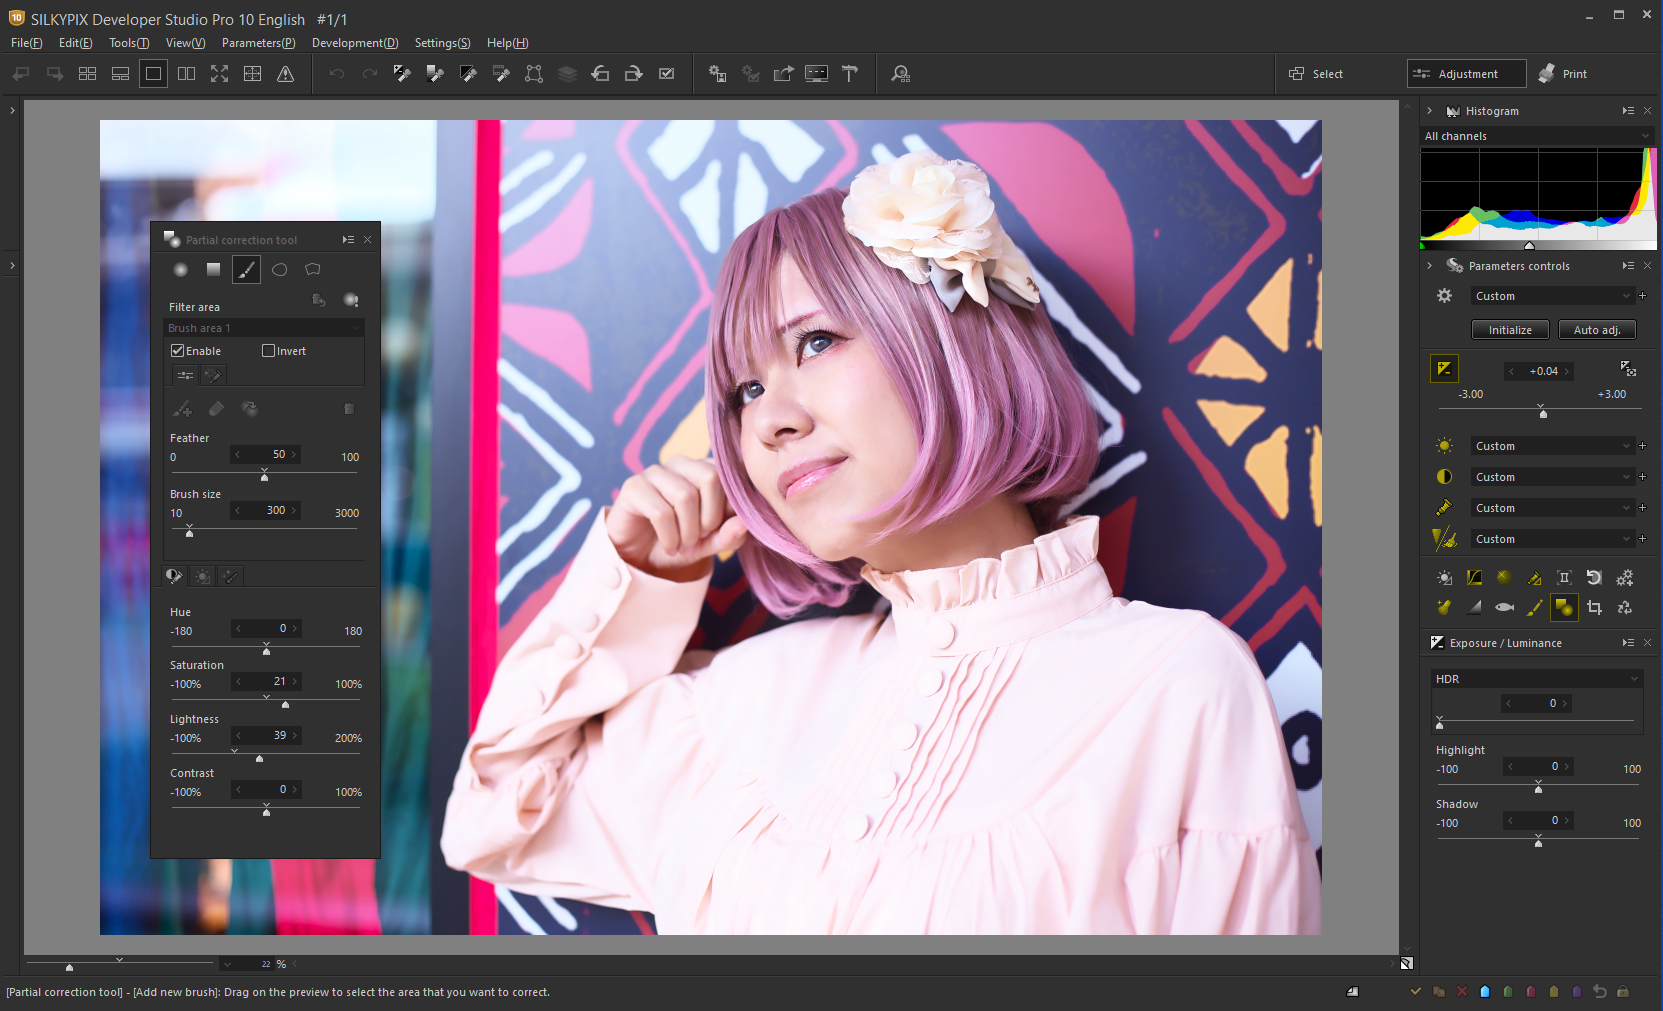
The “Partial correction tool” is displayed by clicking the sub-control icon of (1).
If you select the brush icon (2) from the Partial correction tool window, the mouse cursor changes to a double circle. So, drag and fill the area in (3) that you want to correct.
You can use (4) to change the brush size and the blur amount of the outline. The specified area can be adjusted with the slider (5).
This time, we’ve added two brushes,
- Color contact lens color is adjusted,
- Brightly highlight the light hitting the wig.
The White Balance Adjustment produces the color of the light
Location-based shoots and sets-based images can be made attractive by using White Balance to produce light colors that match the conditions of the image. The White Balance Adjustment allows you to fine-tune the color of the light, so you can adjust it to your image.
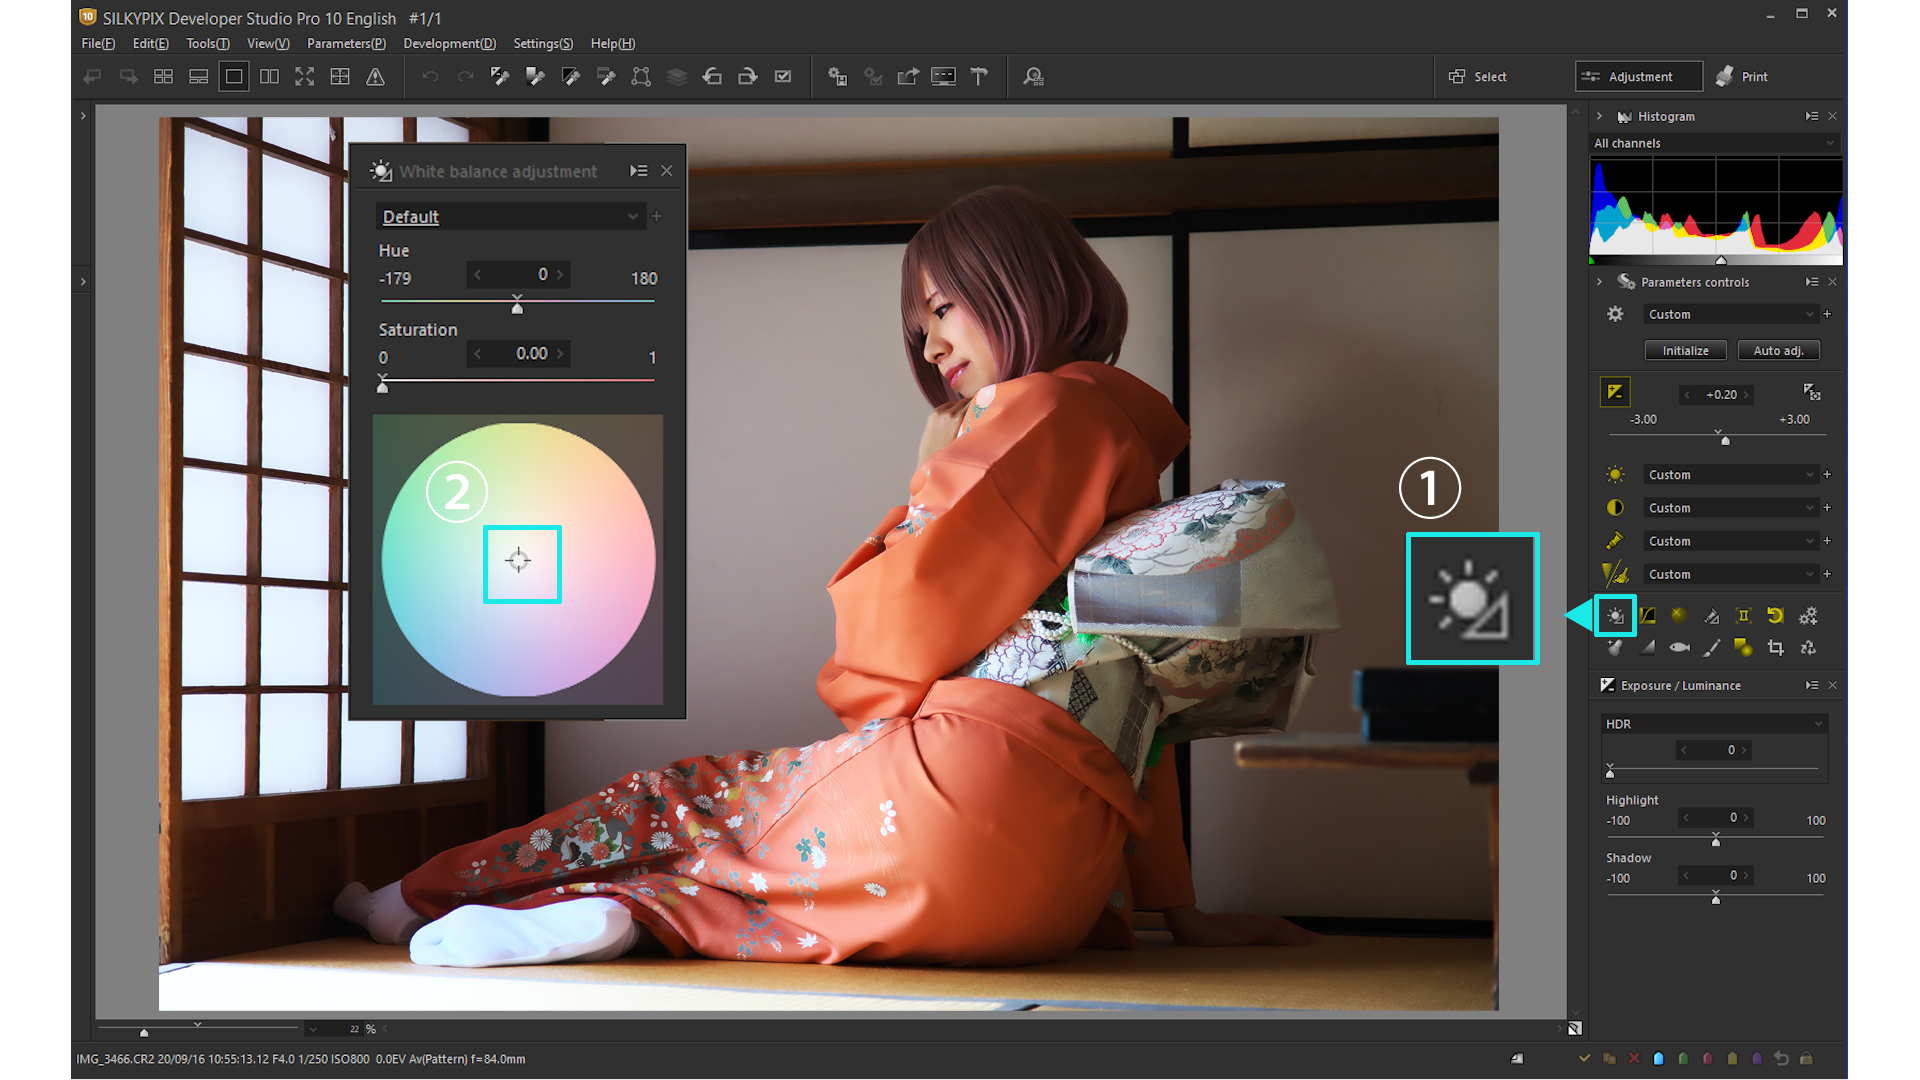
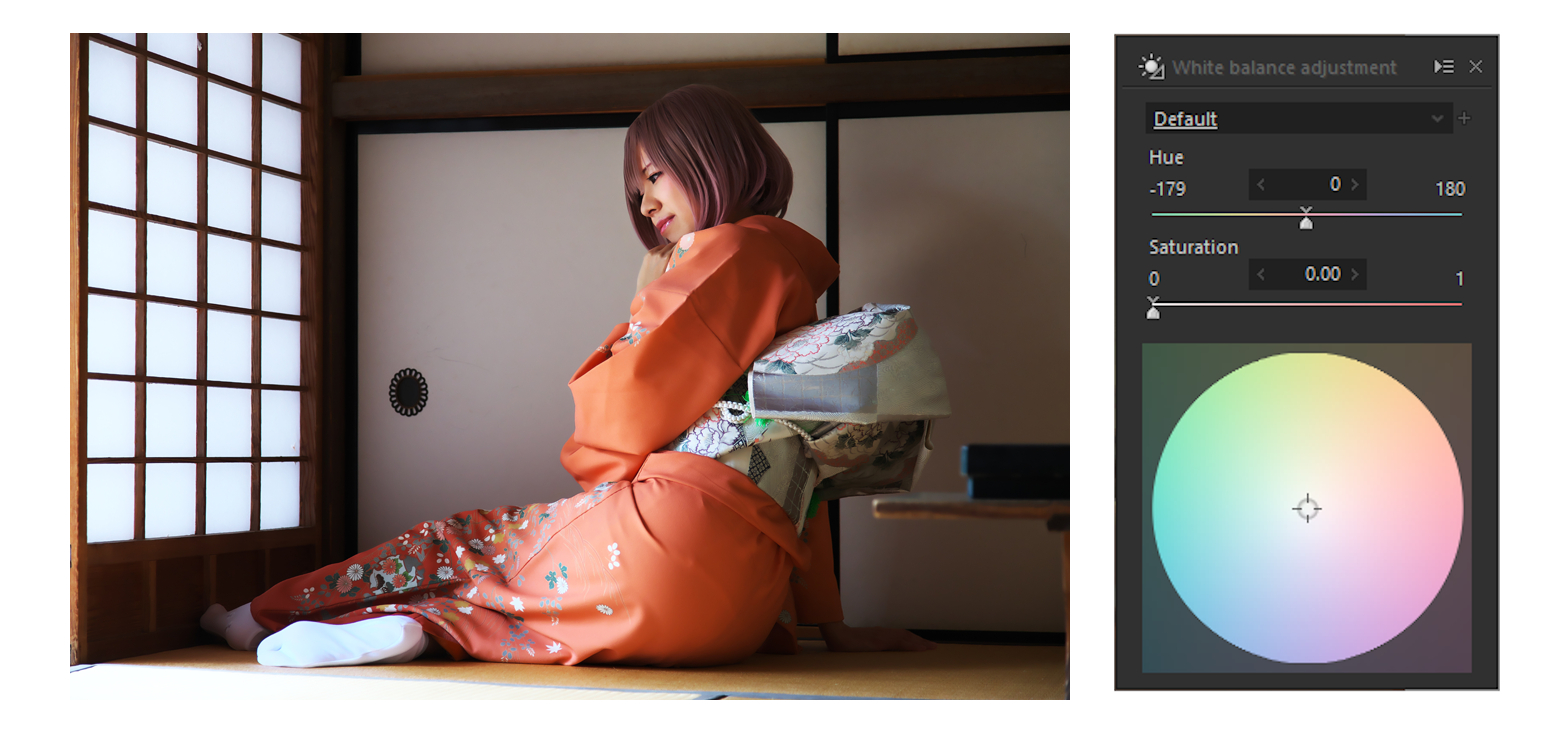
The “White Balance Adjustment” is displayed by clicking the sub-control icon of (1). White balance can be shifted to the color by moving the target within the color circle in (2) with the mouse.
Neutral
The reference is the one set in “White Balance” in the basic adjustments. In this example, the color of light that is clear and with fewer color casts was represented.
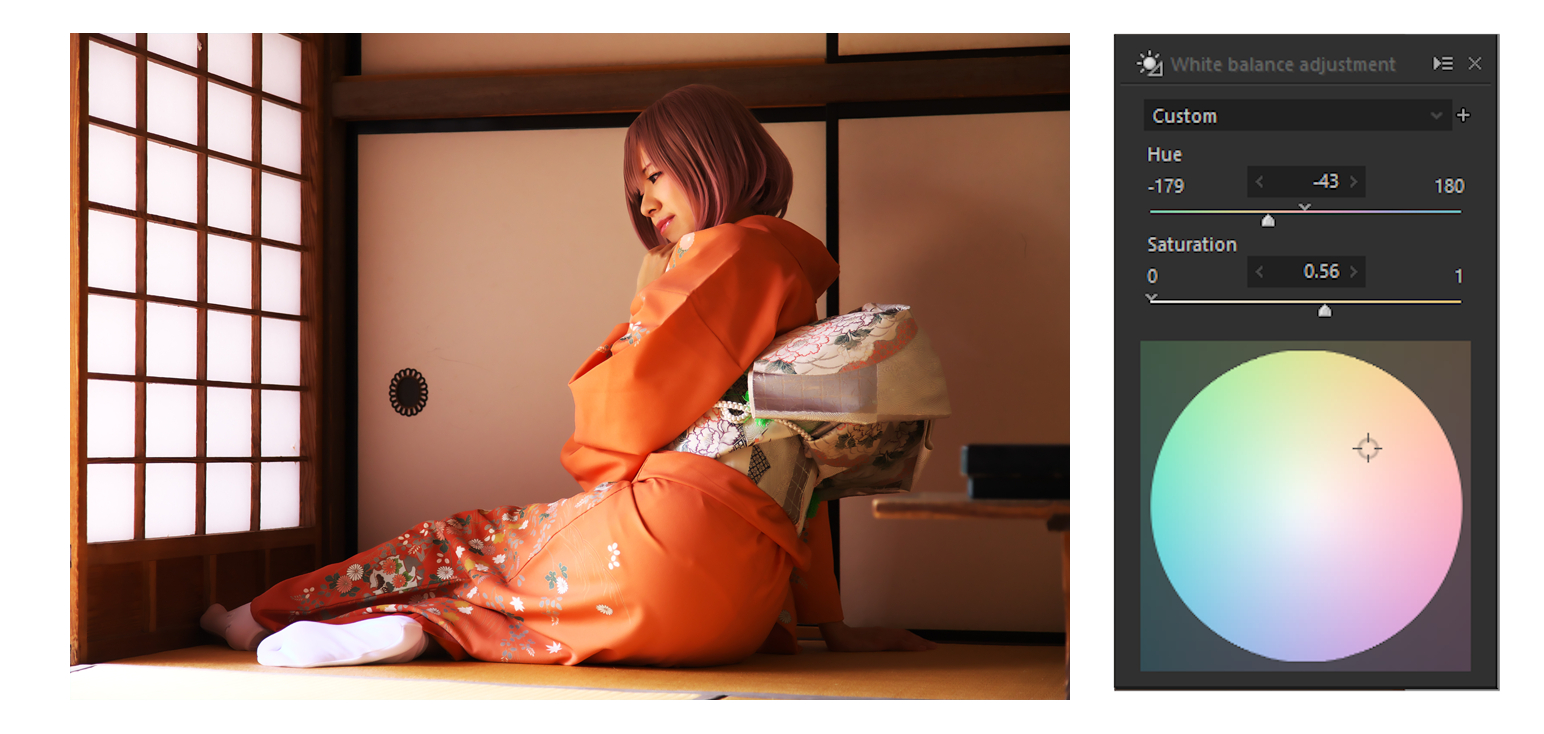
Warm colors
White Balance Adjustment was adjusted from orange to magenta to produce an evening feel.
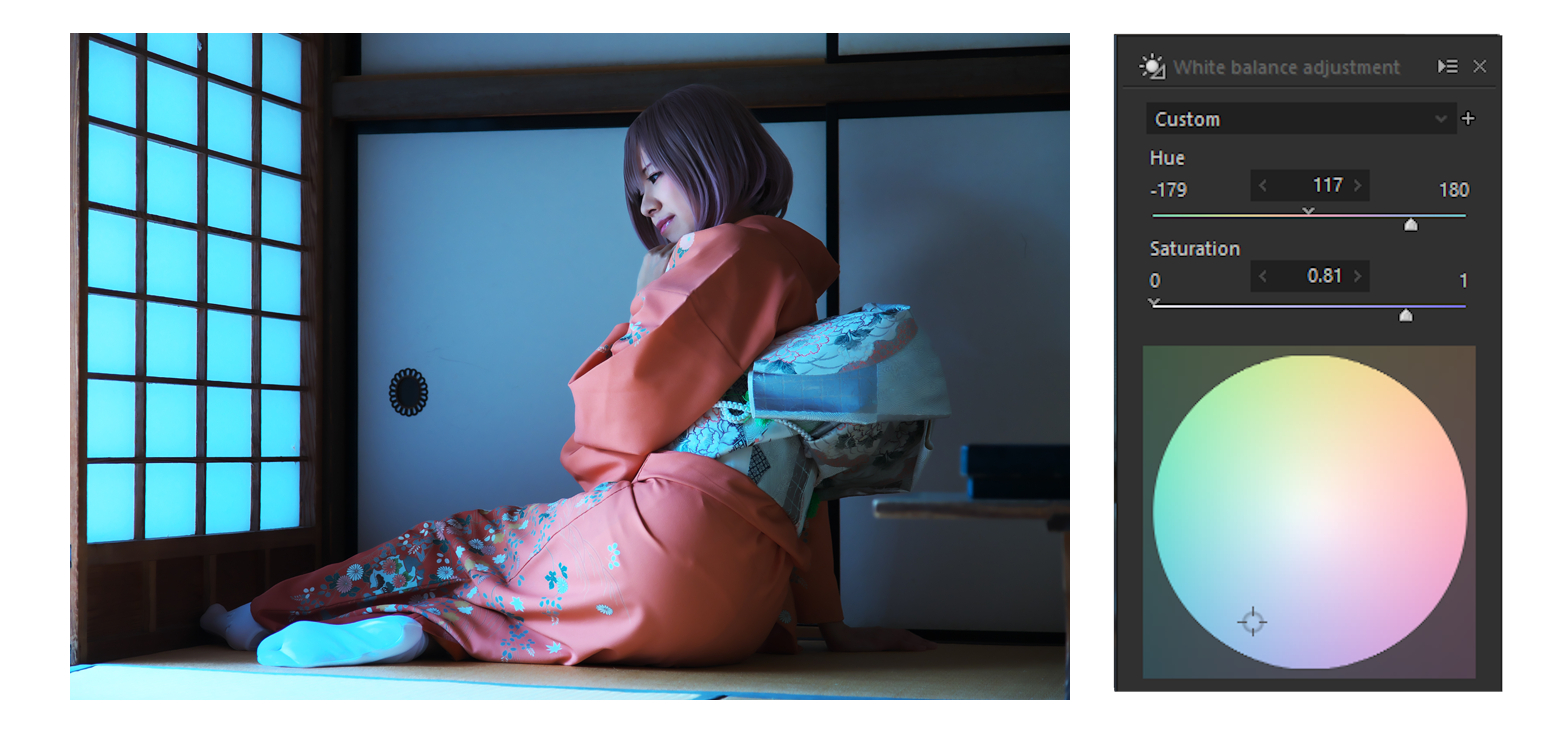
Cool colors
White Balance adjustment was adjusted from blue to near cyan to show night mood.
Try it first! You can try a free trial for 30 days!

RAW Development software “SILKYPIX Developer Studio Pro10” can be downloaded from the SILKYPIX website. For 30 days after installation, you can try All functions for free as Experience Mode, so please try it out with your photos.
![]()