


- This product is available only with Panasonic cameras released by June 18, 2019.
- This product will not correspond to the new camera in the future.
- If you purchase this new product during this special sale period, you can use even after this sale end.
- You cannot upgrade to the SILKYPIX normal series from this product.
- One license can be used on three computers
Sale was completed
Click here to download for ownersWe strongly support your work creation
SILKYPIX Developer Studio Pro9 for Panasonic is for a Panasonic camera limited special edition.
"SILKYPIX Developer Studio Pro9 for Panasonic" has many functions such as "Partial correction" and "The highlight/shadow individual brightness correction" installed in "SILKYPIX Developer Studio Pro9." Finish your photo as you imagined.
Only existing Panasonic cameras are compatible, and the sales period is also limited, affordable price has been realized.

Make your image come true
Make the specified area bright and vivid
The partial correction tool changes the brightness and saturation partially in the specified area.
It is also equipped with a "brush", so free range specification is possible.
Function used: Partial correction tool
Blur the surroundings and highlight the subject
You are now able to blur the periphery of the specified range and apply sharpness.
Function used: Blurred / Sharp periphery
Exposure compensation can be done freely
It possible to individually adjust the brightness of light and dark areas in the image.
Function used: Highlight / Shadow
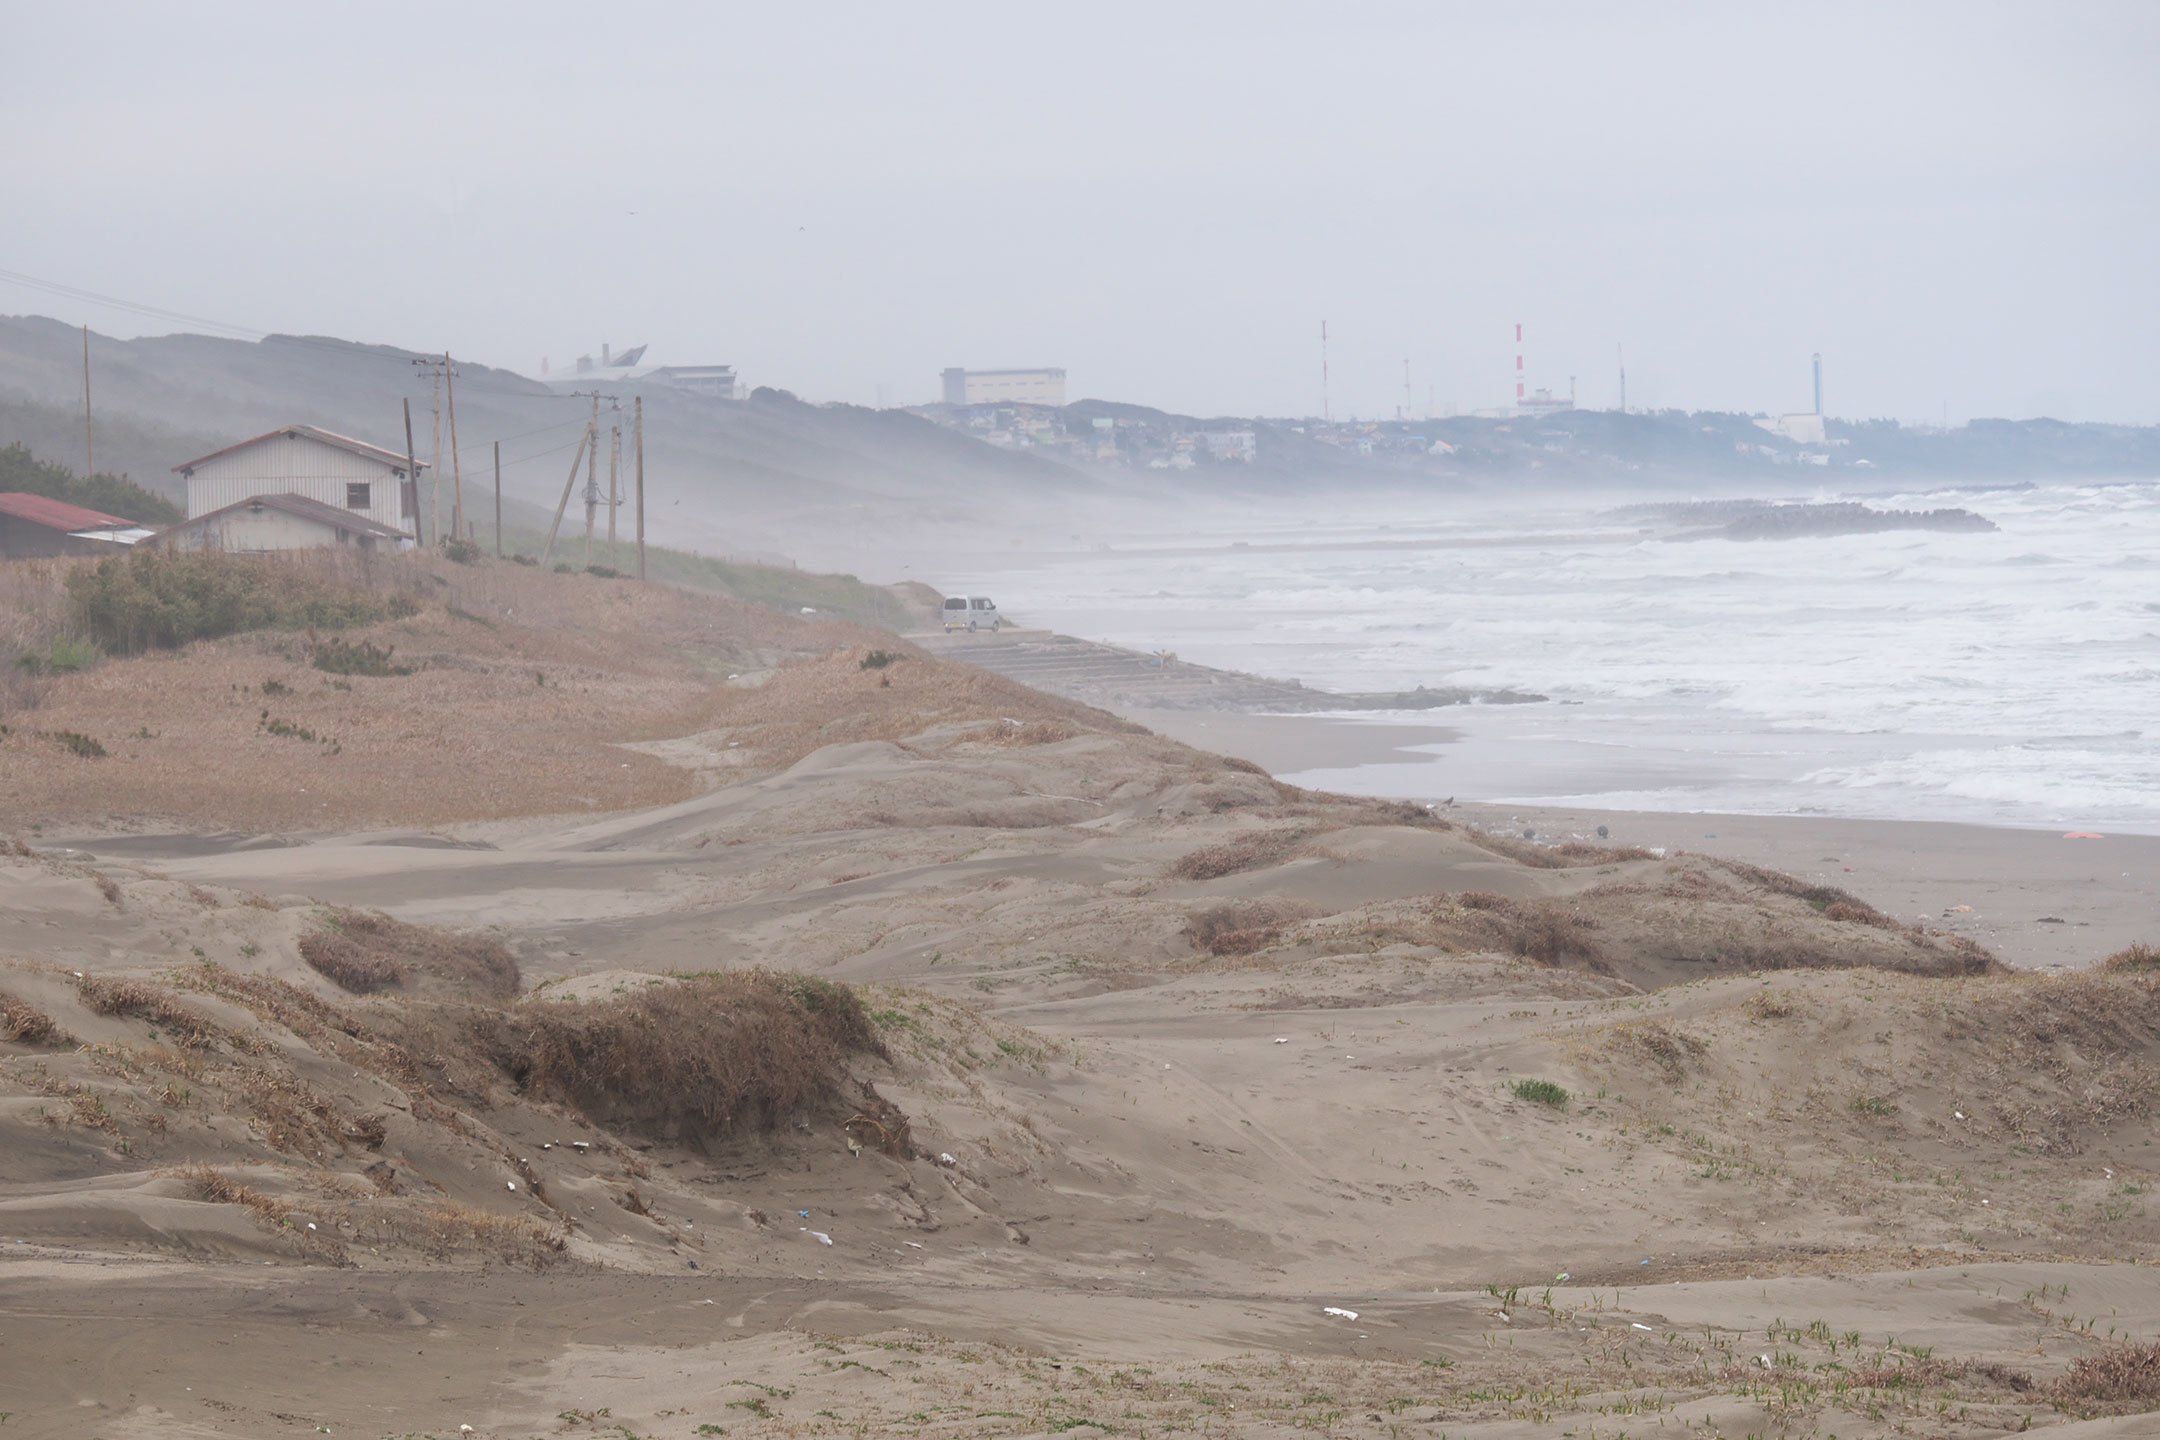
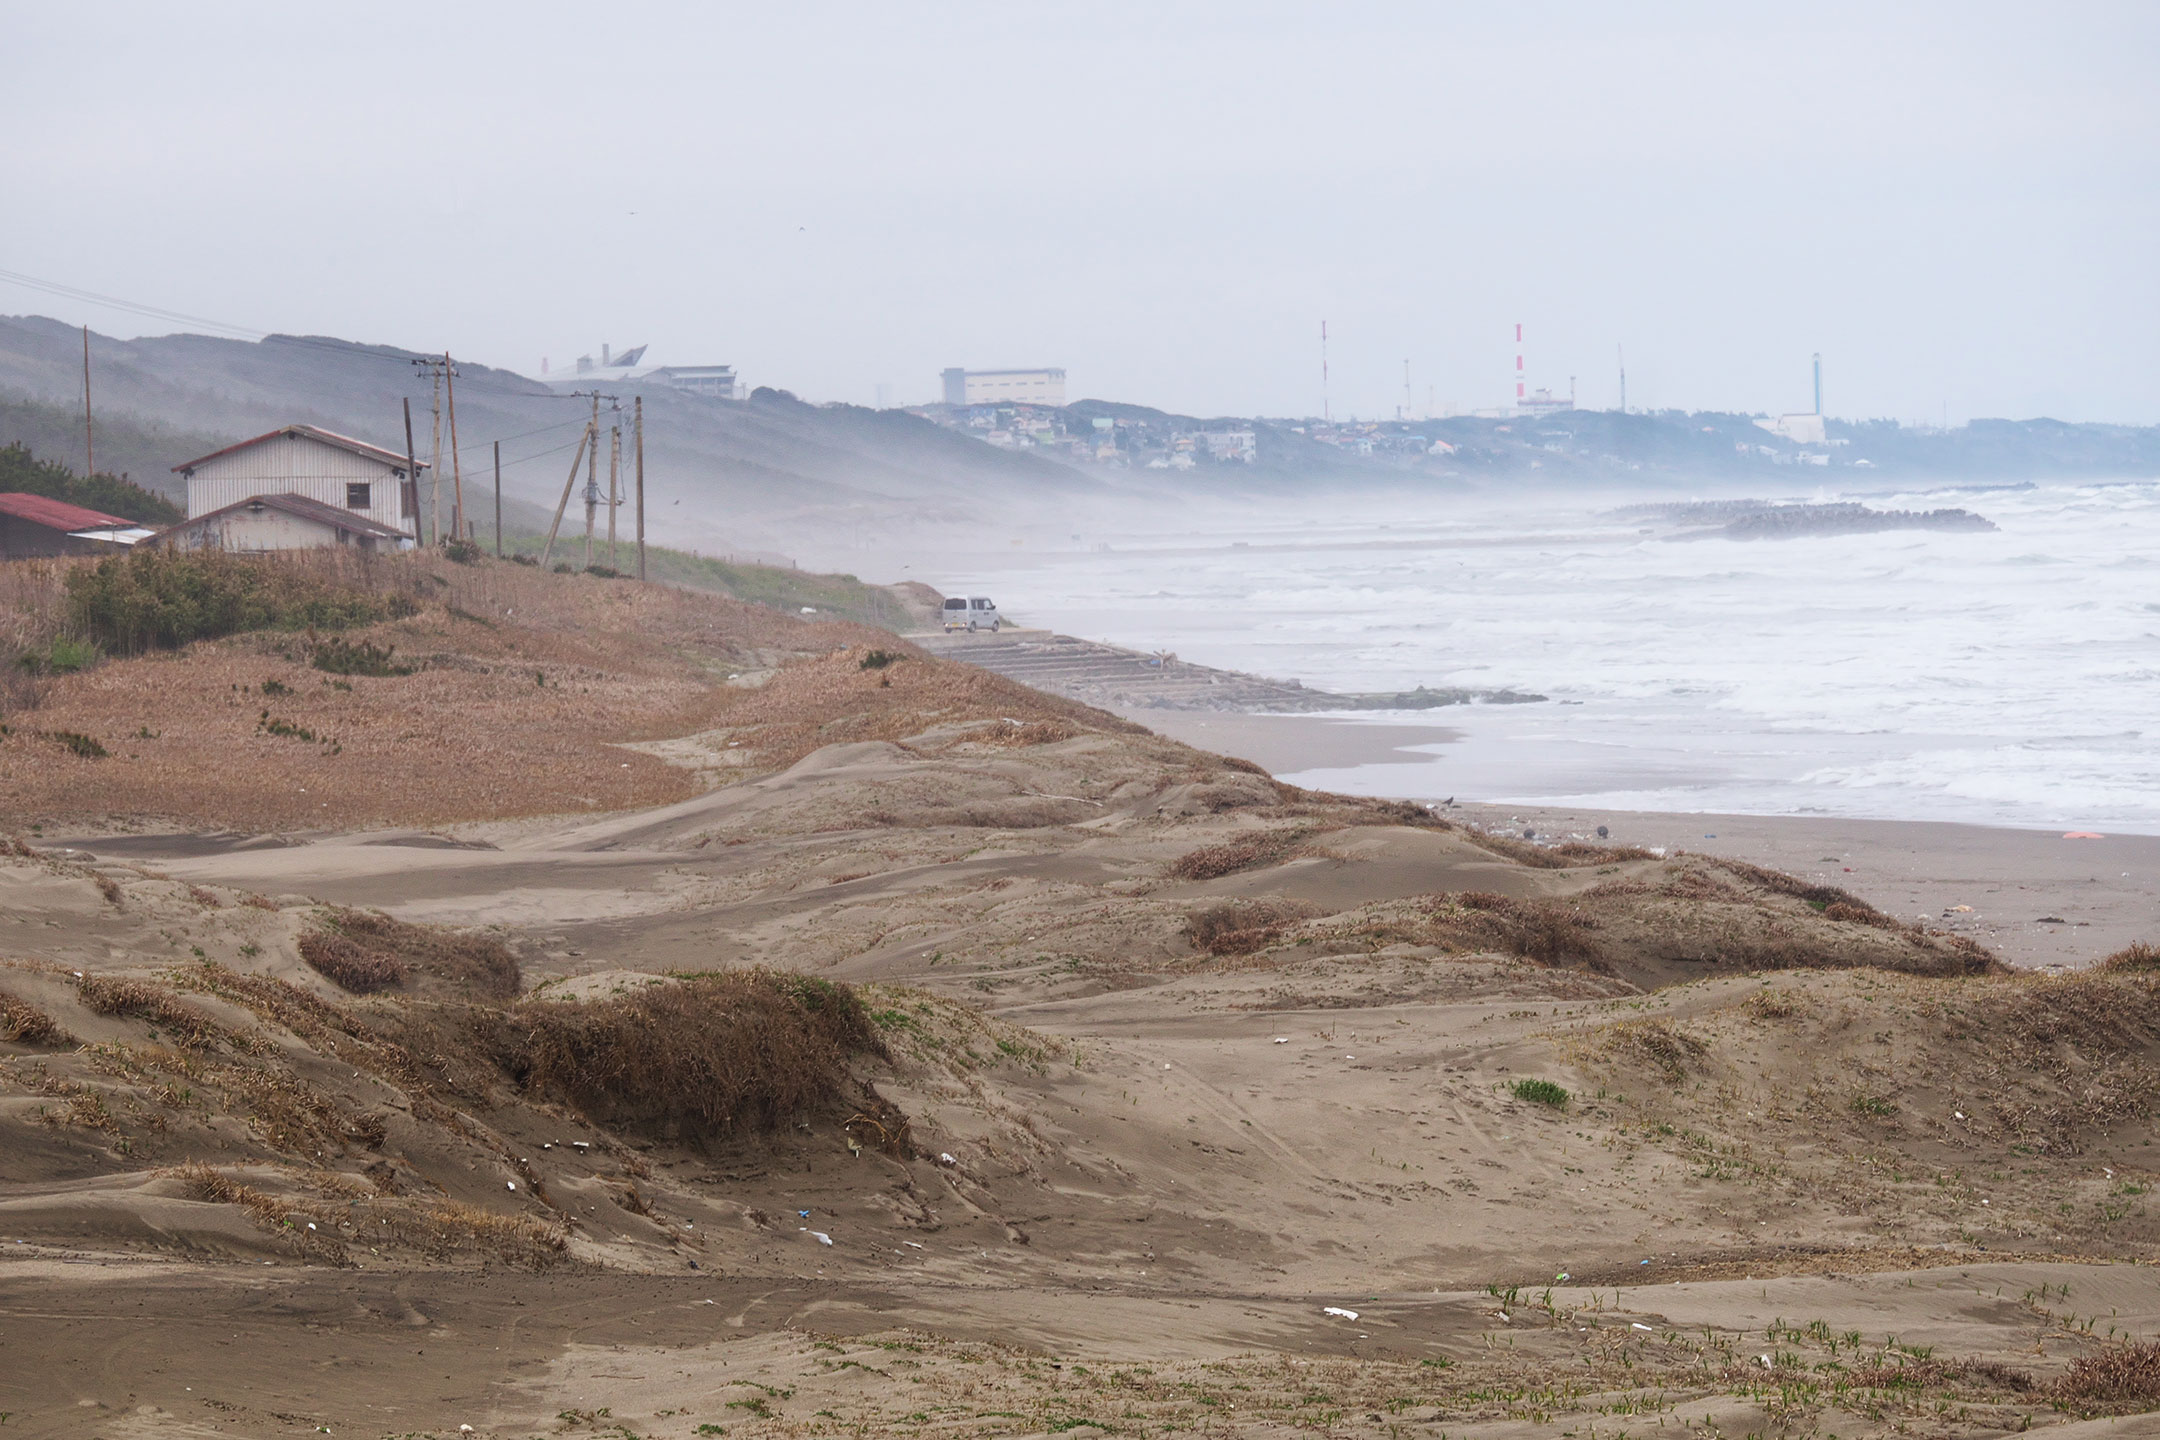
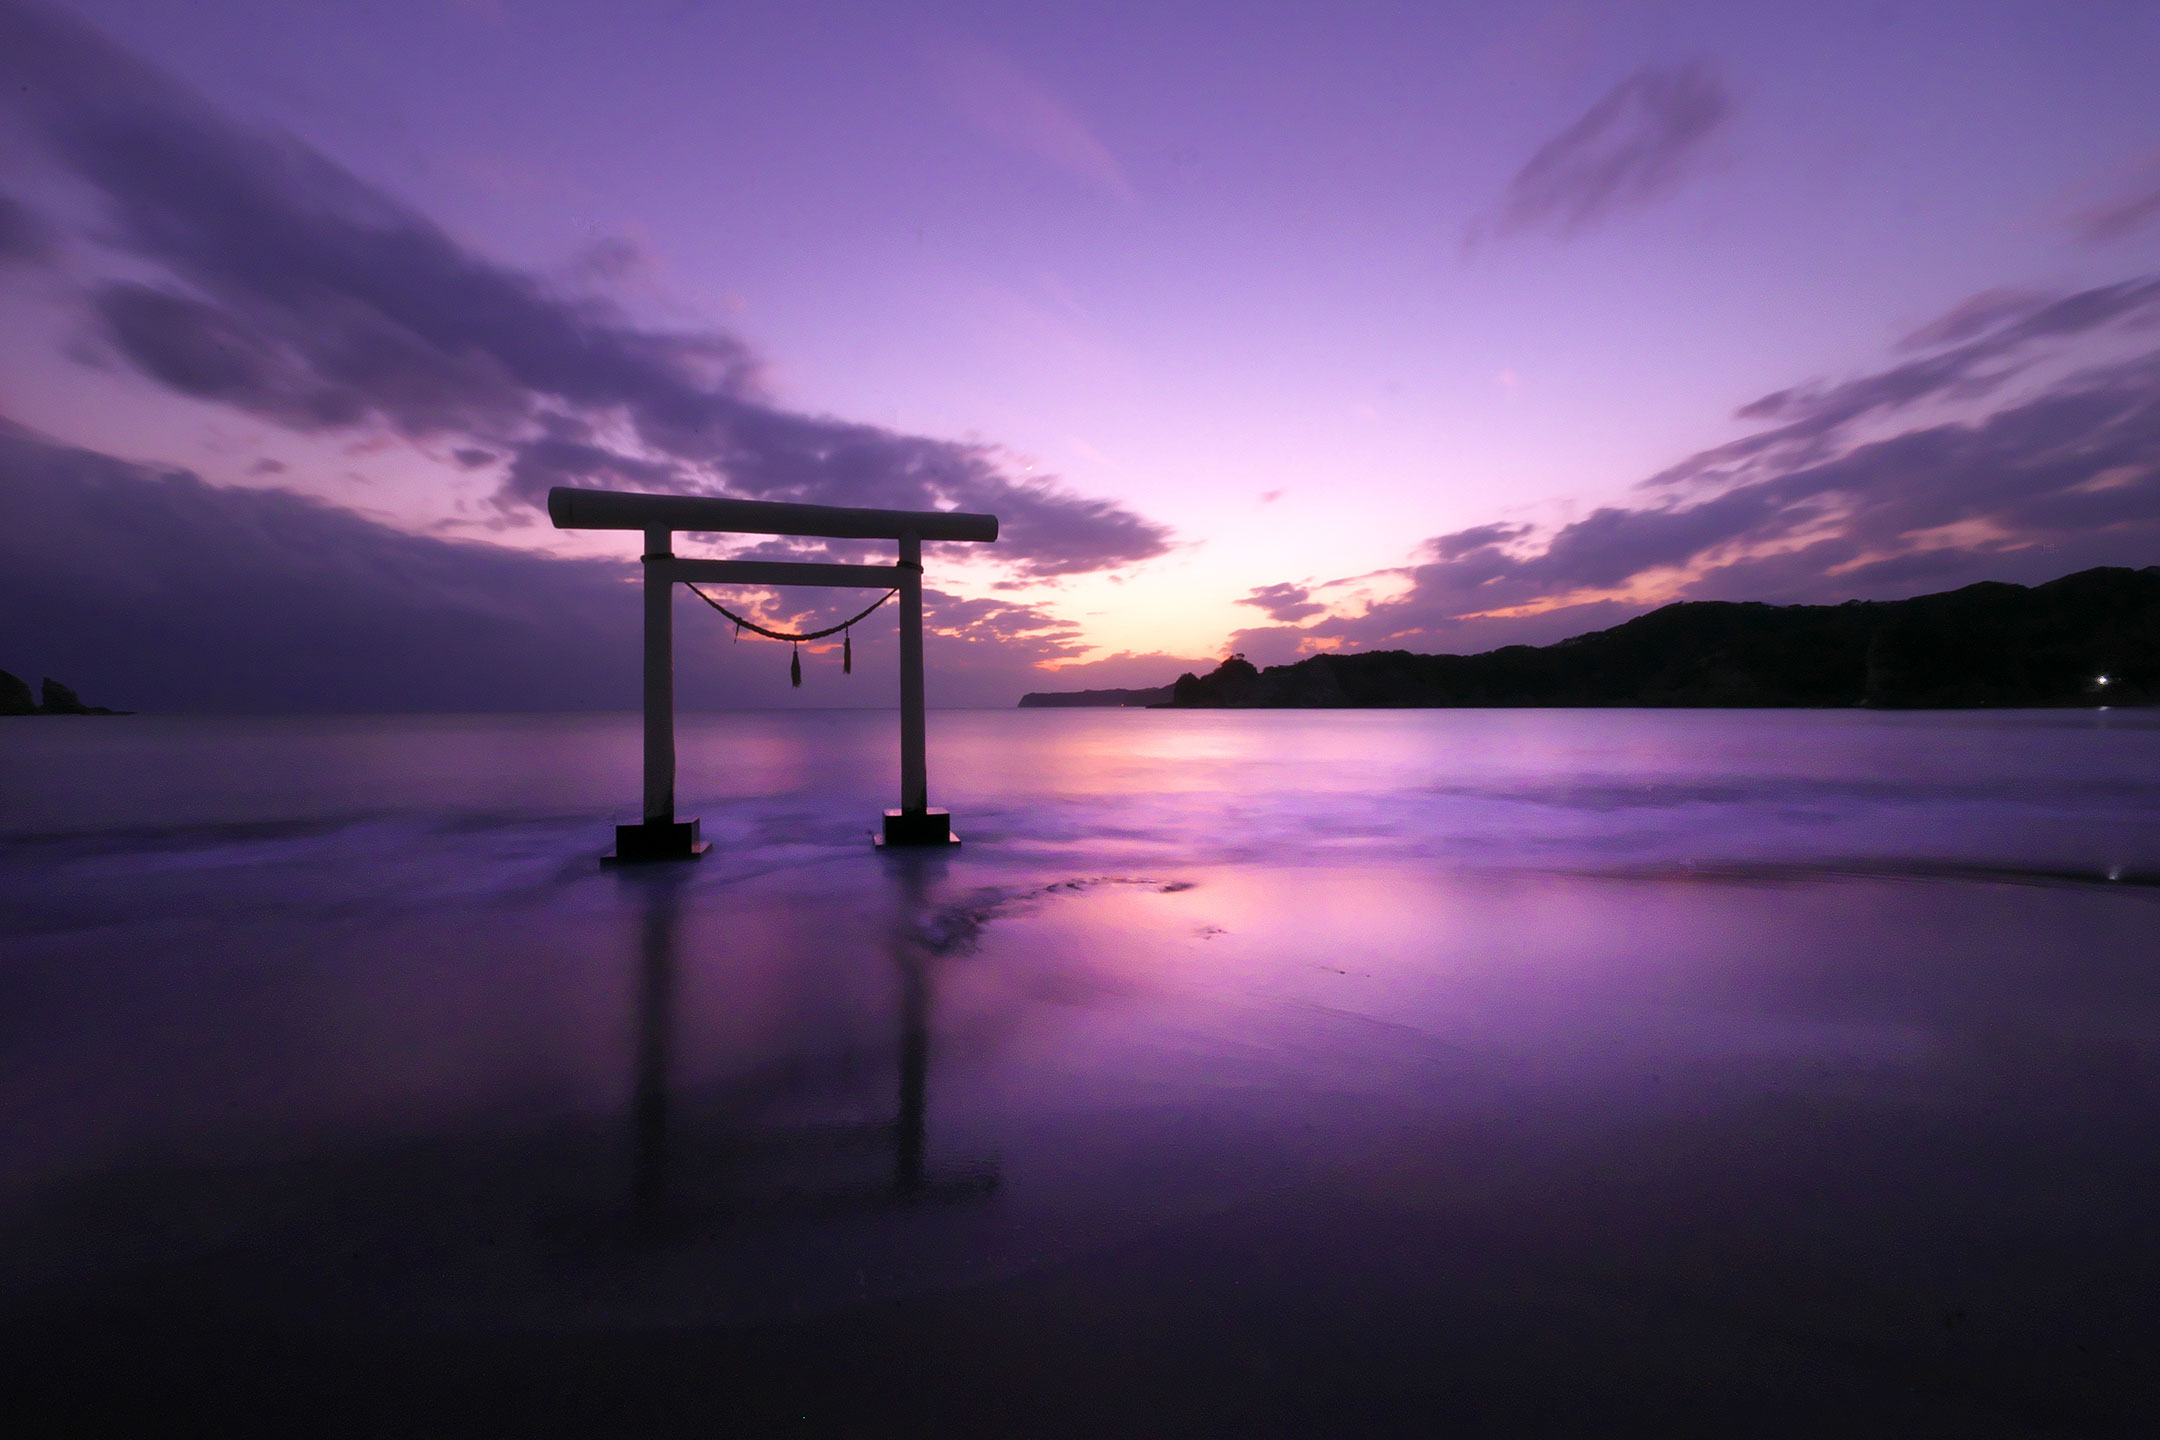
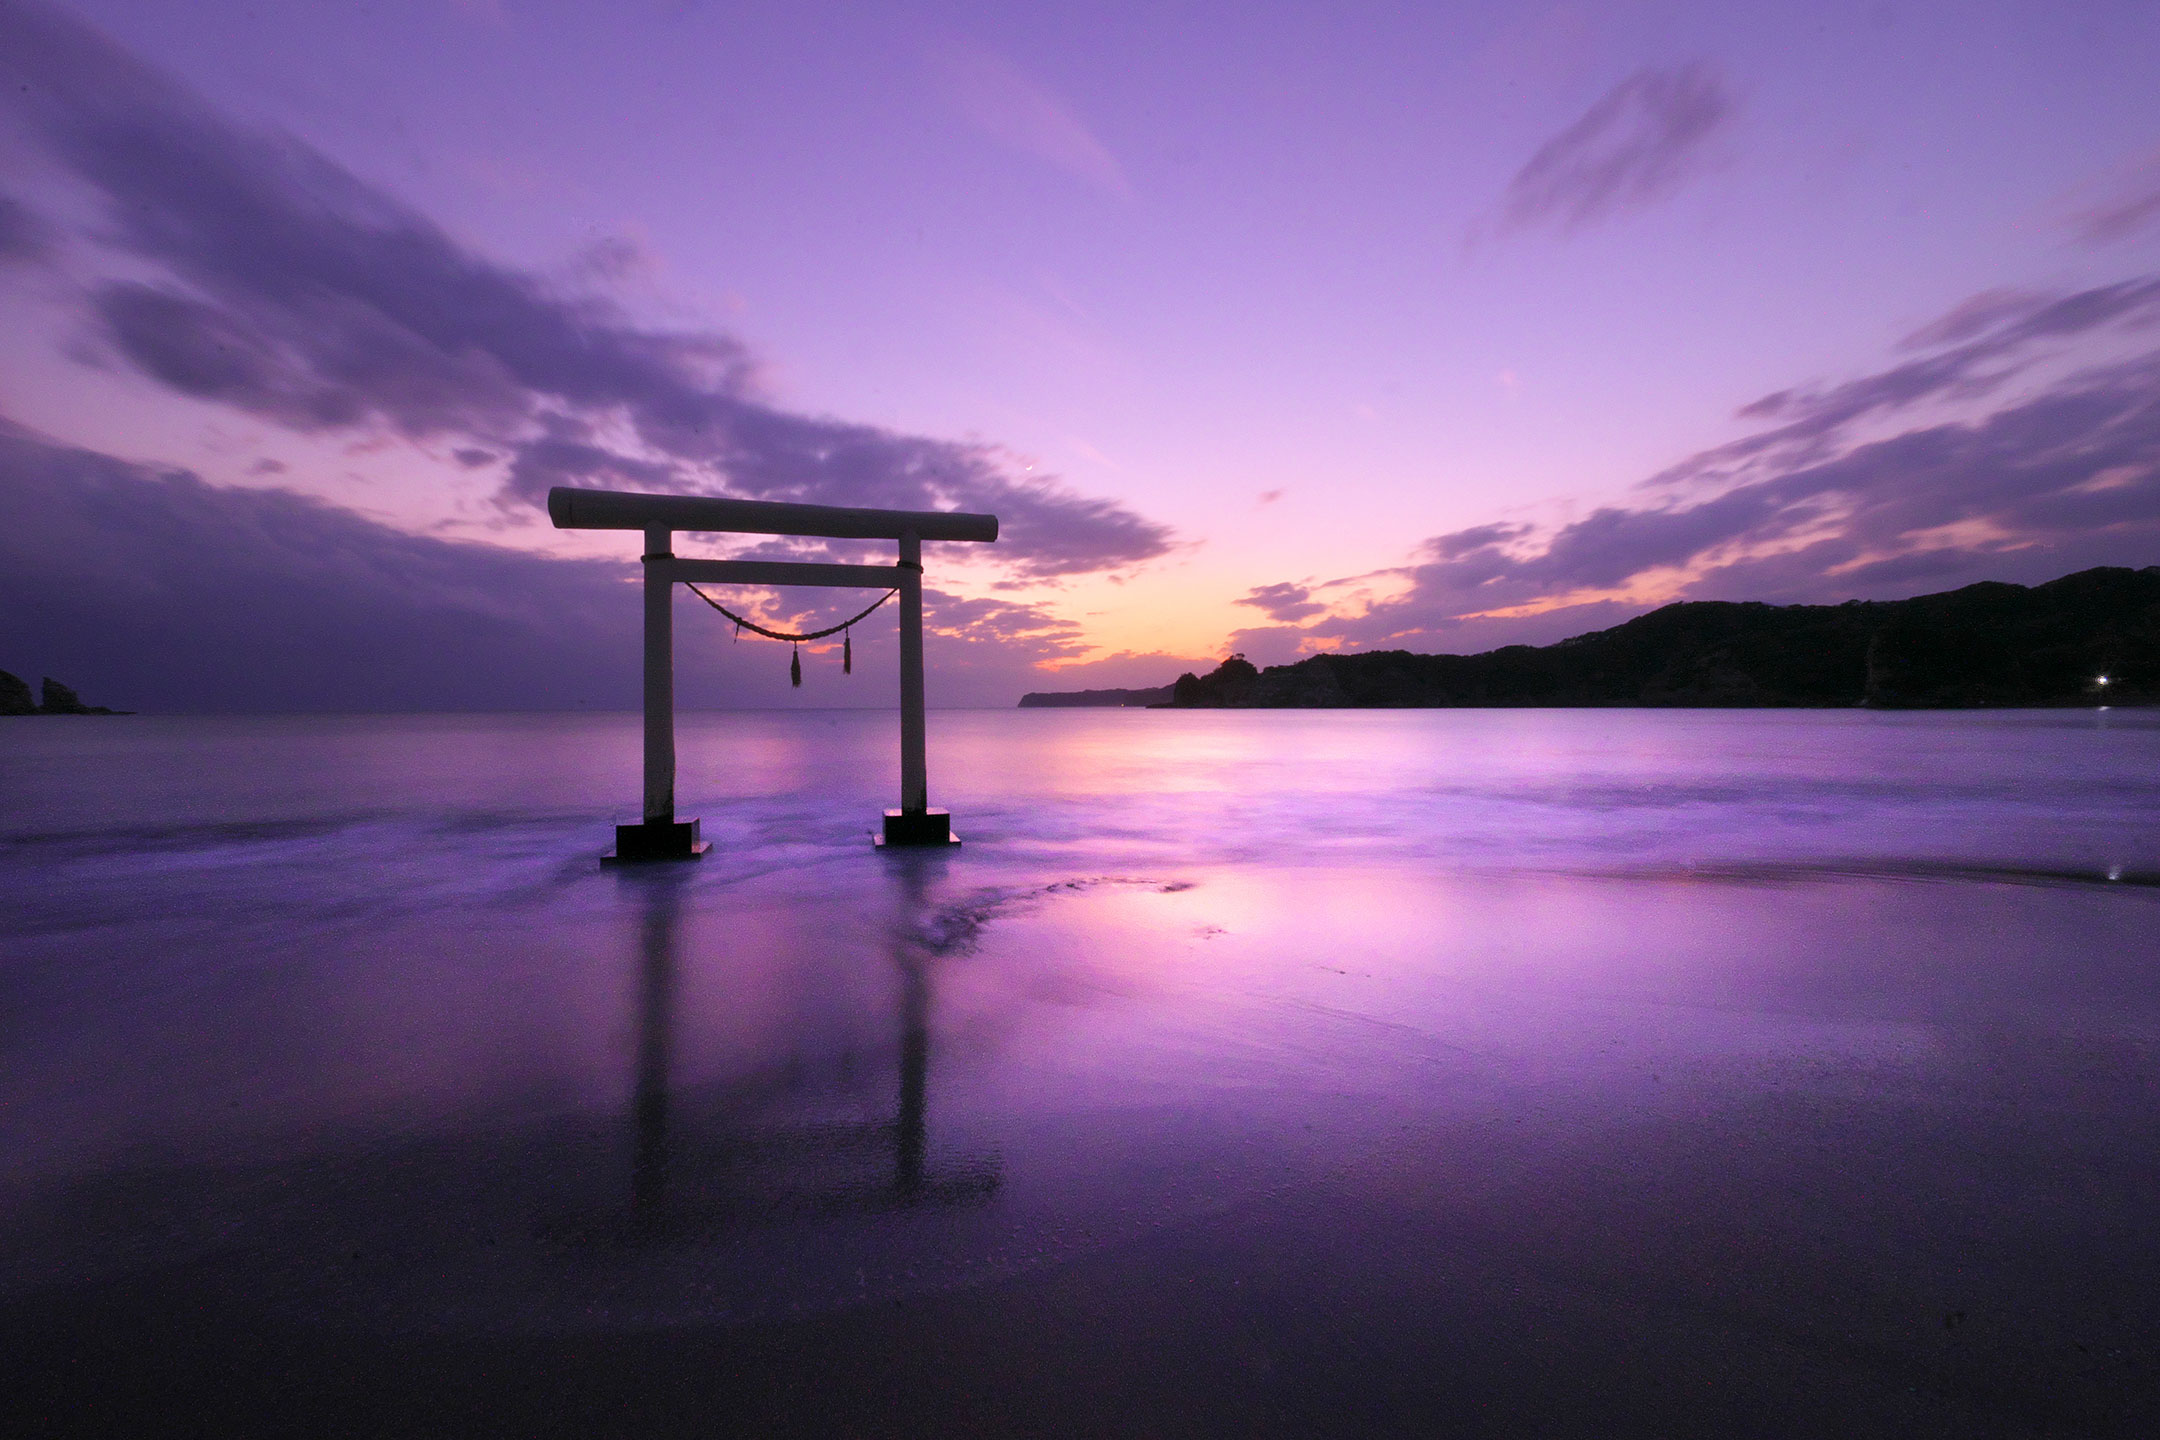
Clear the Haze
Add the "Dehaze" slider to the adjustment item for the mist removement of hazy images caused by atmospheric moisture or vapor.
Function used: Dehaze
Ideal finish with simple tasks
- "Automatic adjustment button" that can be adjusted with one click.
- Equipped with adjustable HDR function with 1 photo.
- Fine color controller which can be used to adjust each specific color.
- Easy remove unwanted objects using the Spotting Tool, such as dust that may appear.
- Images to be adjusted can be searched from "shooting information" such as shooting date.
Feature comparison
It is a feature comparison of SILKYPIX Developer Studio 8SE / SILKYPIX Developer Studio Pro9 for Panasonic. (As of June 18, 2019)
8SE |
Pro9 for Panasonic |
8SE |
Pro9 for Panasonic |
||
|---|---|---|---|---|---|
| Auto adjustment button | ✓ | Sharpness | ✓ | ✓ | |
| Exposure bias | ✓ | ✓ | Noise reduction | ✓ | ✓ |
| HDR | ✓ | ✓ | Lens aberration controller | ✓ | ✓ |
| Individual adjustment of highlight/shadow | ✓ | Fine color controller | ✓ | ✓ | |
| White balance | ✓ | ✓ | Fine-tuning by "White balance adjustment" | ✓ | ✓ |
| Multi-Light source compensation | ✓ | Spotting tool | ✓ | ✓ | |
| Tone | ✓ | ✓ | Crop tool | ✓ | ✓ |
| Clarity | ✓ | ✓ | Rotation / shift lens effect | ✓ | ✓ |
| Dehaze | ✓ | Portrait beautification | ✓ | ||
| Tone curve | ✓ | ✓ | Add noise | ✓ | |
| L tone curve | ✓ | Blurred / Sharp periphery | ✓ | ||
| Color | ✓ | ✓ | Partial correction tool | ✓ | |
| Photo style | ✓ | ✓ | Monochrome controller | ✓ | |
| Individual adjustment of contrast in photo style | ✓ | Underwater photo controller | ✓ | ||
| Individual adjustment of saturation in photo style | ✓ | Soft proofing | ✓ | ✓ |
8SE |
Pro9 for Panasonic |
|
|---|---|---|
| Auto adjustment button | ✓ | |
| Exposure bias | ✓ | ✓ |
| HDR | ✓ | ✓ |
| Individual adjustment of highlight/shadow | ✓ | |
| White balance | ✓ | ✓ |
| Multi-Light source compensation | ✓ | |
| Tone | ✓ | ✓ |
| Clarity | ✓ | ✓ |
| Dehaze | ✓ | |
| Tone curve | ✓ | ✓ |
| L tone curve | ✓ | |
| Color | ✓ | ✓ |
| Photo style | ✓ | ✓ |
| Individual adjustment of contrast in photo style | ✓ | |
| Individual adjustment of saturation in photo style | ✓ | |
| Sharpness | ✓ | ✓ |
| Noise reduction | ✓ | ✓ |
| Lens aberration controller | ✓ | ✓ |
| Fine color controller | ✓ | ✓ |
| Fine-tuning by “White balance adjustment” | ✓ | ✓ |
| Spotting tool | ✓ | ✓ |
| Crop tool | ✓ | ✓ |
| Rotation / shift lens effect | ✓ | ✓ |
| Portrait beautification | ✓ | |
| Add noise | ✓ | |
| Blurred / Sharp periphery | ✓ | |
| Partial correction tool | ✓ | |
| Monochrome controller | ✓ | |
| Underwater photo controller | ✓ | |
| Soft proofing | ✓ | ✓ |
* This comparison list is part of the feature.
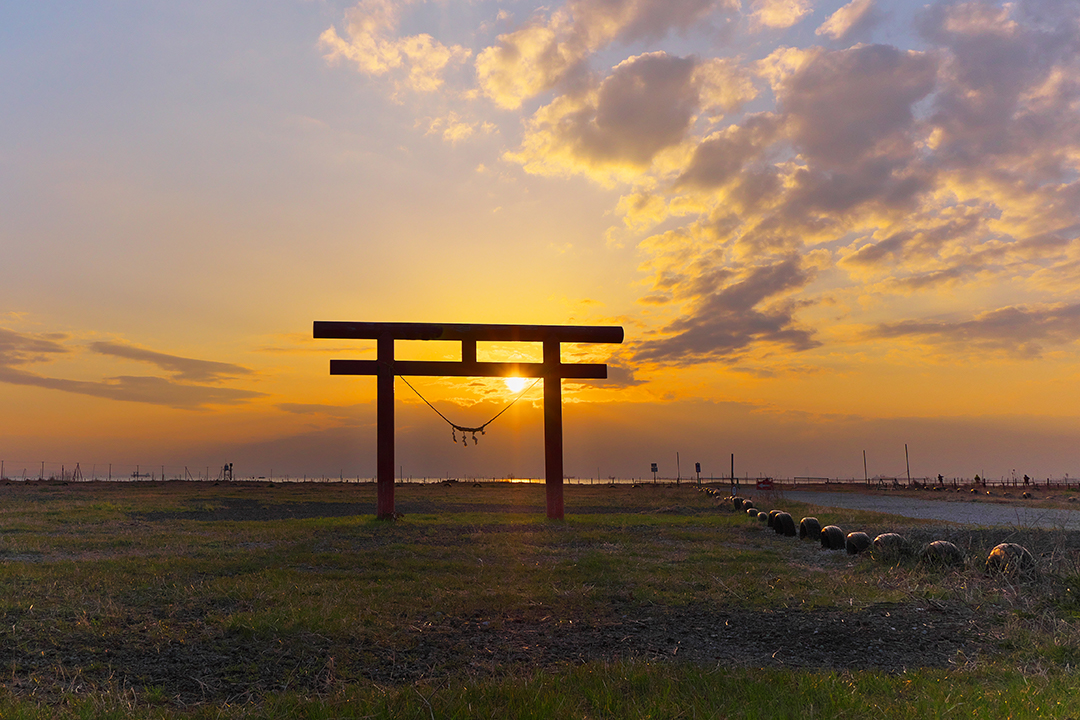
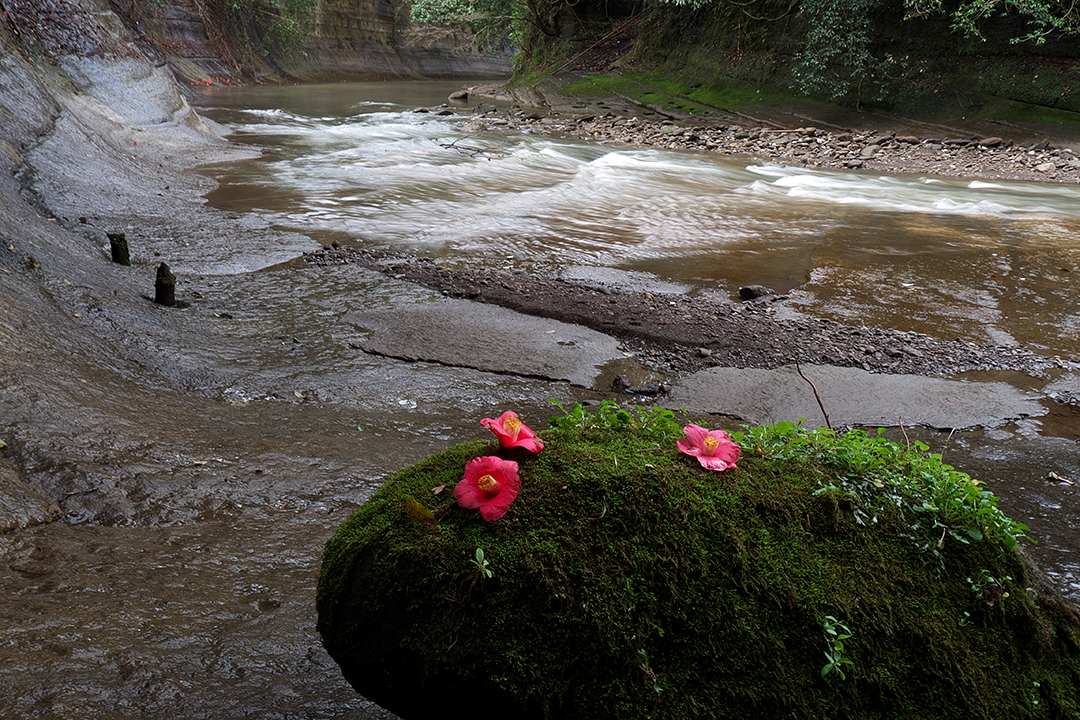
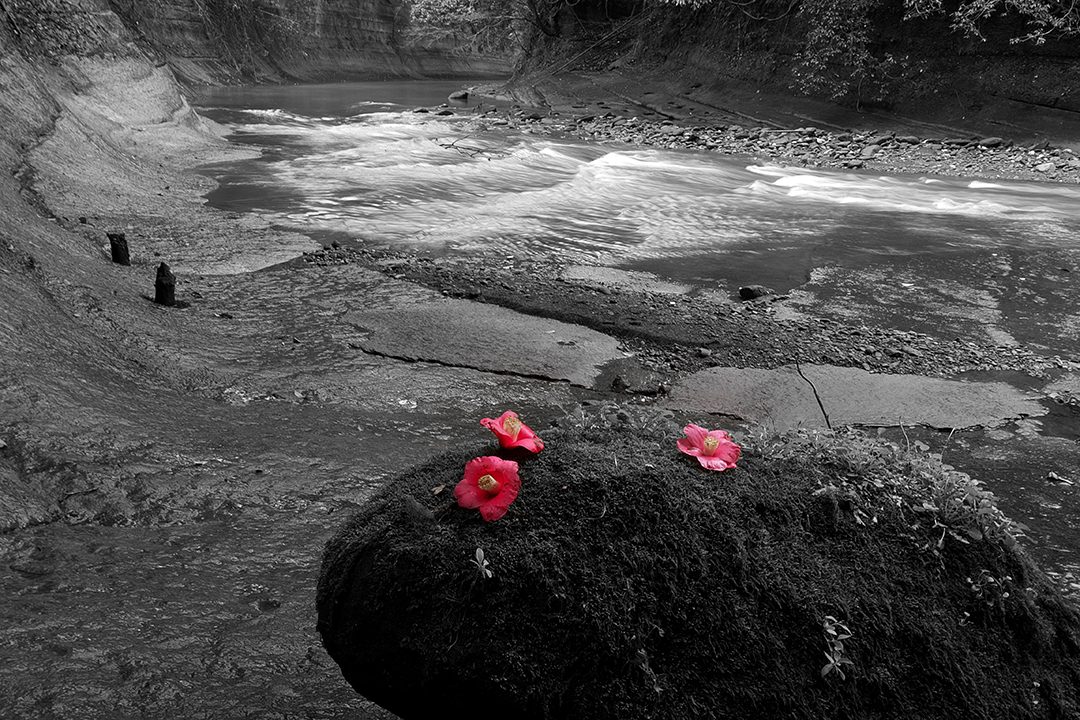
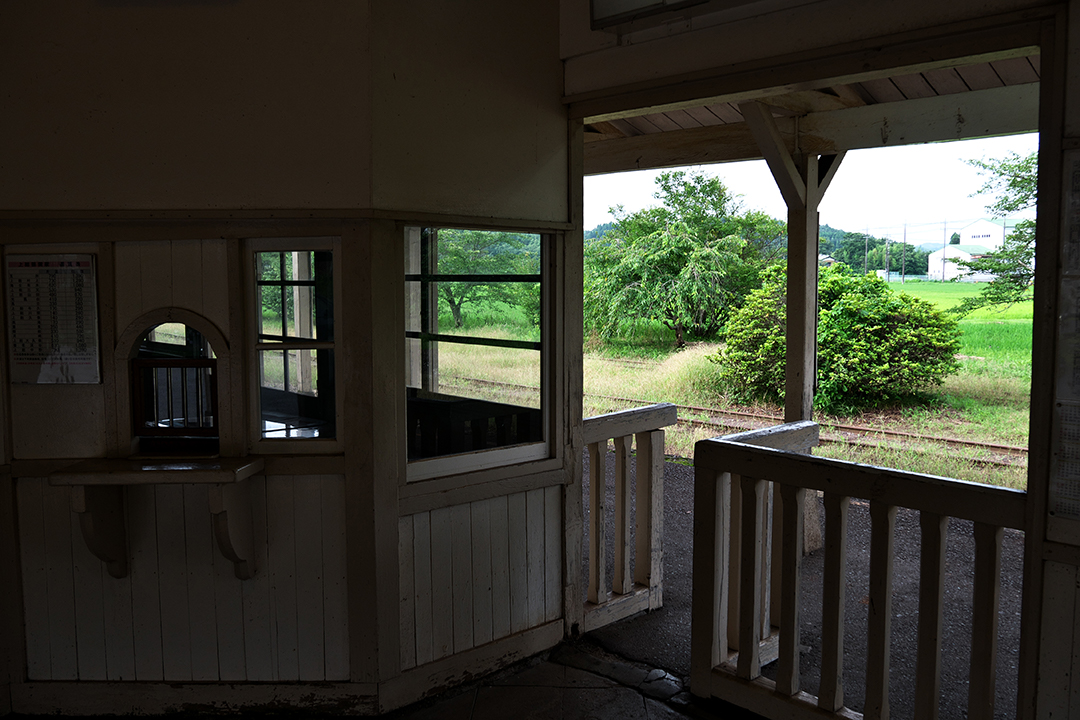
Adjustment example


- Auto adjustment
- Photo Style
- Partial correction
- Highlight/Shadow
- Blurred / Sharp periphery
- Clarity
- Monochrome controller
- Dehaze
The "Auto adjustment"button adjusts to the optimal exposure, white balance, and level correction for SILKYPIX all at once.
This feature is recommended for those who are "RAW development has many adjustable items and do not know what to start from."
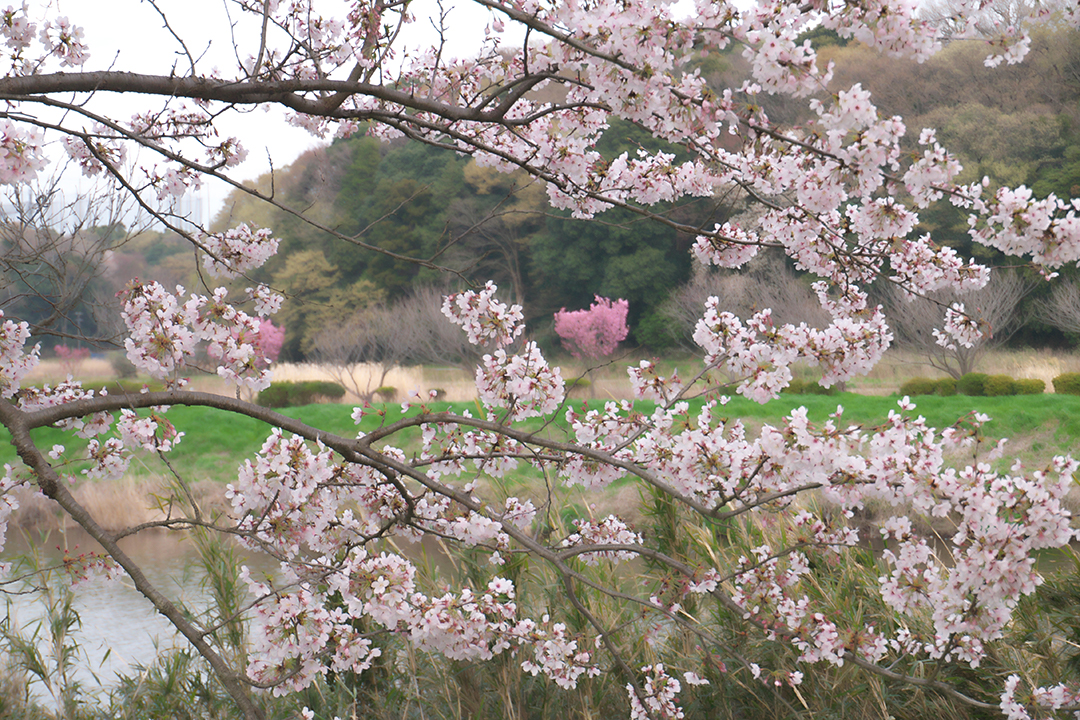
It supports "Photo Style" which is the function of Panasonic digital camera.
If it is RAW data, it is possible to select "Photo Style" again at the time of adjustment.
It can be selected in the case of RAW data captured by some compatible cameras.
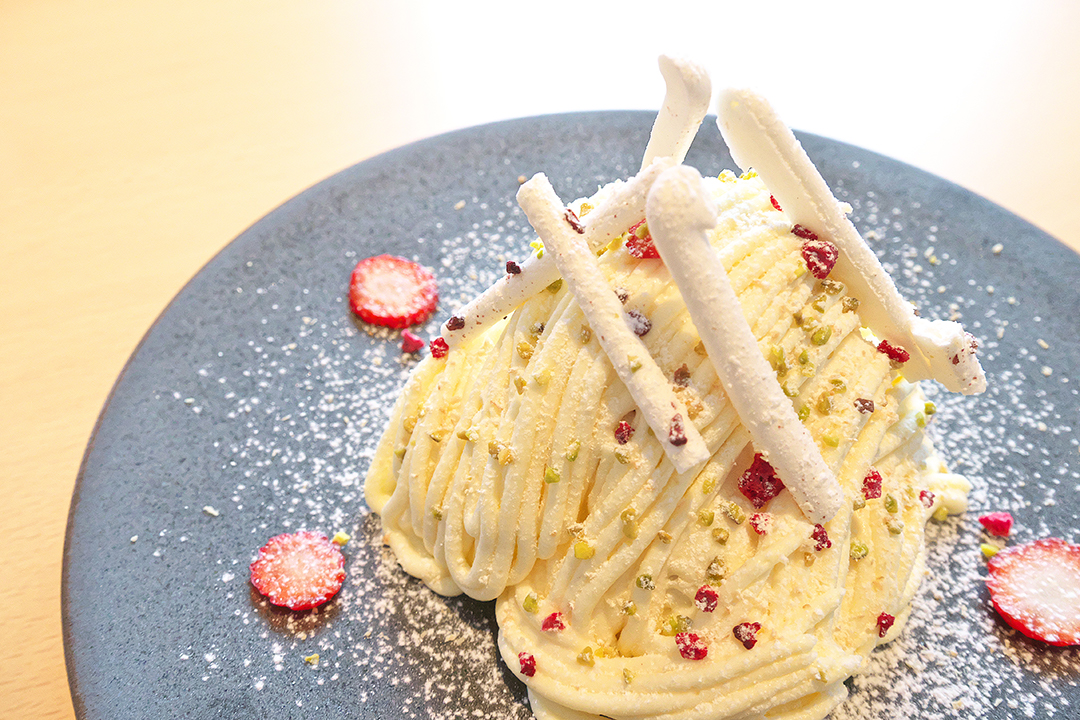
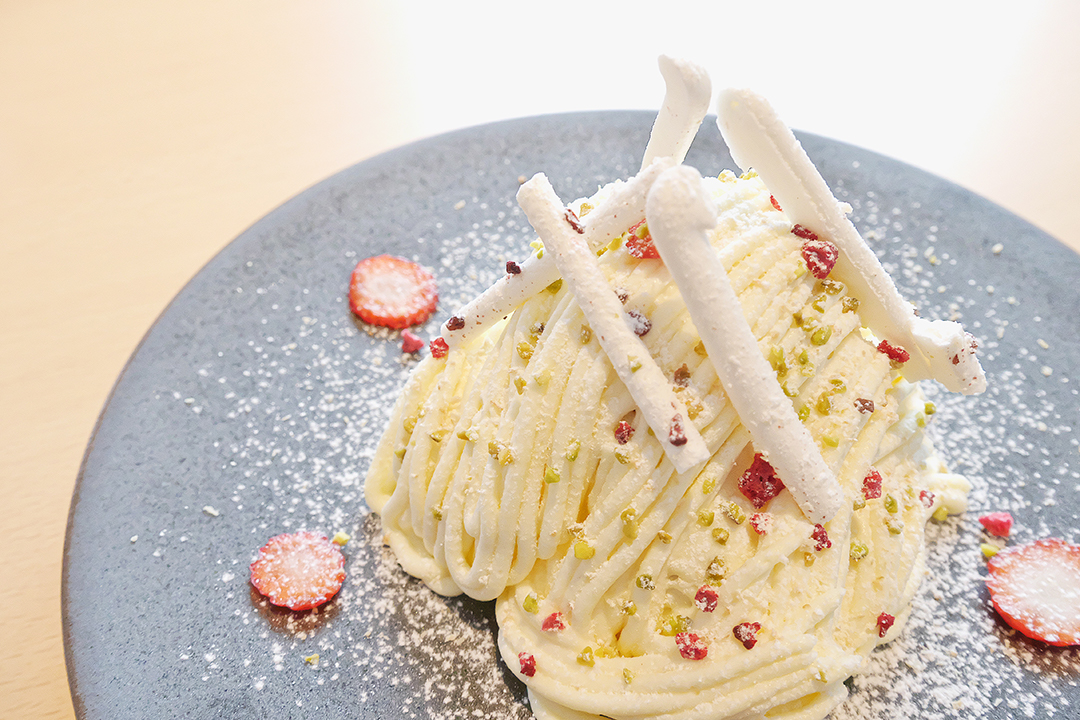
You can adjust the Lightness, Saturation, Contrast, etc. by specifying only the area you want to adjust.
It is also possible to easily create monochrome photos with only a partial color.
Adjust brightness of highlight/shadow individually.
This function makes it possible to get close to the image with this function,
even if it is difficult to adjust the exposure when shooting, such as a backlit scene with large contrast.
You can create a close-up effect by blurring the surroundings of the subject that is the main subject in "Blurred periphery".
You can make a good correction using "Sharp periphery", etc.
when shooting with the aperture stop value of the lens and the peripheral resolution drops.
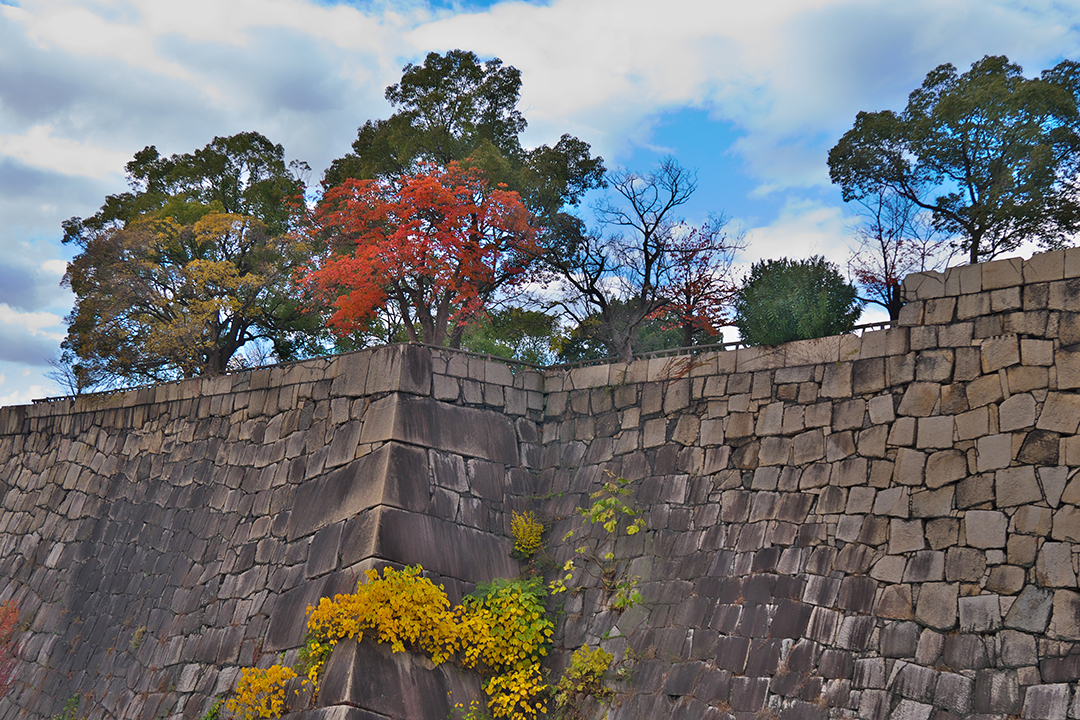
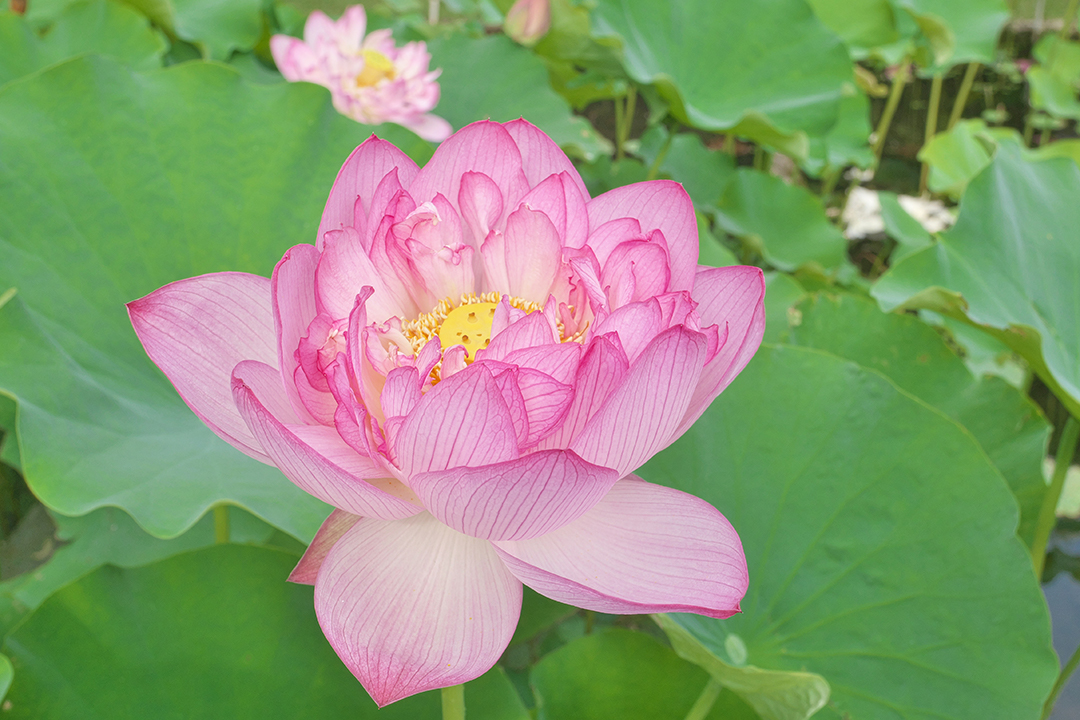
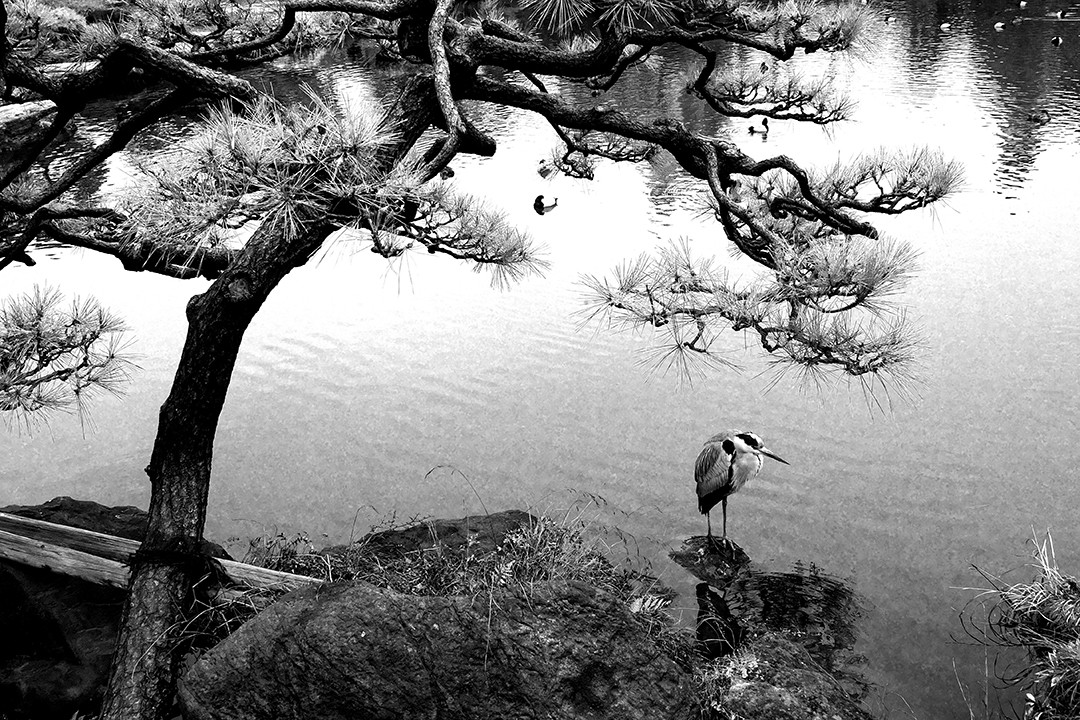
By enhancing the effect of "Clarity," you can emphasize the texture of the subject.
Conversely, when you want to soften the texture of flowers and portraits, you can do so by reducing the effect.
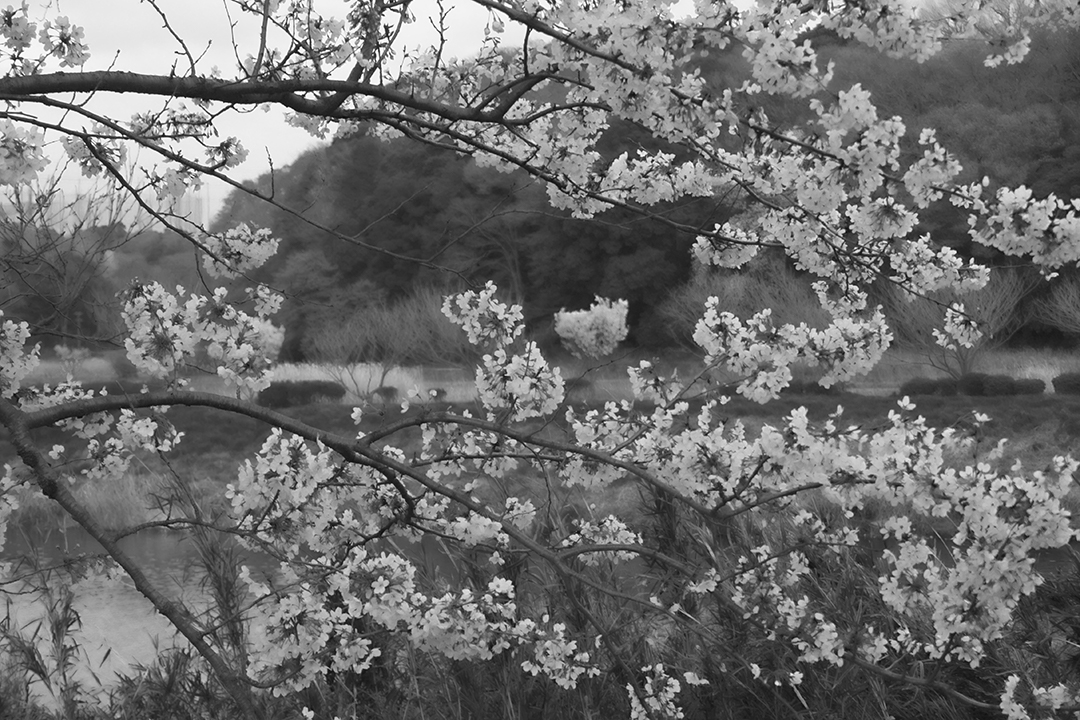
A "Monochrome Controller" function has been installed specialized for adjusting monochrome pictures.
Eight kinds of "Color filters" and the "Lightness" can be adjusted,
so you can freely adjust the monochrome tone to thorough finish your black and white photographs.
Add the "Dehaze" slider to the adjustment item for the mist removement of hazy images caused by atmospheric moisture or vapor.
With this function, you can finish the hazy landscape clearly.
System requirements
- Microsoft® Windows® 10 / 8.1 64-bit version
* It does not correspond to the Windows® 10 tablet mode.
* It does not correspond to 32-bit version OS. - CPU: Intel® Pentium 4 or later / AMD Athlon 64 or later
- Memory: 4GB or more RAM (8GB or higher recommended)
- HDD: 10GB of available hard-disk space or more
- Display: XGA (1024×768) or higher
- macOS® v10.9 - v10.15
- CPU: Intel® Core 2 Duo or higher processor
- Memory: 4GB or more RAM (8GB or higher recommended)
- HDD: 10GB of available hard-disk space or more
- Display: XGA (1024×768) or higher
Supported digital cameras
- DMC-L1
- DMC-L10
- DMC-G1
- DMC-G2
- DMC-G3
- DMC-G5
- DMC-G6 *2
- DMC-G7 *2
- DMC-G8 *2
- DC-G9 *2
- DMC-G10
- DMC-G70 *2
- DMC-G80 *2
- DMC-G81 *2
- DMC-G85 *2
- DC-G90 *2
- DC-G90D *2
- DC-G91 *2
- DC-G91D *2
- DC-G95 *2
- DC-G99 *2
- DMC-GF1
- DMC-GF2
- DMC-GF3
- DMC-GF5
- DMC-GF6 *2
- DMC-GF7 *2
- DMC-GF8 *2
- DC-GF9 *2
- DC-GF10 *2
- DC-GF90 *2
- DMC-GH1
- DMC-GH2
- DMC-GH3 *2
- DMC-GH4 *2
- DC-GH5 *2
- DC-GH5S *2 *4
- DMC-GM
(DMC-GM1) *2 - DMC-GM1S *2
- DMC-GM5 *2
- DMC-GX1
- DMC-GX7 *2
- DMC-GX7MK2 *2
- DC-GX7MK3 *2
- DMC-GX8 *2
- DC-GX9 *2
- DMC-GX80 *2
- DMC-GX85 *2
- DC-GX800 *2
- DC-GX850 *2
- AG-GH4 *2
- DC-S1 *2
- DC-S1R *2
- DMC-CM1 *2
- DMC-CM10 *2
- DMC-FZ8
- DMC-FZ18
- DMC-FZ28
- DMC-FZ30 *1
- DMC-FZ35
- DMC-FZ38
- DMC-FZ40
- DMC-FZ45
- DMC-FZ50 *1
- DMC-FZ70
- DMC-FZ72
- DC-FZ80 *2
- DC-FZ81 *2
- DC-FZ82 *2
- DC-FZ83 *2
- DC-FZ85 *2
- DMC-FZ100
- DMC-FZ150
- DMC-FZ200
- DMC-FZ300 *2
- DMC-FZ330 *2
- DMC-FZ1000 *2
- DC-FZ10002 *2
- DC-FZ1000M2 *2
- DMC-FZ2000 *2
- DMC-FZ2500 *2
- DMC-FZH1 *2
- DMC-FX150
- DMC-FX180
- DMC-LC1
- DMC-LF1
- DMC-LX1
- DMC-LX2
- DMC-LX3
- DMC-LX5
- DMC-LX7
- DMC-LX9 *2
- DMC-LX10 *2
- DMC-LX15 *2
- DMC-LX100 *2
- DC-LX100M2 *2
- DMC-TX1 *2
- DC-TX2 *2
- DMC-TZ60 *3
- DMC-TZ61 *3
- DMC-TZ70 *3
- DMC-TZ71 *3
- DMC-TZ80 *2
- DMC-TZ81 *2
- DMC-TZ85 *2
- DC-TZ90 *2
- DC-TZ91 *2
- DC-TZ92 *2
- DC-TZ93 *2
- DC-TZ95 *2
- DC-TZ96 *2
- DC-TZ97 *2
- DMC-TZ100 *2
- DMC-TZ101 *2
- DMC-TZ110 *2
- DC-TZ200 *2
- DC-TZ202 *2
- DC-TZ220 *2
- DMC-ZS40 *3
- DMC-ZS50 *3
- DMC-ZS60 *2
- DC-ZS70 *2
- DC-ZS80 *2
- DMC-ZS100 *2
- DMC-ZS110 *2
- DC-ZS200 *2
- DC-ZS220 *2
- In some mode, the number of recorded pixels is different from the development result created by the camera internal.
- "Photo Style/Camera color" is supported and an available photo style can be selected.
- "Photo Style/Camera color" is supported and only camera color is available.
- "V-Log L" of the "Photo Style" is not supported.
Contact and Support
Please check here first if you cannot open a RAW/JPEG file
The file which can be used with this product is restricted to the following files. Please note that this product cannot be used for RAW data with not supported cameras, or for JPEG / TIFF files without the appropriate information.
- RAW/JPEG files taken by Panasonic cameras*1 which are on supported camera list.
- JPEG/TIFF*2 files developed from RAW/JPEG files taken by Panasonic cameras*1 which are on supported camera list.
- Please check the list of supported cameras regarding to detail models.
- Available if Exif information is added at the development.
Contact regarding to purchasing
Please contact our Information Center regarding to purchasing.
Information Center- This license can be registered to 3 different PCs/Macs which are owned by individual or corporate.
- This product will be sold by downloading.
- You cannot upgrade to the SILKYPIX normal series from this product.
- License of this product is common in Windows and macOS. You can take an advantage both of the OS by purchase a license.