We will continue to introduce the features other than the adjustment features as “Useful features”!
In SILKYPIX Developer Studio, you can customize the screen and link with other software to suit your needs.
Control palette
A Control palette allows you to group controls into a palette. The combination of frequently used functions can be arranged in a palette to improve the efficiency of operations.
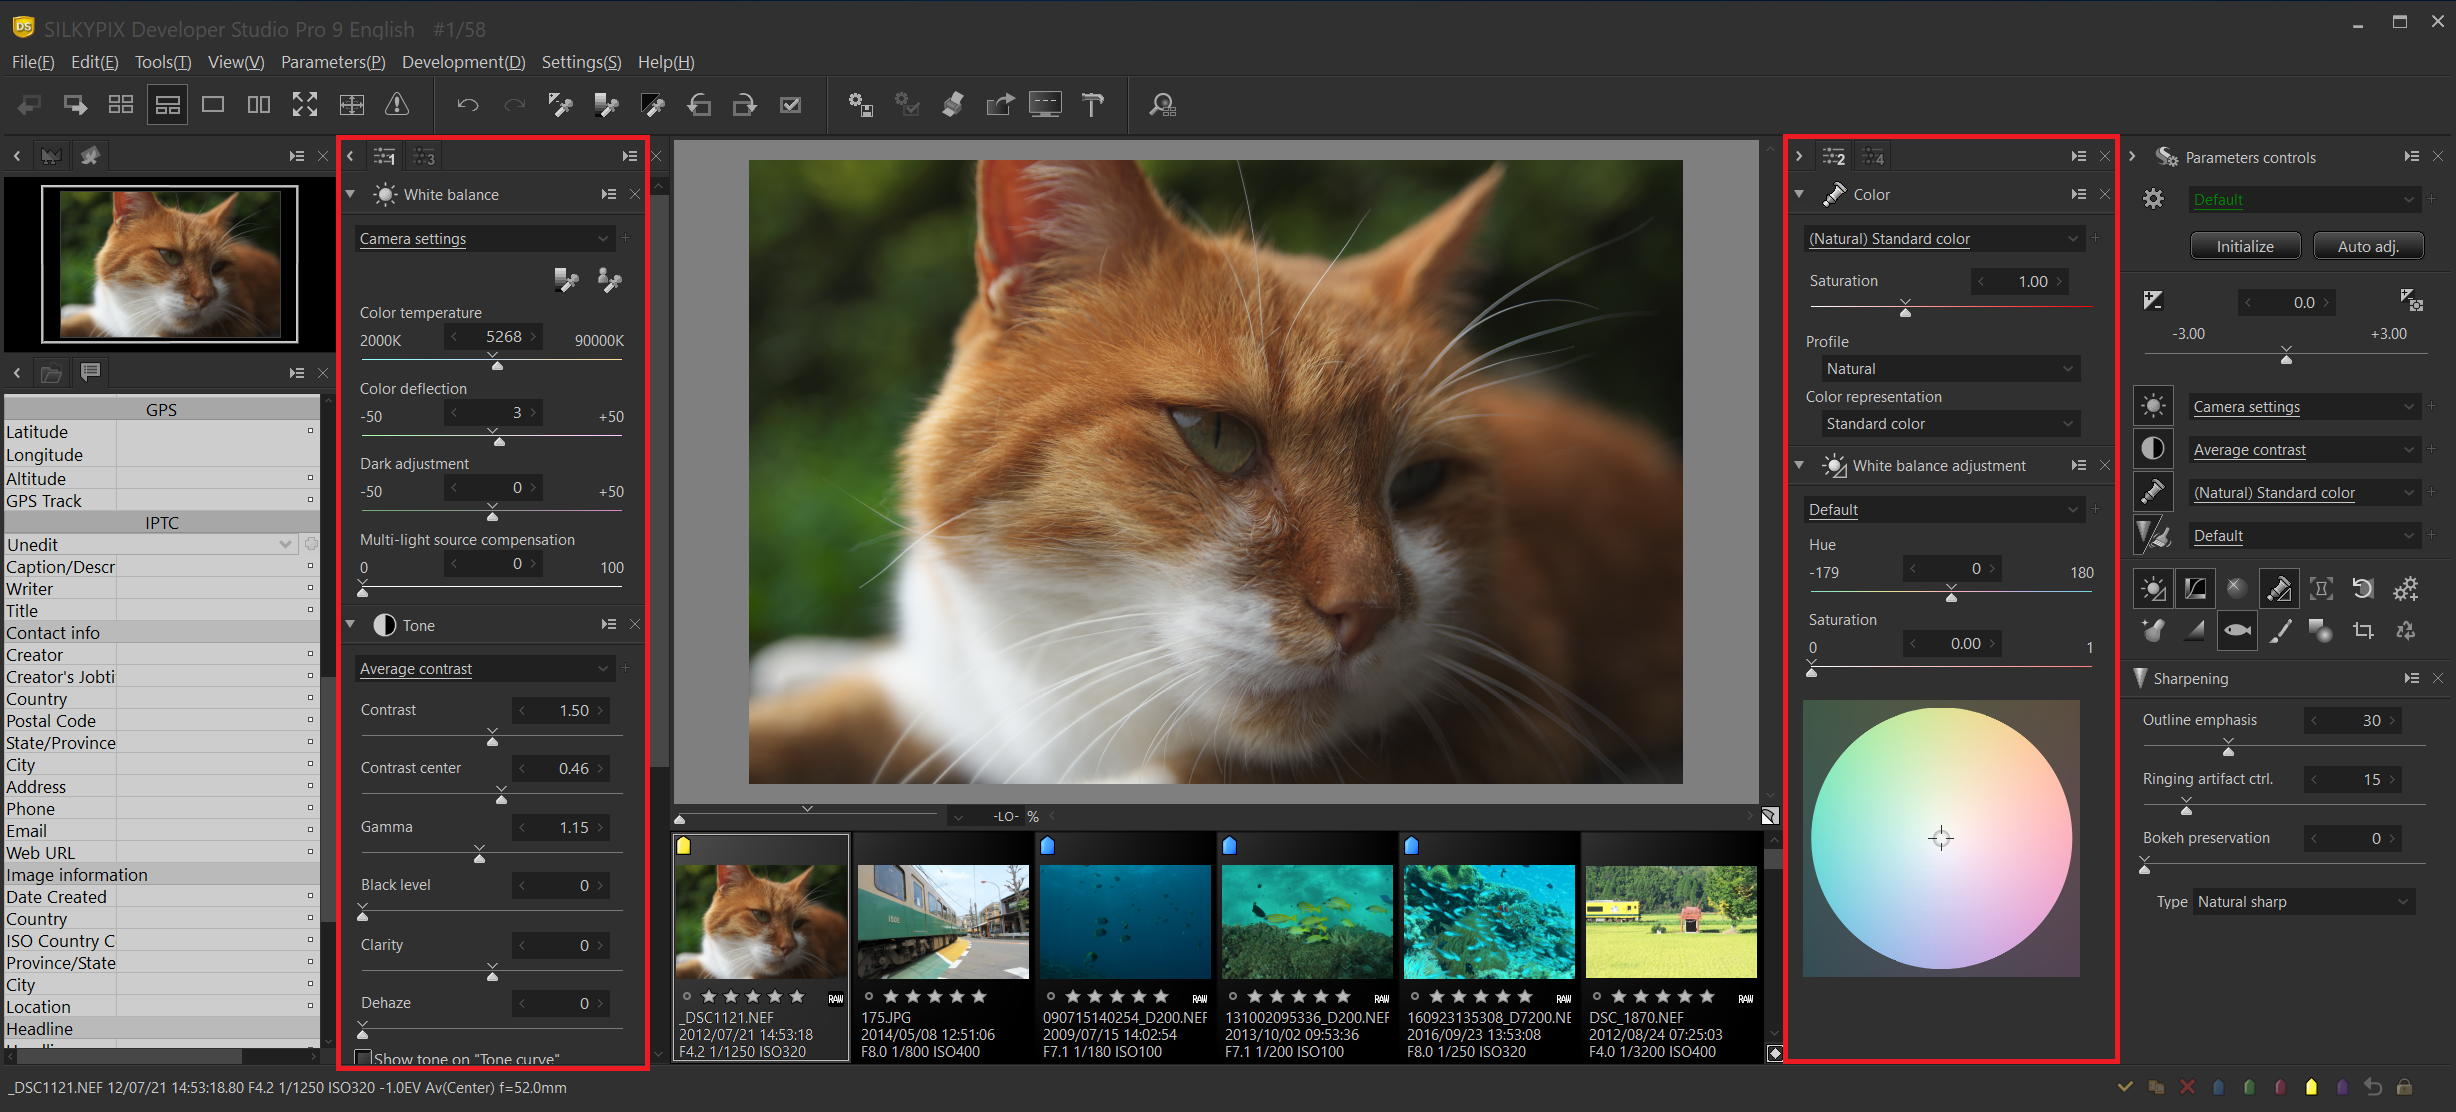

You can register up to four control palettes. 1 and 3 on the left side of the screen and 2 and 4 on the right side. The display of each palette can be switched using the tabs at the top.
Add Controls to the Control palette
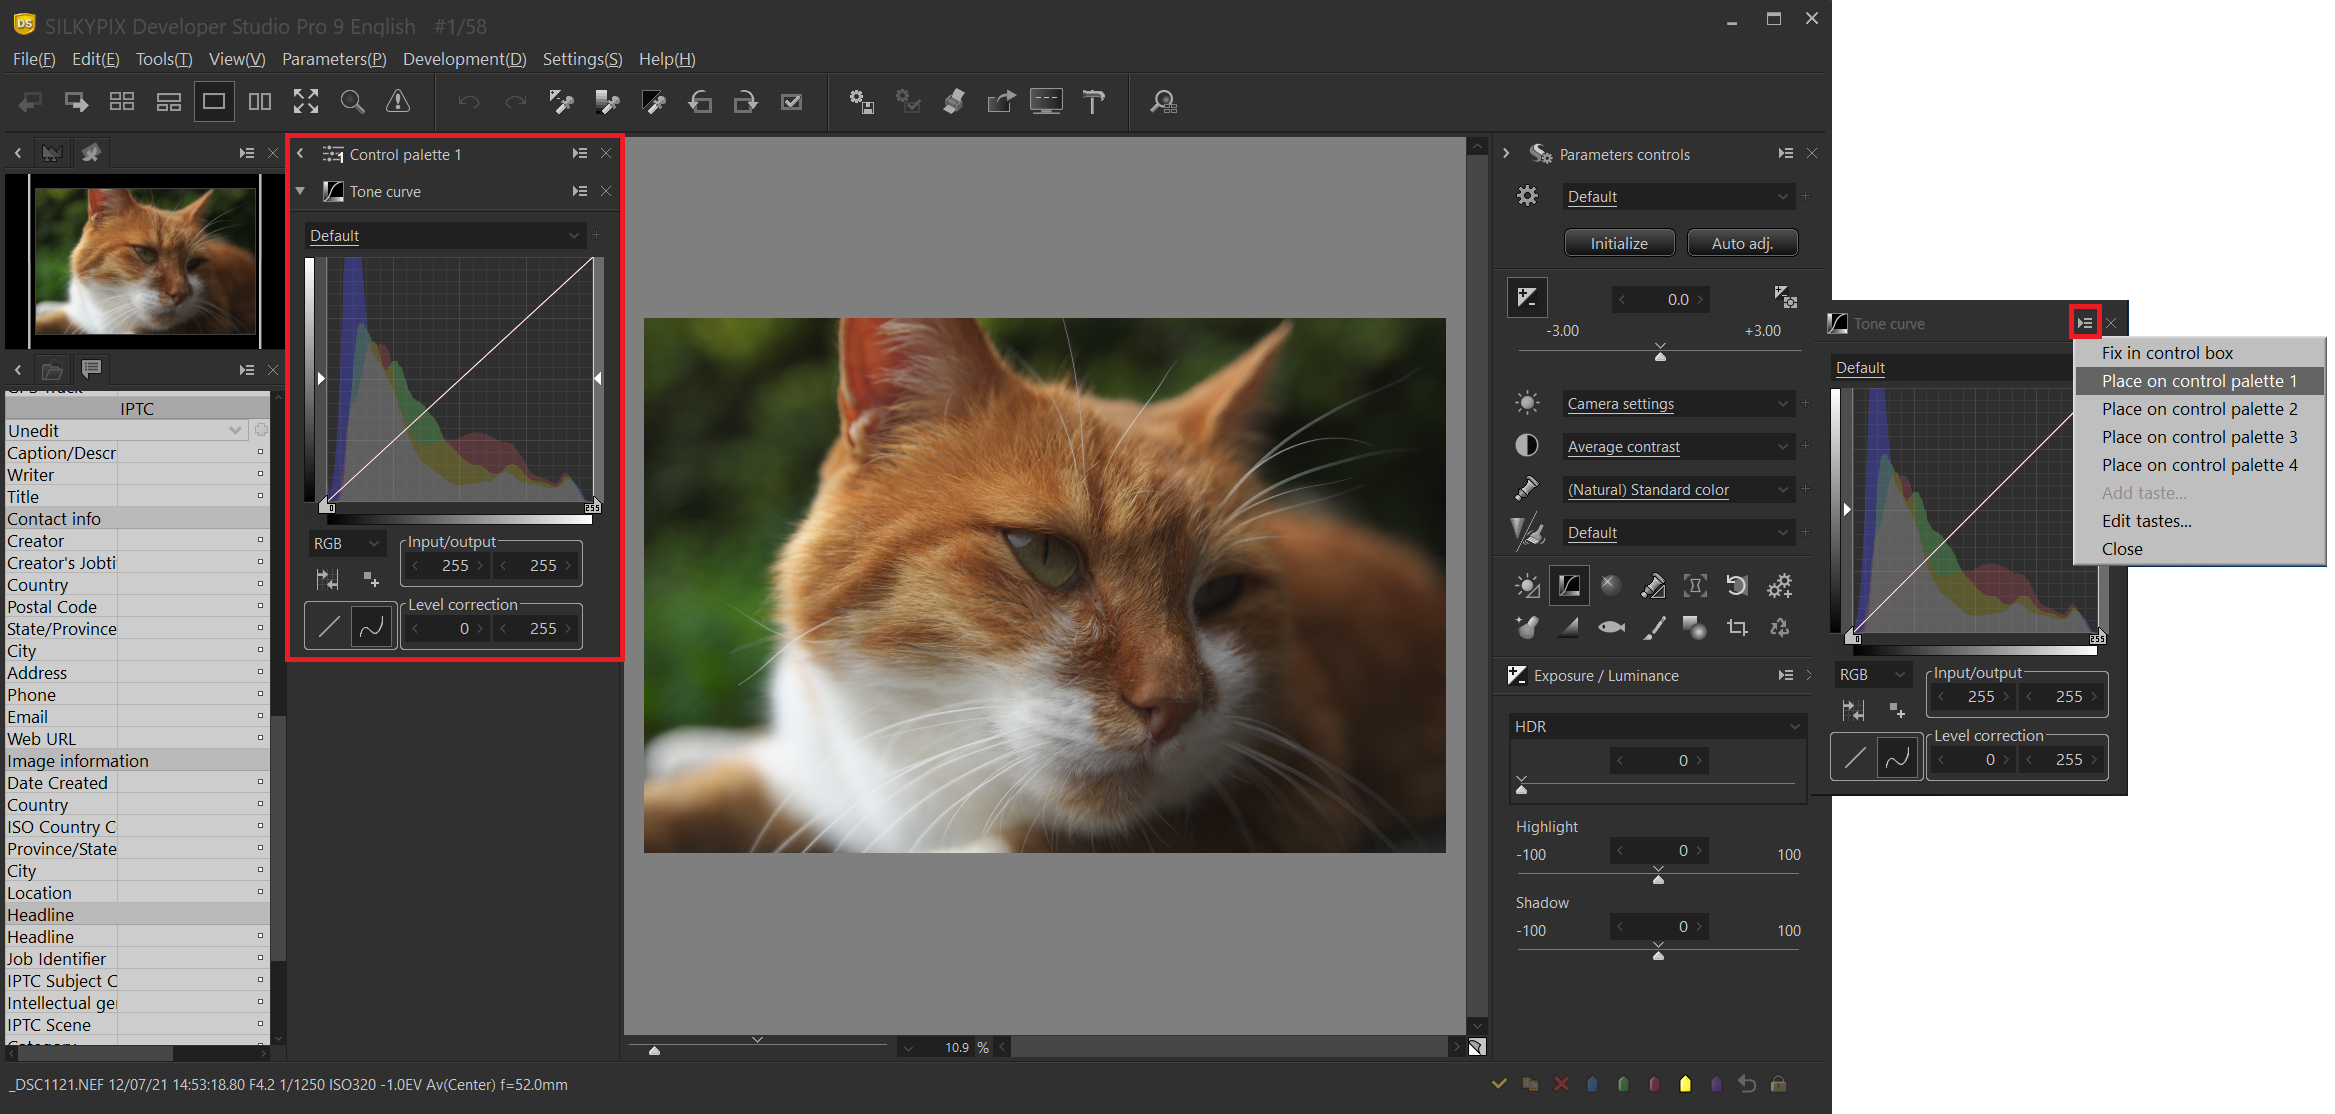
Click the Display menu button in the upper-right corner of each control to display its menu. If you choose “Place on control palette” in it, the Control palette appears and contains the controls.
Collapse the Controls
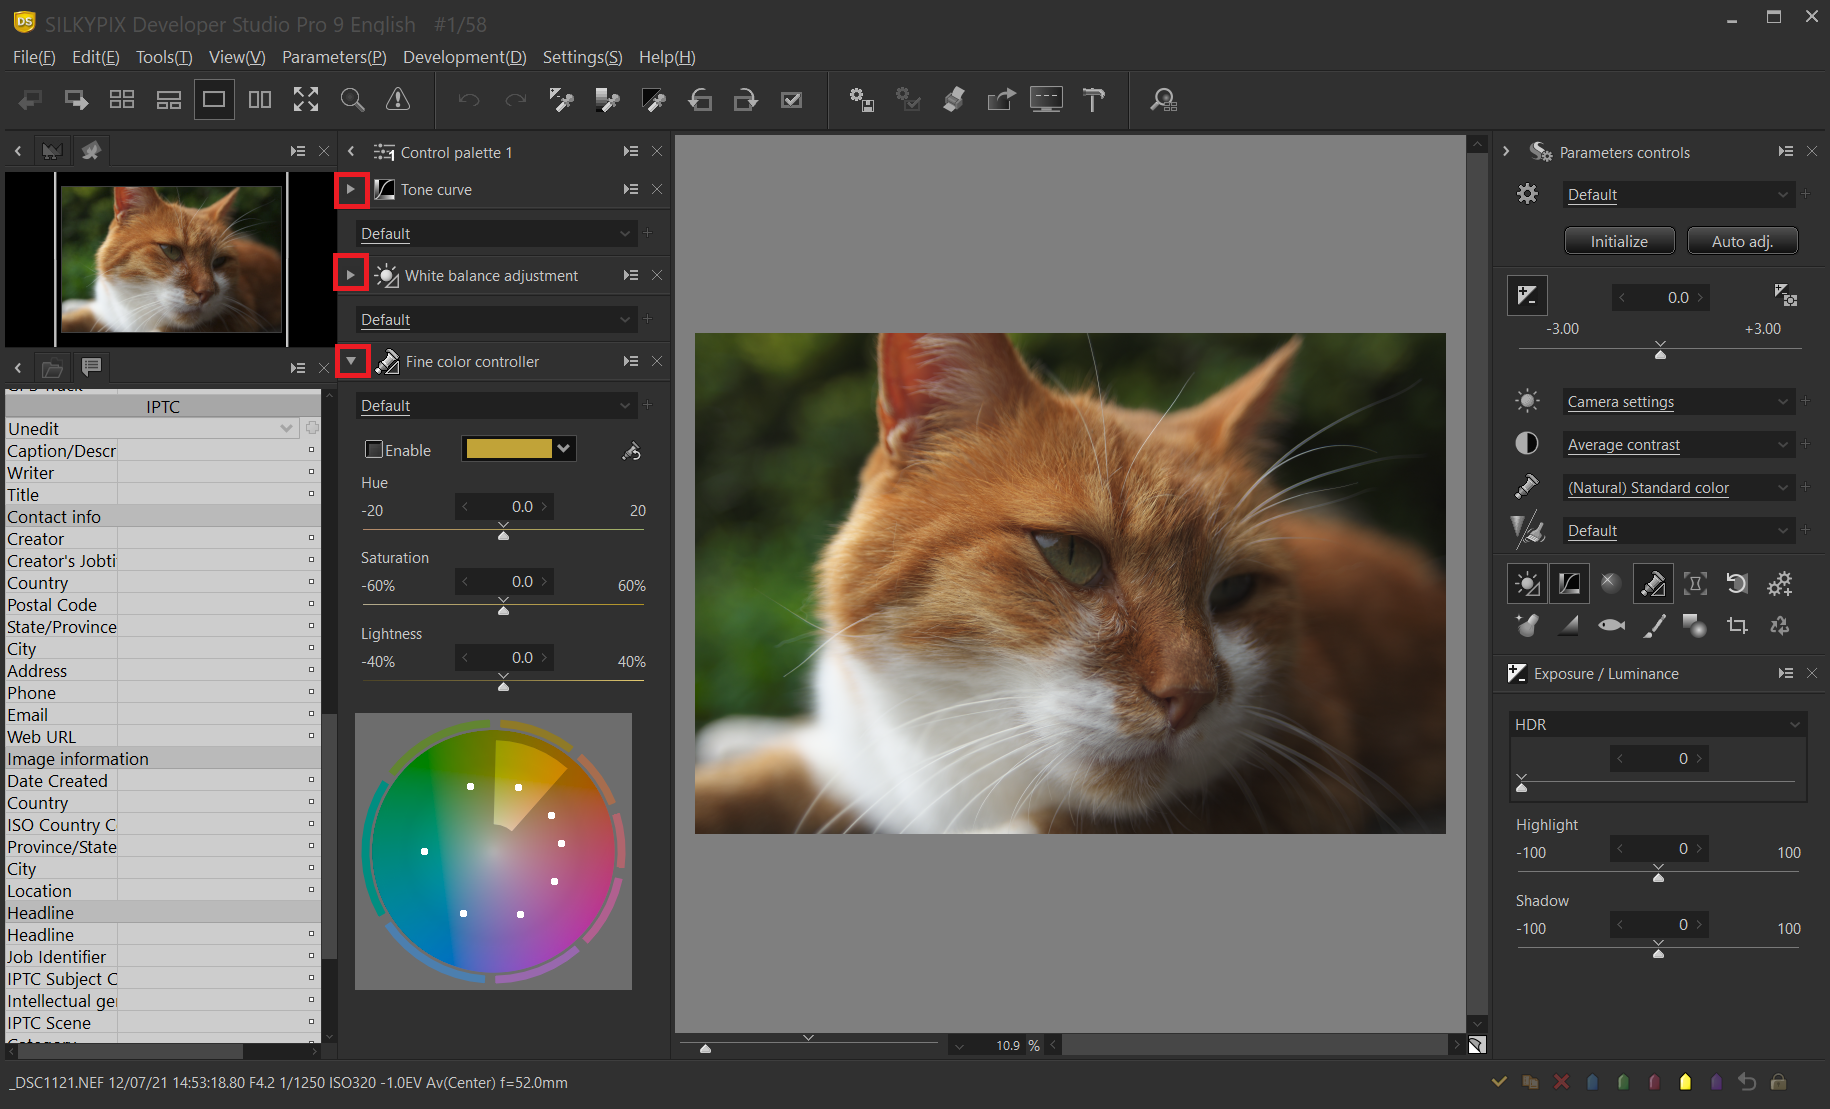
Controls arranged in the Control palette can be collapsed or opened by pressing the Inverted triangle buttons or by double-clicking the titles of the controls in the Control palette. The placement is easier to see, even if the controls are long vertically.
Collapse the Control palette
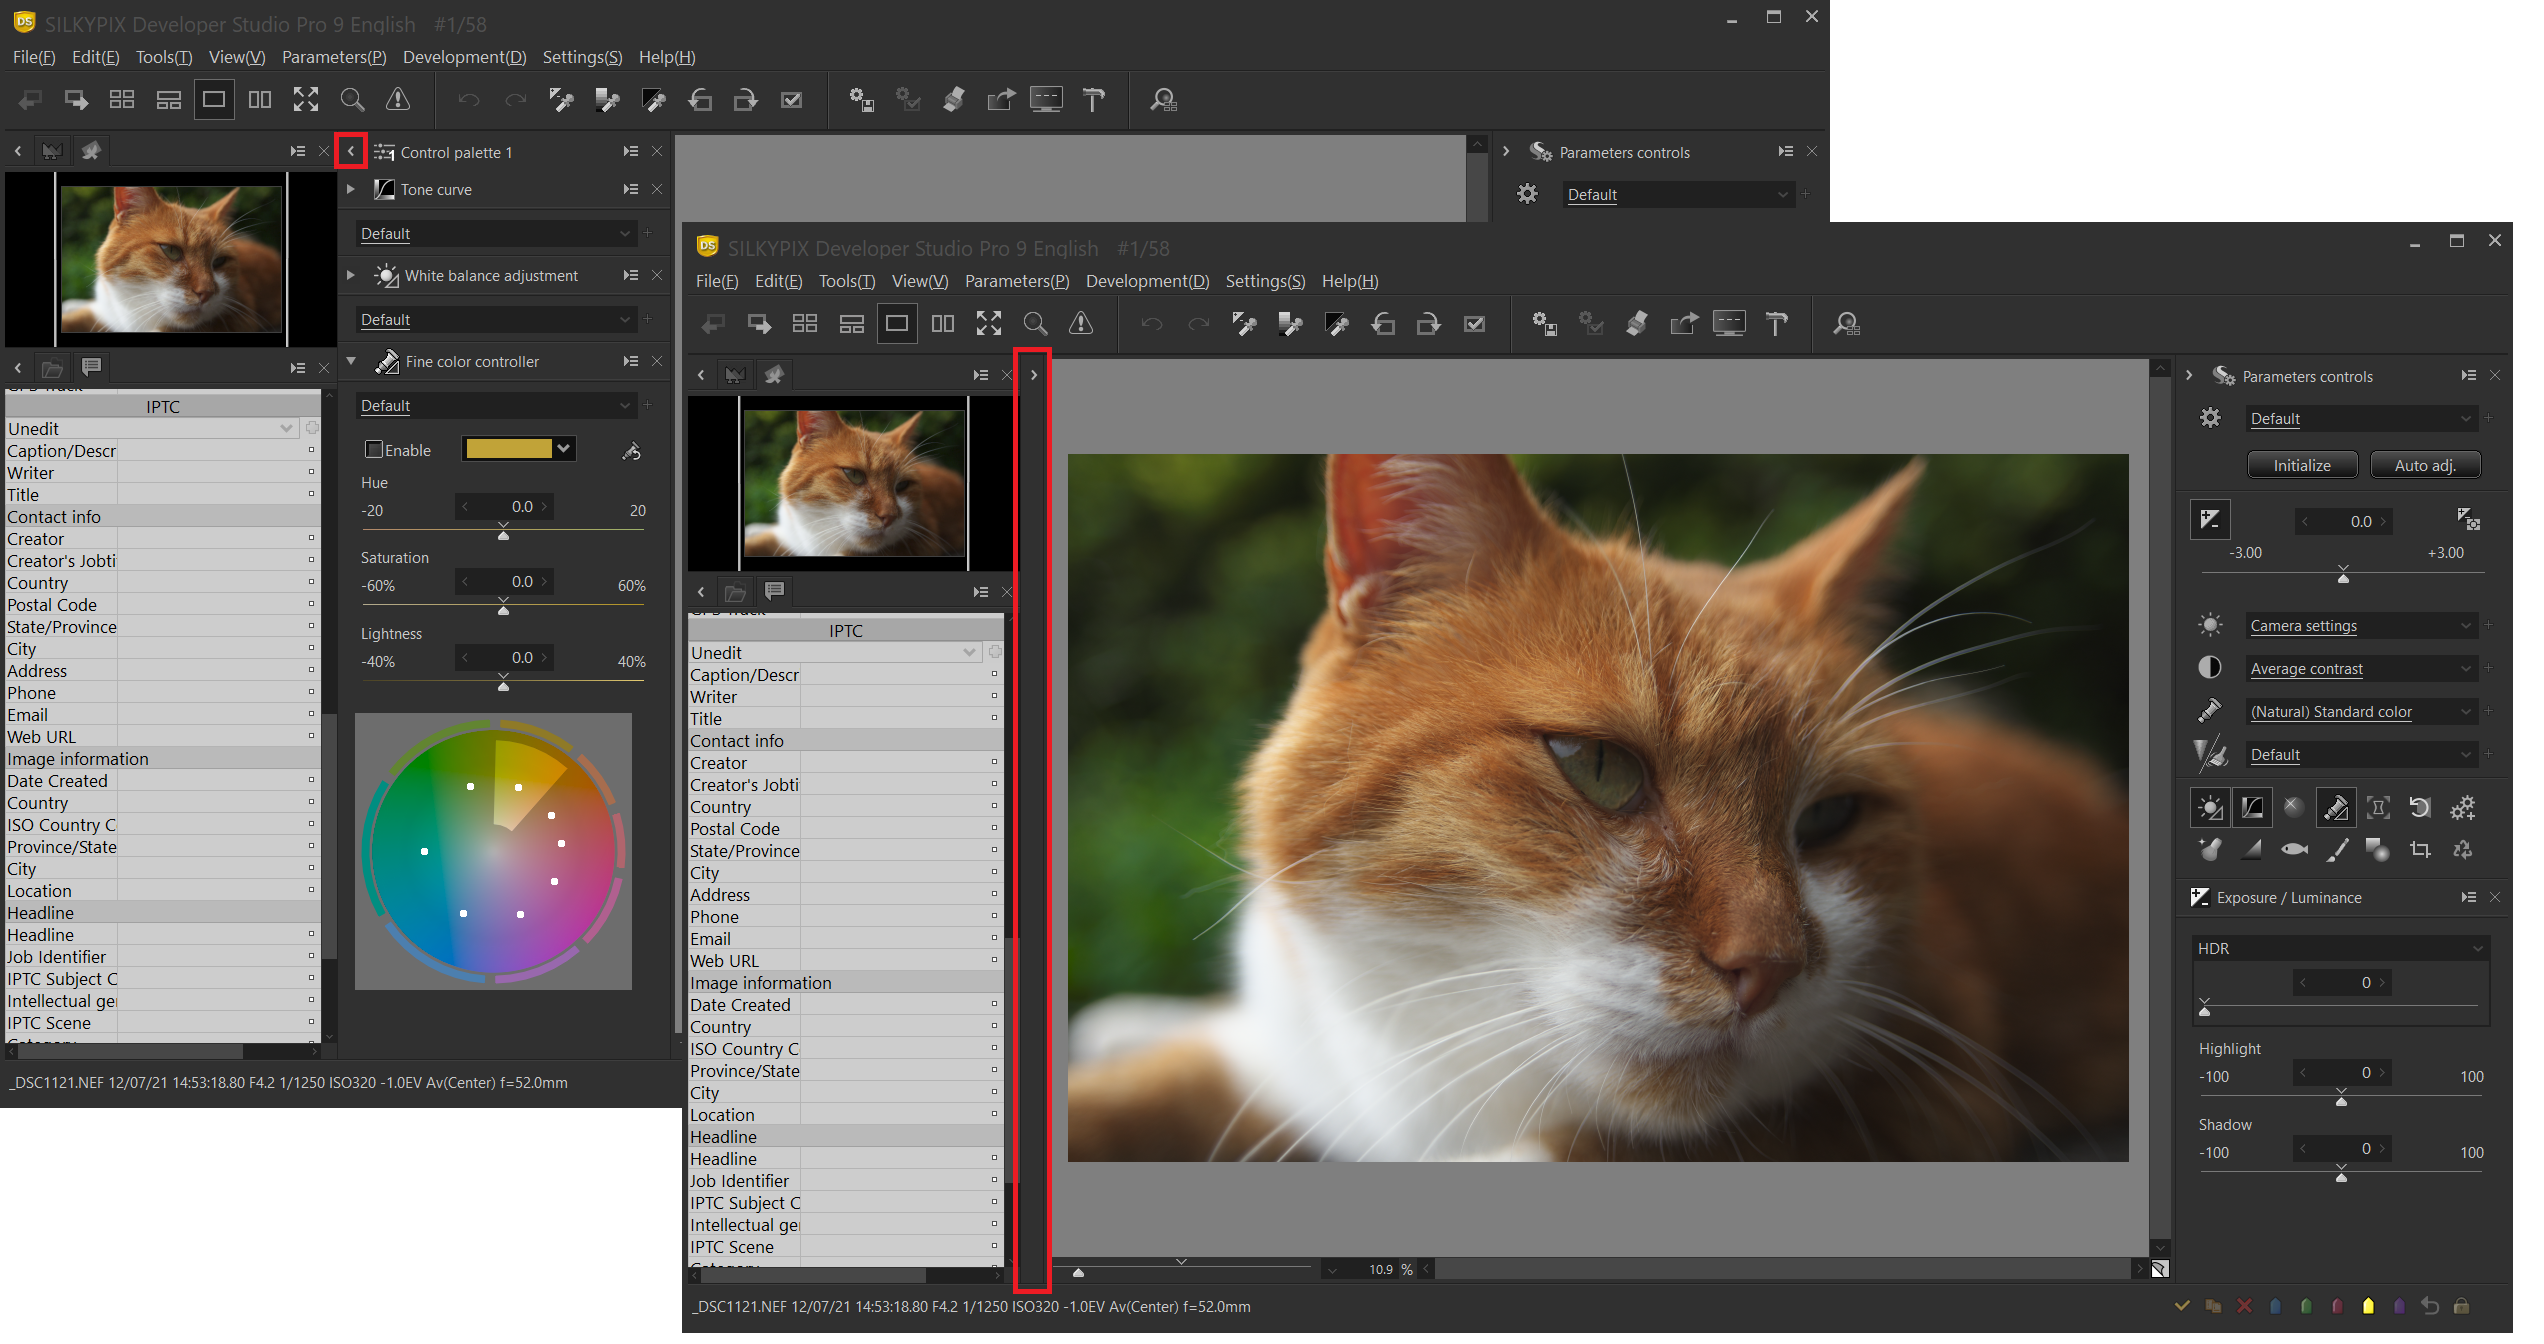
You can also collapse a control palette by pressing the < button on the Control palette or by double-clicking the title. If you want to use the preview screen widely, please use it by switching between display/non-display.
Collapse the Information box
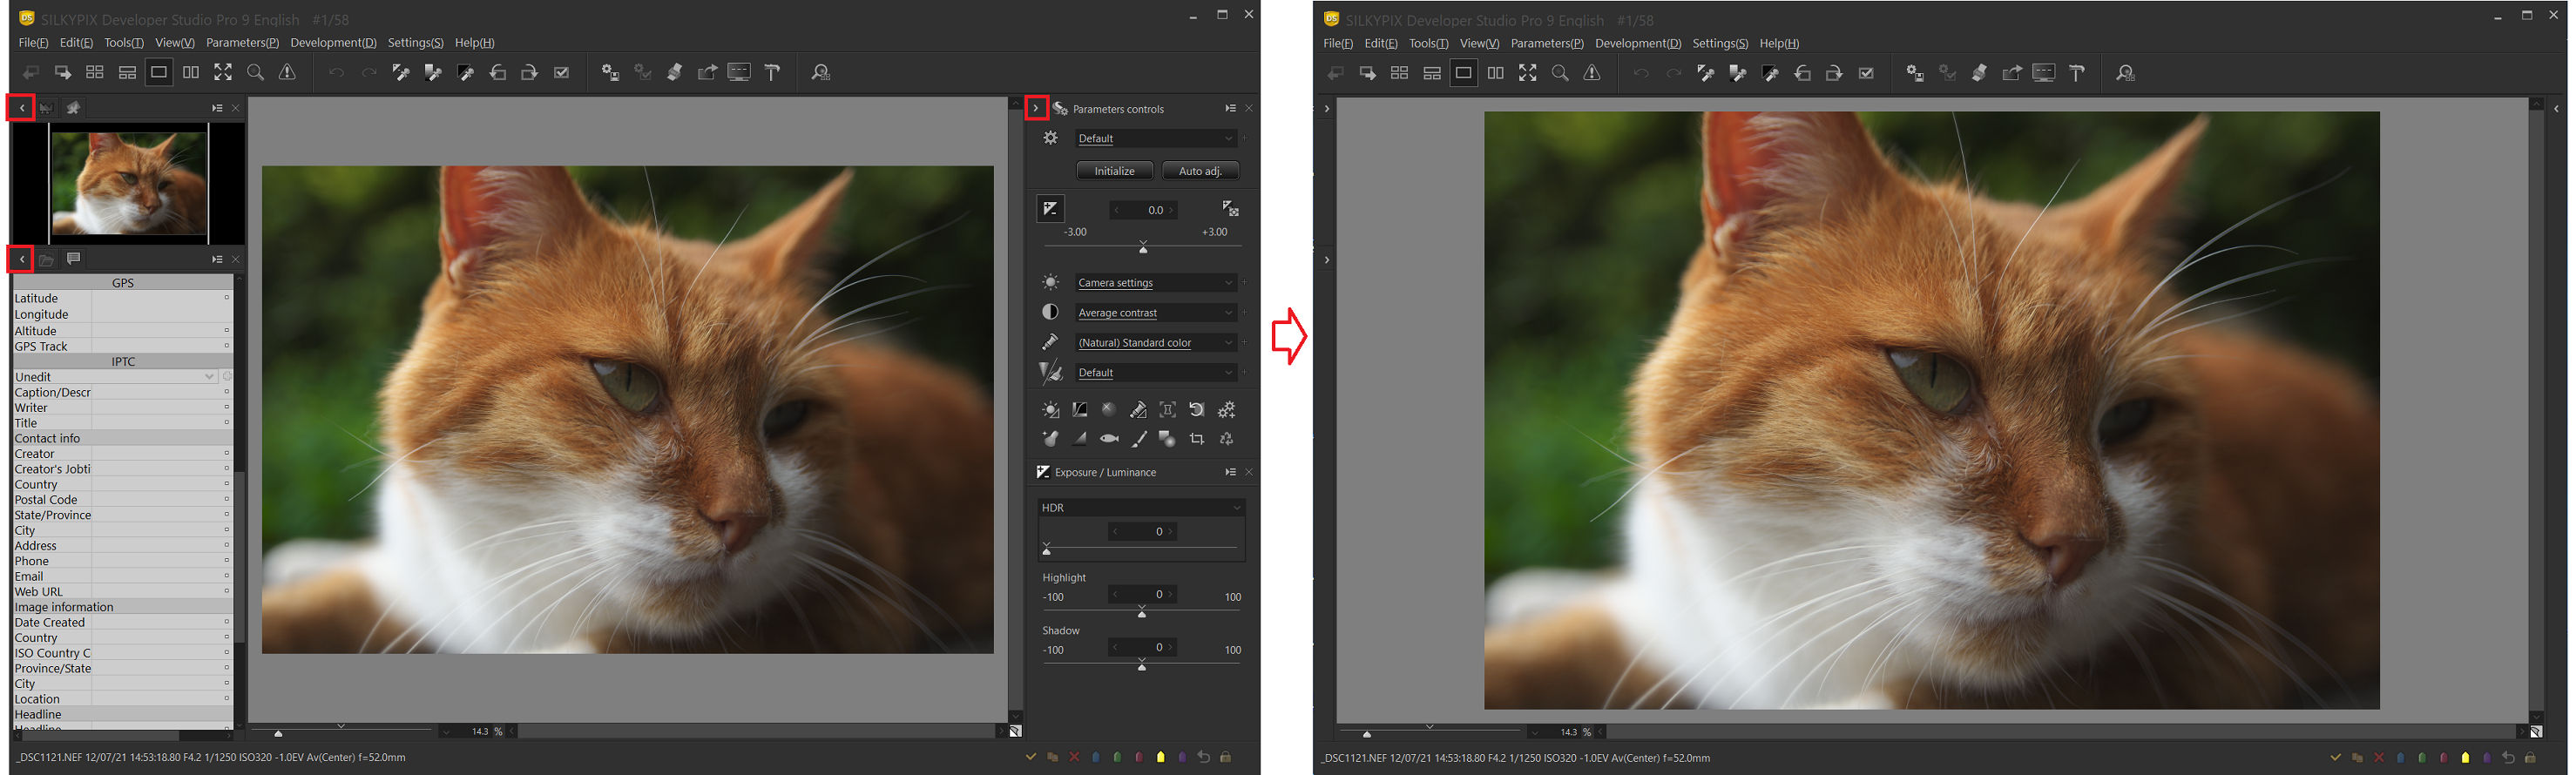
Click the < or > button to collapse or display the information box containing the folder tree, image properties, and parameter controls. You can show / hide it in the previous version, but it is more useful to use by collapsing. Please use this if you use a relatively small screen and want to use a large preview screen.
Customize the toolbar
You can set the order in which icons display on the toolbar and whether they are visible or hidden. Right-click on the toolbar and select Customize toolbar from the Options menu to open the Customize toolbar dialog.
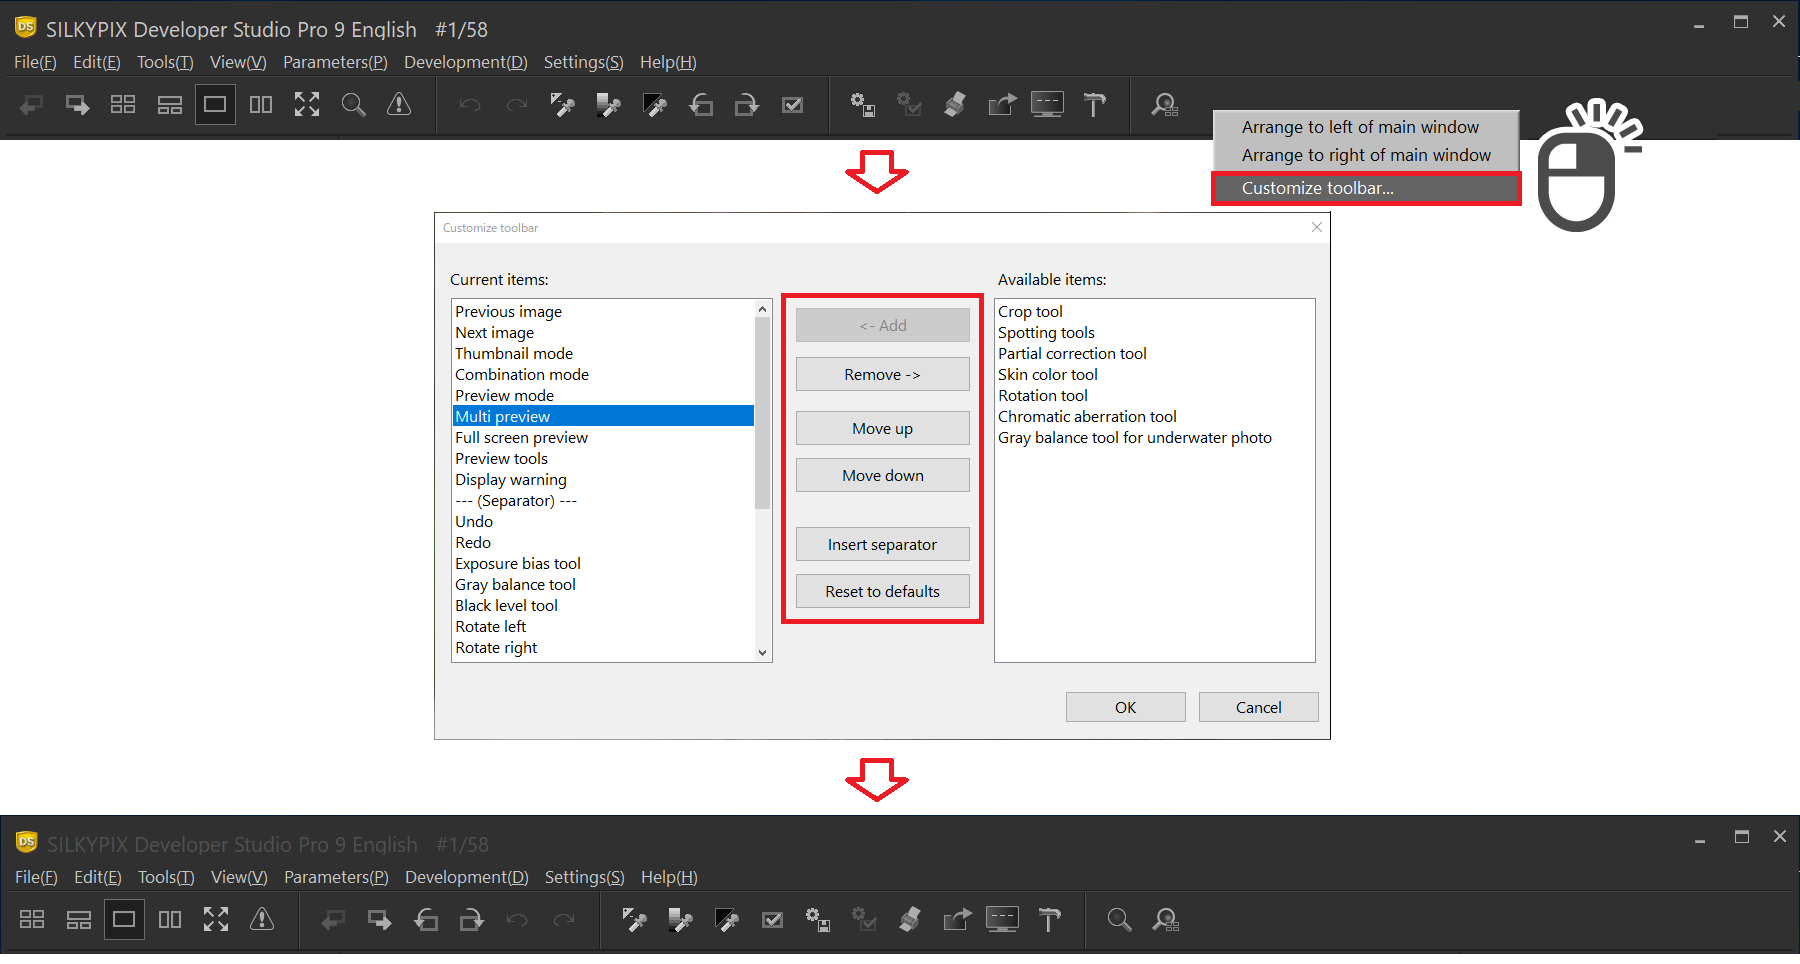
You can add and delete selected icons, change the order, and insert a separator line. You can also add tool buttons that are not included in the default settings, so it will be easier to use if you arrange them according to various factors such as the frequency of use and the environment!
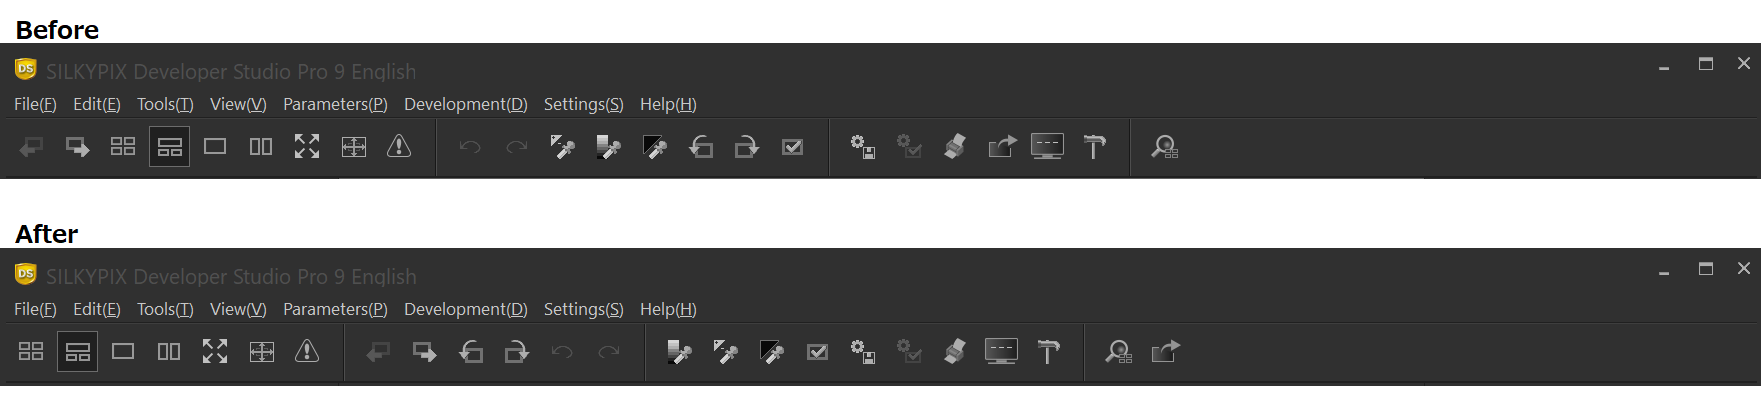
Also, you can arrange the toolbar themselves from the top to the left and right of the main window, so please try to change them according to your environment.
Open with another application
You can launch image retouching software from the SILKYPIX Developer Studio Pro9 to open the developed image.
Register applications
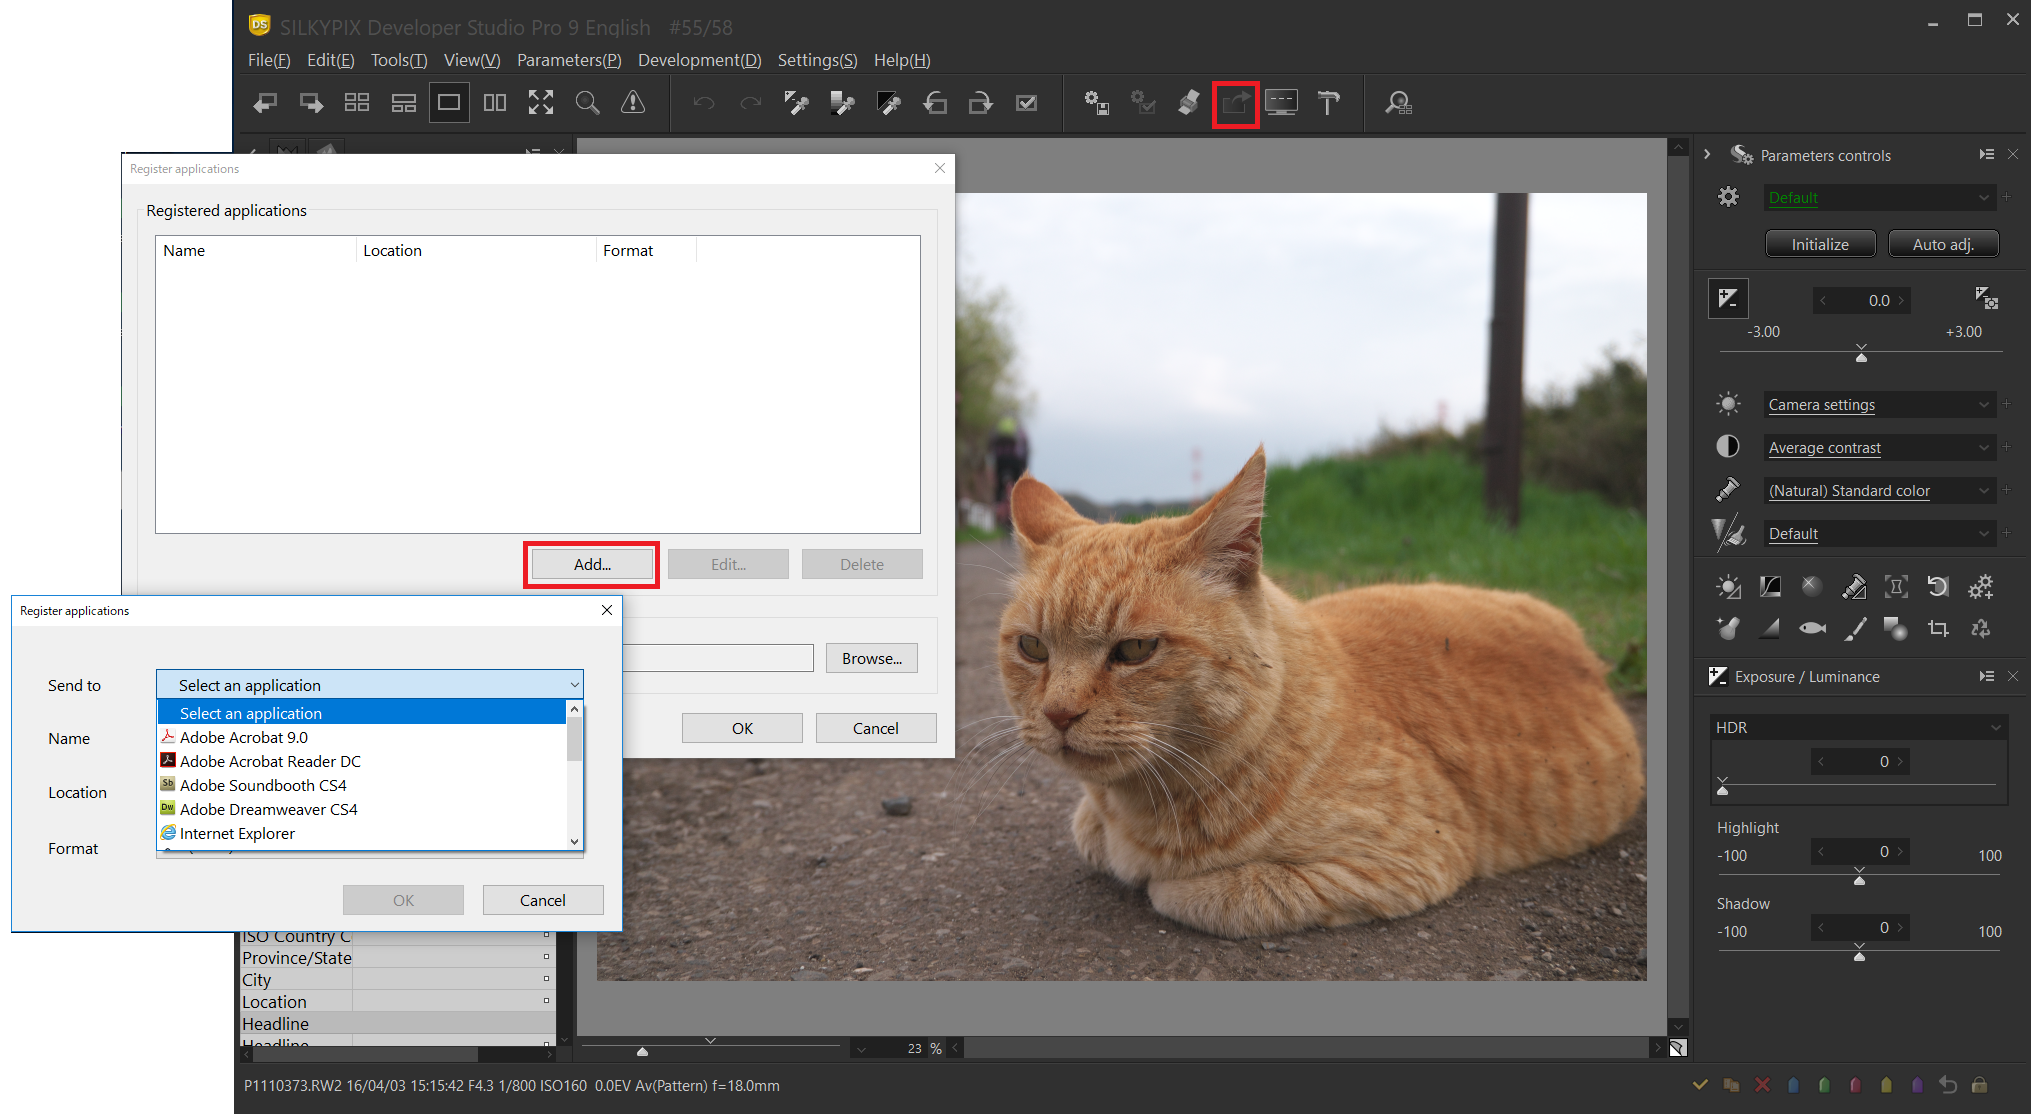
To open an image that has been developed by another application, you must first register the corresponding application. Click the “Open with another application” icon and select “Register application” from the displayed menu to display the registration window. Click [Add…] and select the application to register from the transfer destination application list.
Open with another application
Select the registered application and press OK to transfer.
Let’s enjoy RAW development with SILKYPIX Developer Studio Pro9!
![]()