This topics introduce you to the feature “Lens profile” in SILKYPIX Developer Studio Pro9!
What is the Lens profile?
The “Lens profile” is included in the lens aberration correction. Automatically choose the appropriate lens profile from the RAW data information to achieve the best distortion correction for the camera/lens combination.
Types of distortion
There are two types of distortion: “barrel distortion” often found in wide-angle lens etc. and “pincushion distortion” often found in telelens etc.
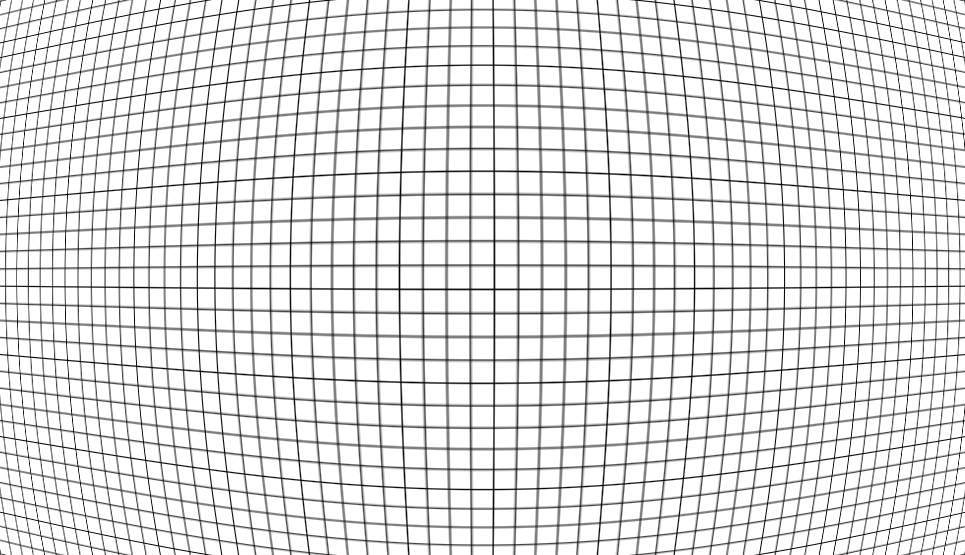
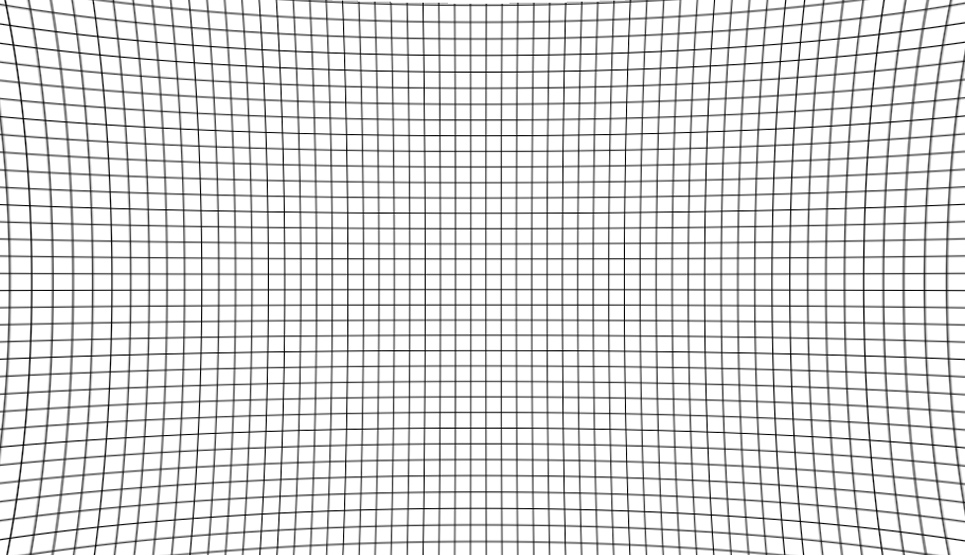
Barrel distortion on the left and Pinch distortion on the right.
In the case of Barrel distortion, the middle of the picture is distorted so as to bulge greatly, and in the case of Pinch distortion, the middle of the picture appears to be slightly concave. In the lens profile, even if you use the zoom lens and use the telephoto side, the pincushion type correction can be automatically adjusted to the focal length at the time of shooting.
Lens aberration correction/Lens profile
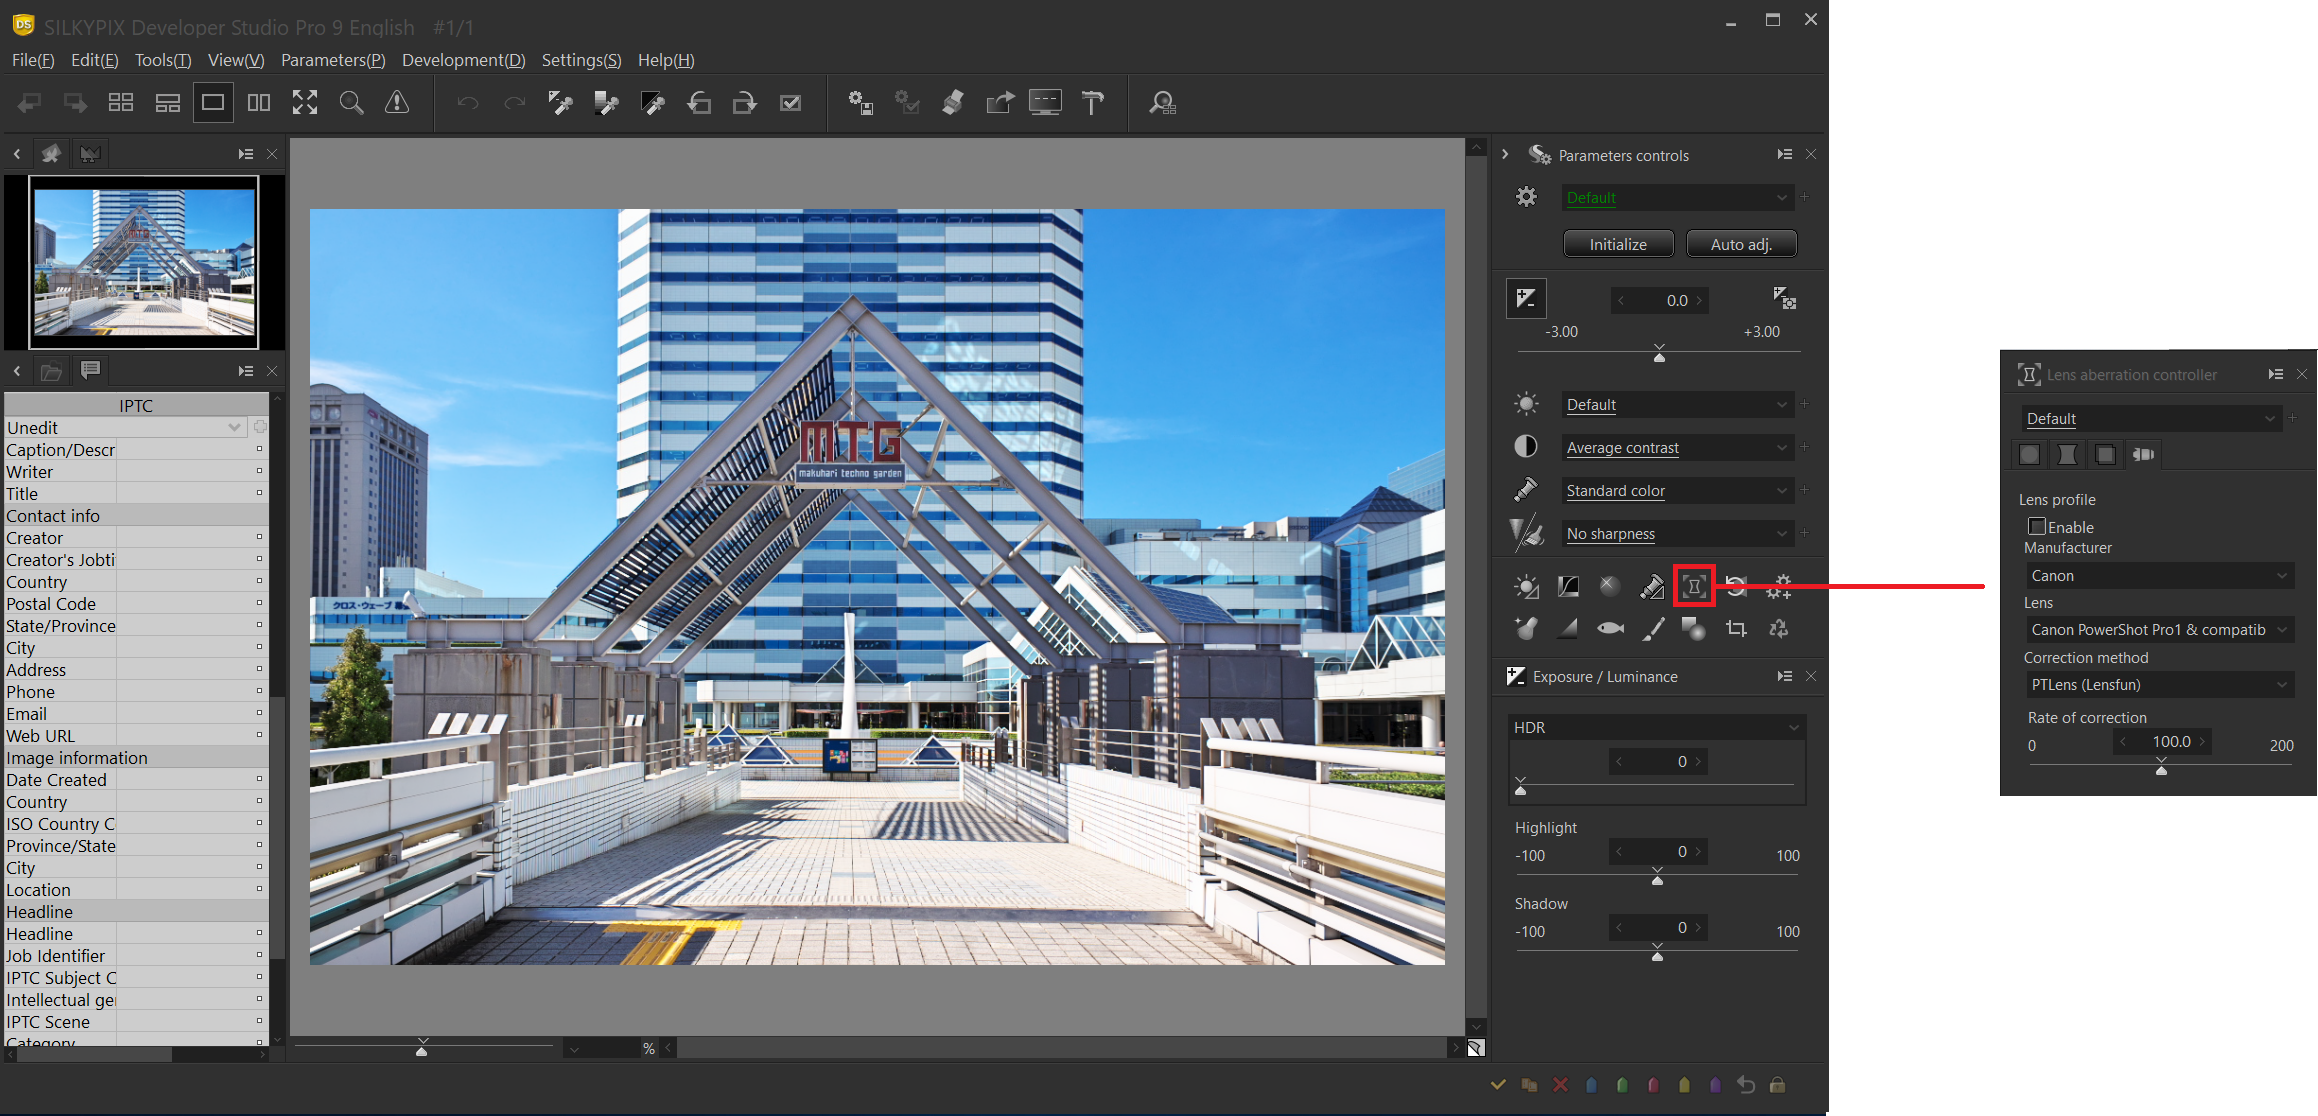
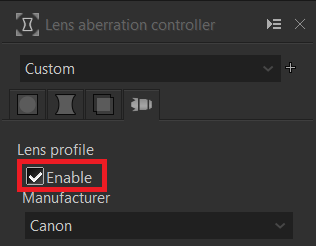
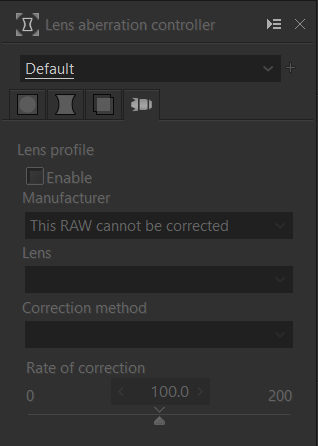
The Lens profile is located inside the Lens aberration correction subcontrol icon.
Lens profile (enabled)

When “Enable” is checked, the Lens profile is executed and the distortion correction is applied.
Manufacturer lens
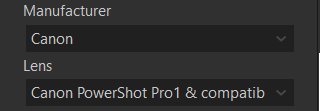
If the lens name is listed in the Raw data Exif, the manufacturer name and lens model name are automatically selected by default. If the correct lens profile cannot be determined automatically, you must select those manually.
If there is no lens name in the Exif info, the lens name is an abbreviated name, or it is slightly different. So, It will not be selected automatically. However, there may be a lens of interest in the lens list, so check it from the drop-down list.
Correction method

SILKYPIX Developer Studio Pro9 uses lens profile info under the third-party license “Lensfun”.
Rate of correction
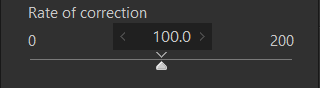
Allows you to adjust the amount of distortion correction. Use this when fine-tuning according to your preference.
Example 1
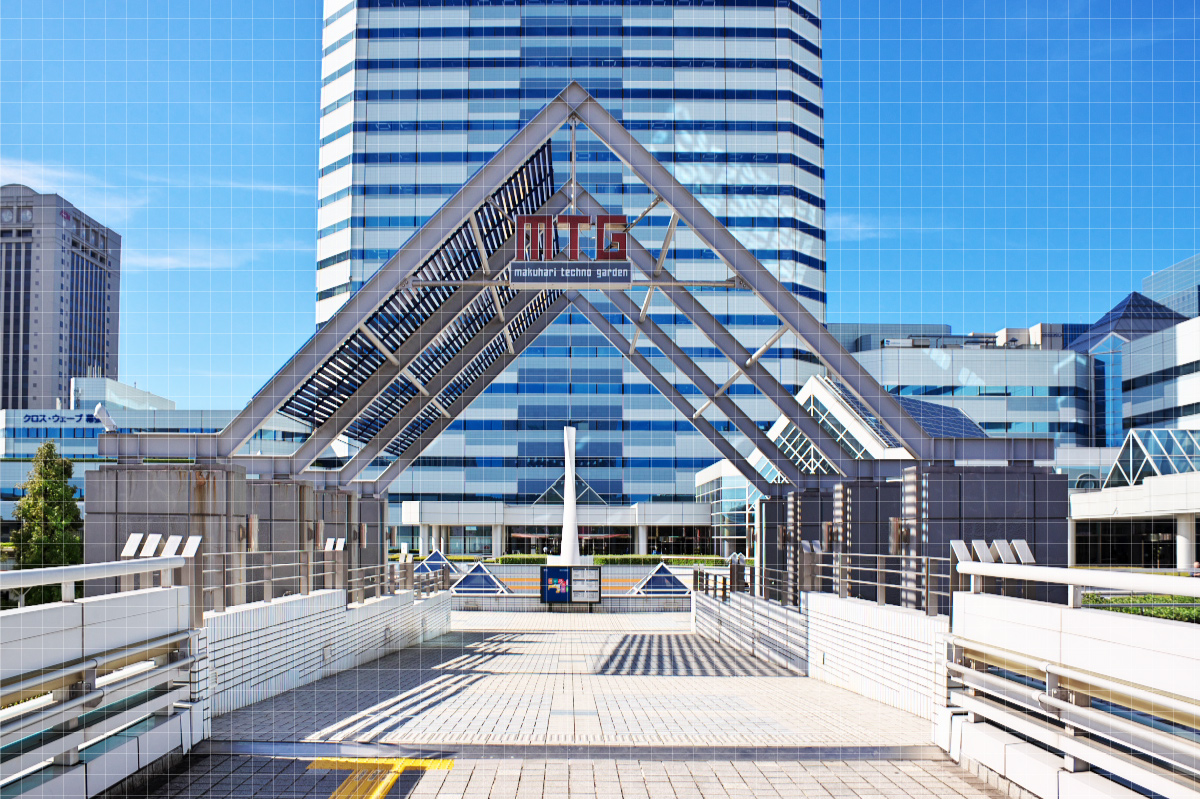
Wide-angle lenses often introduce barrel distortion, which appears to be a large bulge in a image’s subject that should be straight. This is referred to as distortion.
Distortion correction is not always necessary because it distorts a image intentionally, such as a fisheye lens, to make it look like a dynamic image. However, it is better to correct it when you want to faithfully show the shape of the subject as in this image. This is “barrel distortion”.
※ The grid is displayed to make it easier to see the distortion.
When “Enable” is checked, the lens profile function is executed and the distortion correction is applied.

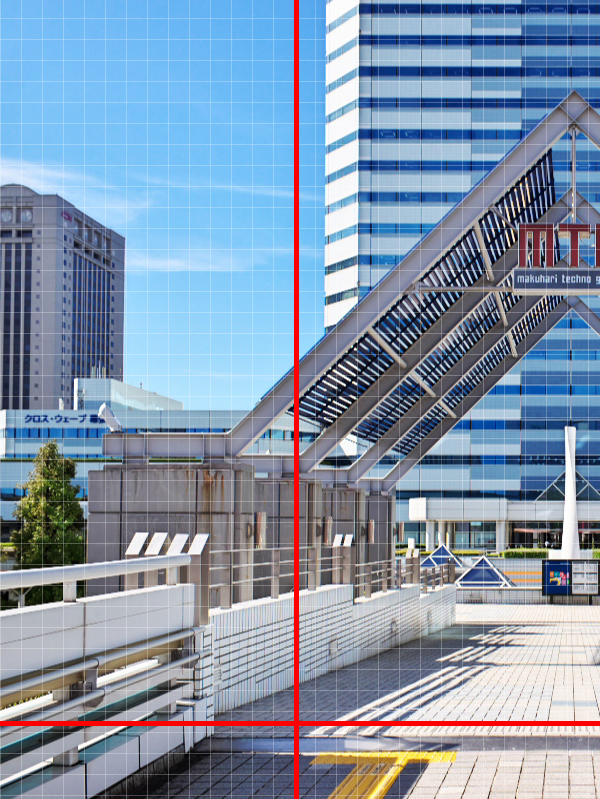
Before correction on the left and after correction on the right.
※ The red line indicates the same position in the image.
You can automatically compensate for this distortion by using a lens profile.
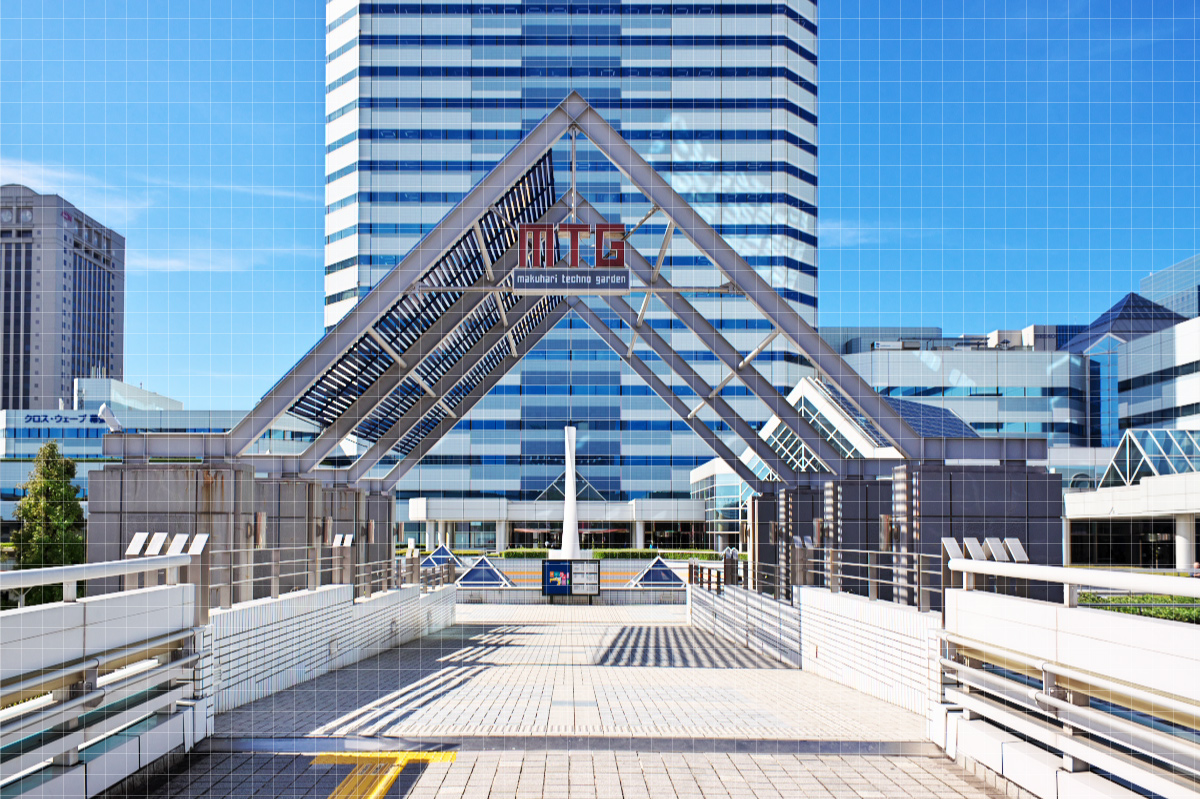
Example 2
The left column of the screen is curved, and the roof and the back column are also slightly bulged. This distortion is very worrisome in buildings.
When “Enable” is checked, the distortion correction will be applied.
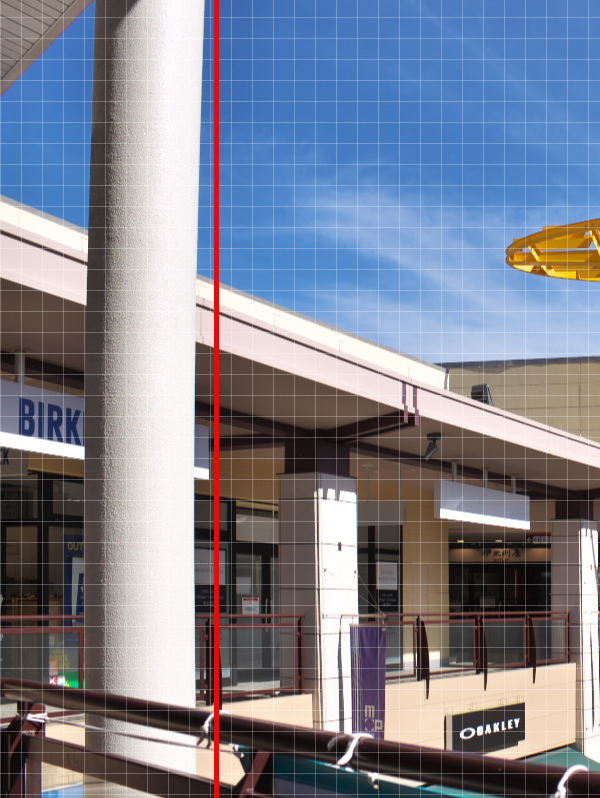
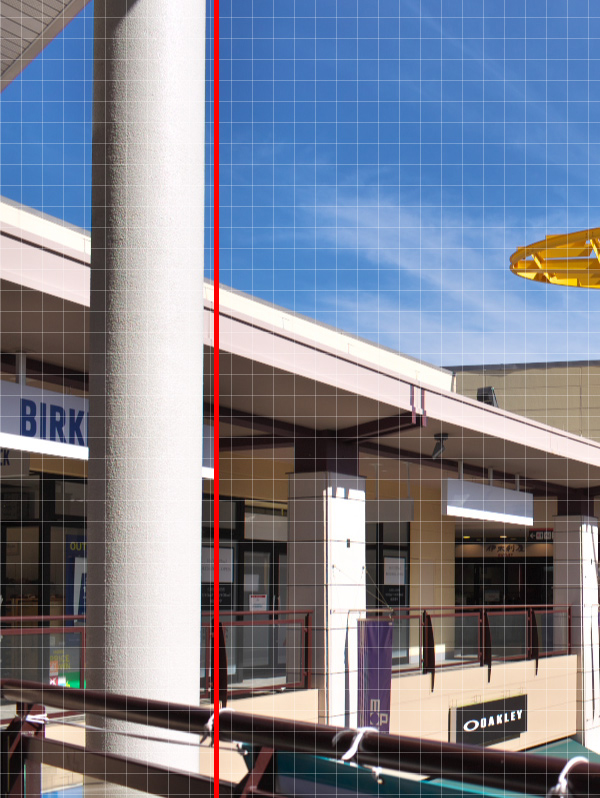
Before correction on the left and after correction on the right.
※ The red line indicates the same position in the image.

Distortion correction was performed.
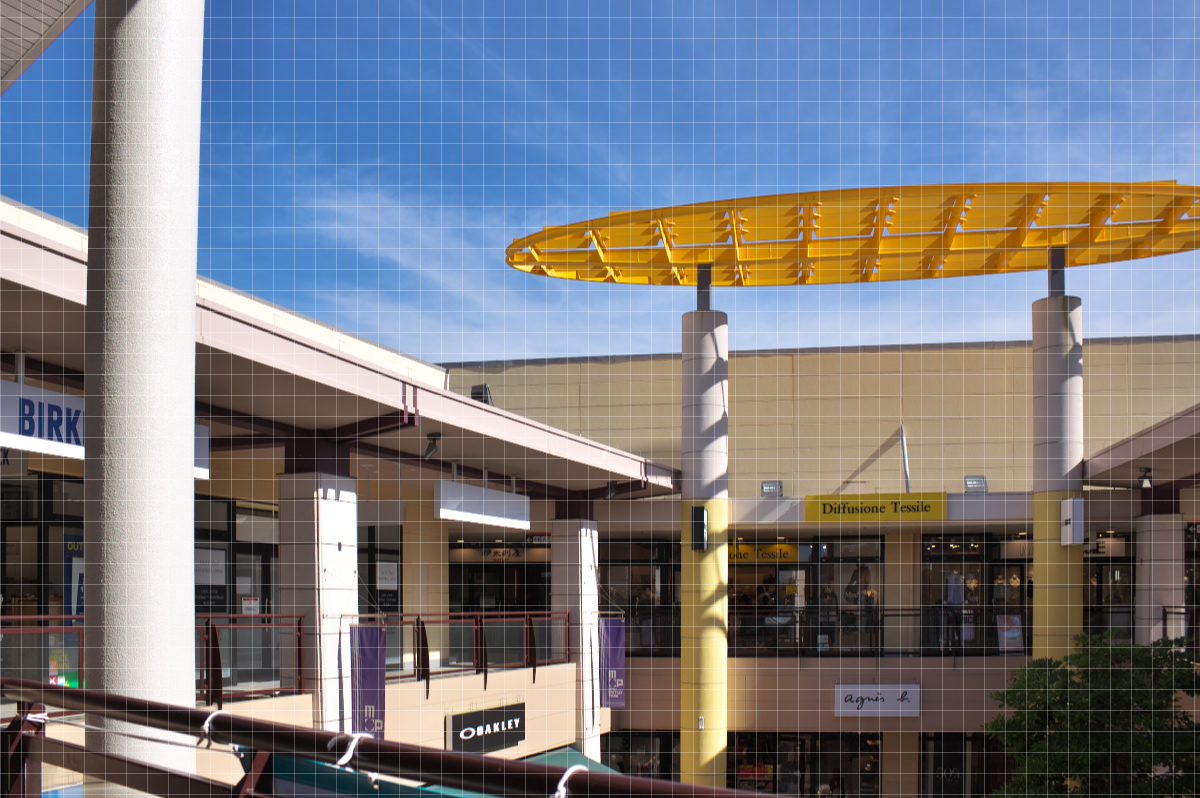
Example 3
The distortion introduced so far is an example of correcting the “barrel distortion” often found in wide-angle lens etc. So, let us look at an example of correction of “pincushion distortion”.
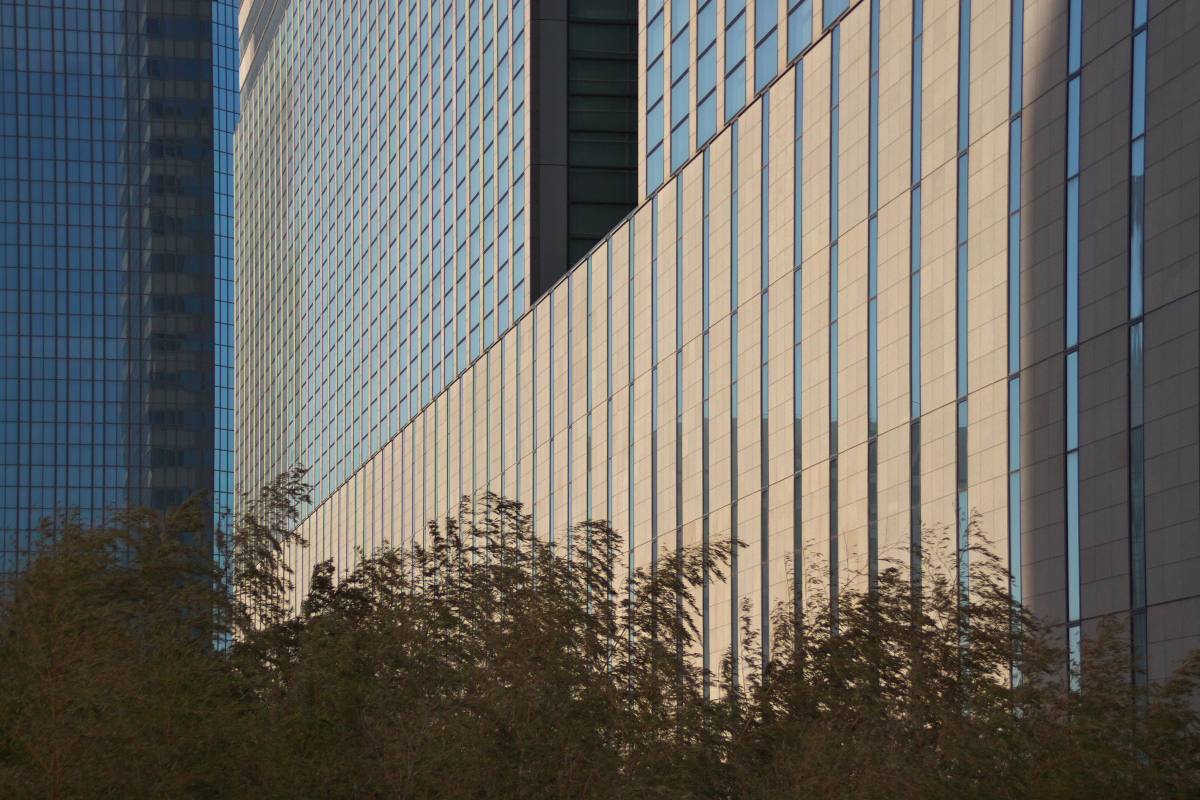
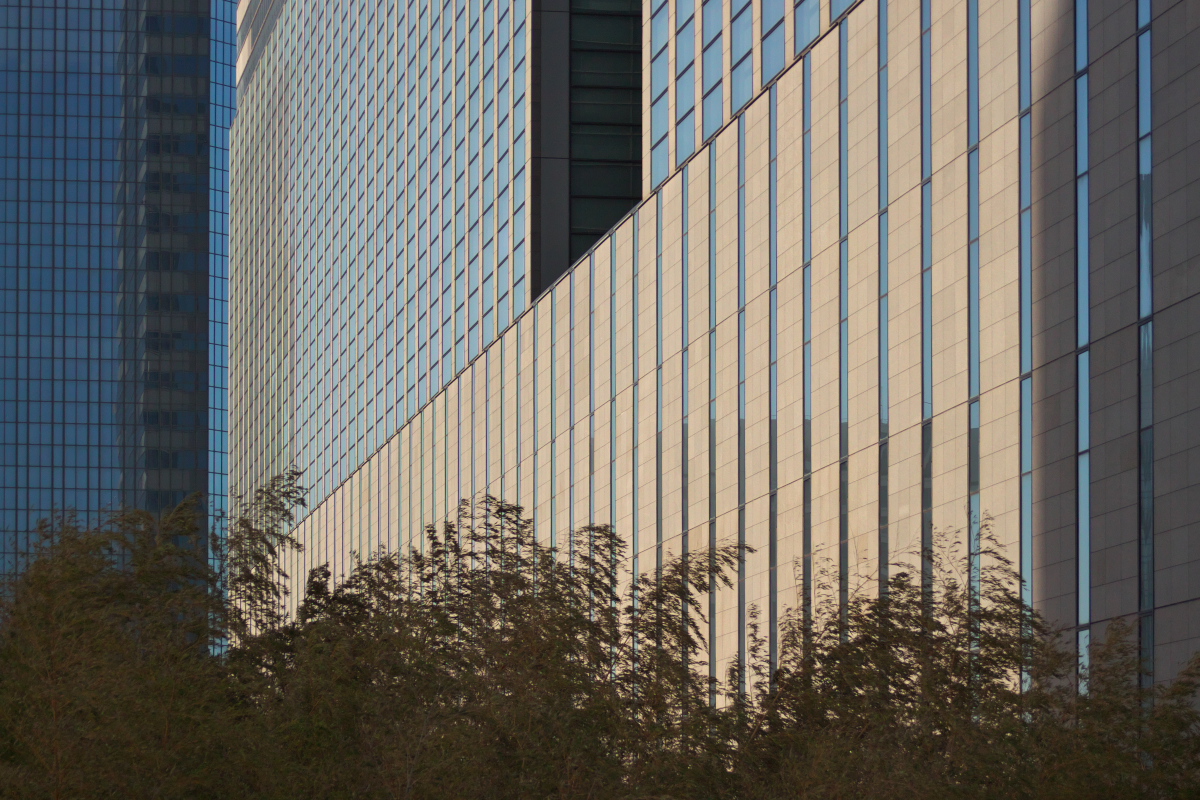
Shoot the building with the telephoto lens. Looking at the vertical lines of the windows, you can see that the lines bend inward in the perimeter. Pinch distortion is not as big as barrel distortion, but compensate if it looks unnatural.
When “Enable” is checked, the lens profile function is executed and the distortion correction is applied.
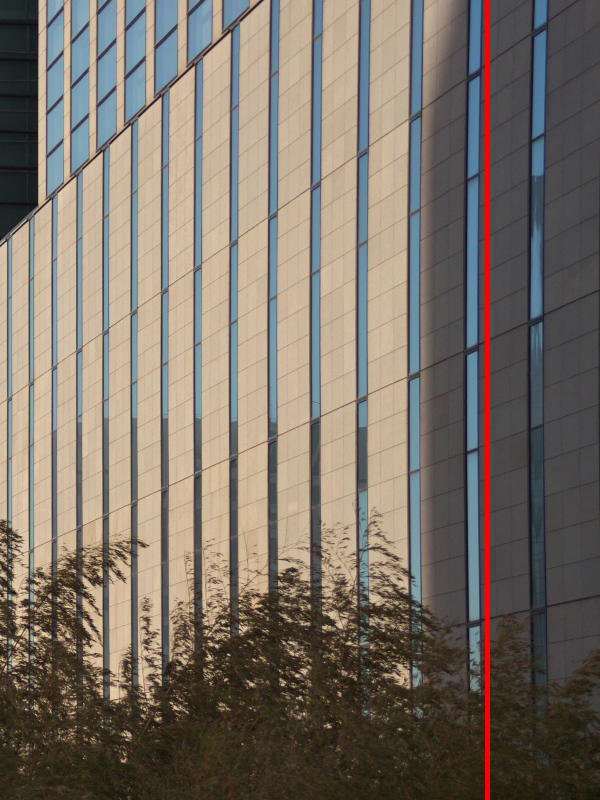
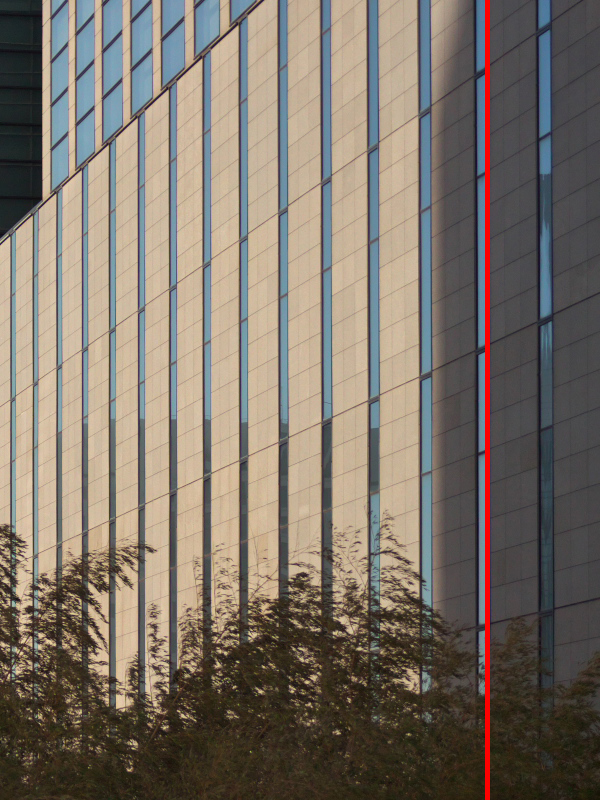
Before correction on the left and after correction on the right.
※ The red line indicates the same position in the image.
The pincushion distortion has been corrected.
Pay attention to the change in the angle of view

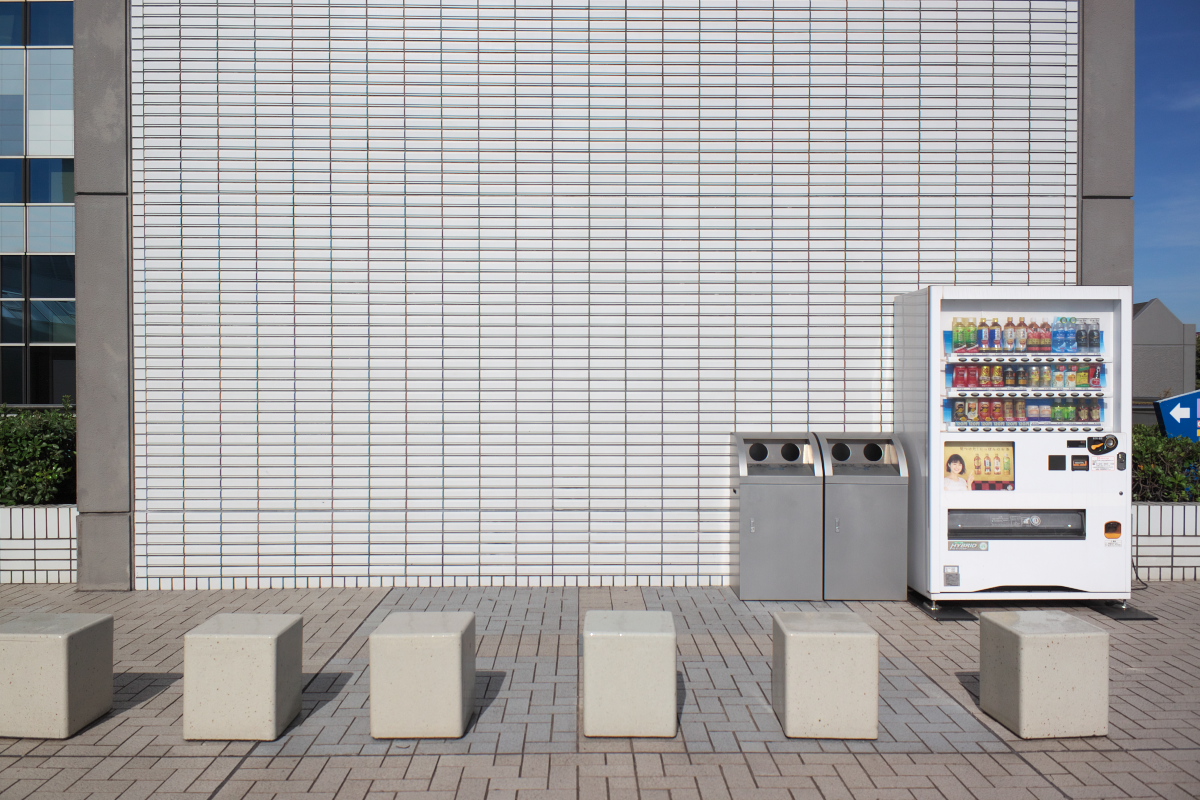
It’s not a very interesting image, but it’s an easy-to-understand example of distortion. Straight tile lines are distorted.
Applying a lens profile compensates for distortion. In this case, the four sides of the image has be trimmed slightly by correcting the distortion. For this reason, special care should be taken if there are important subjects near the four sides of the screen or if the lens is highly distorted.
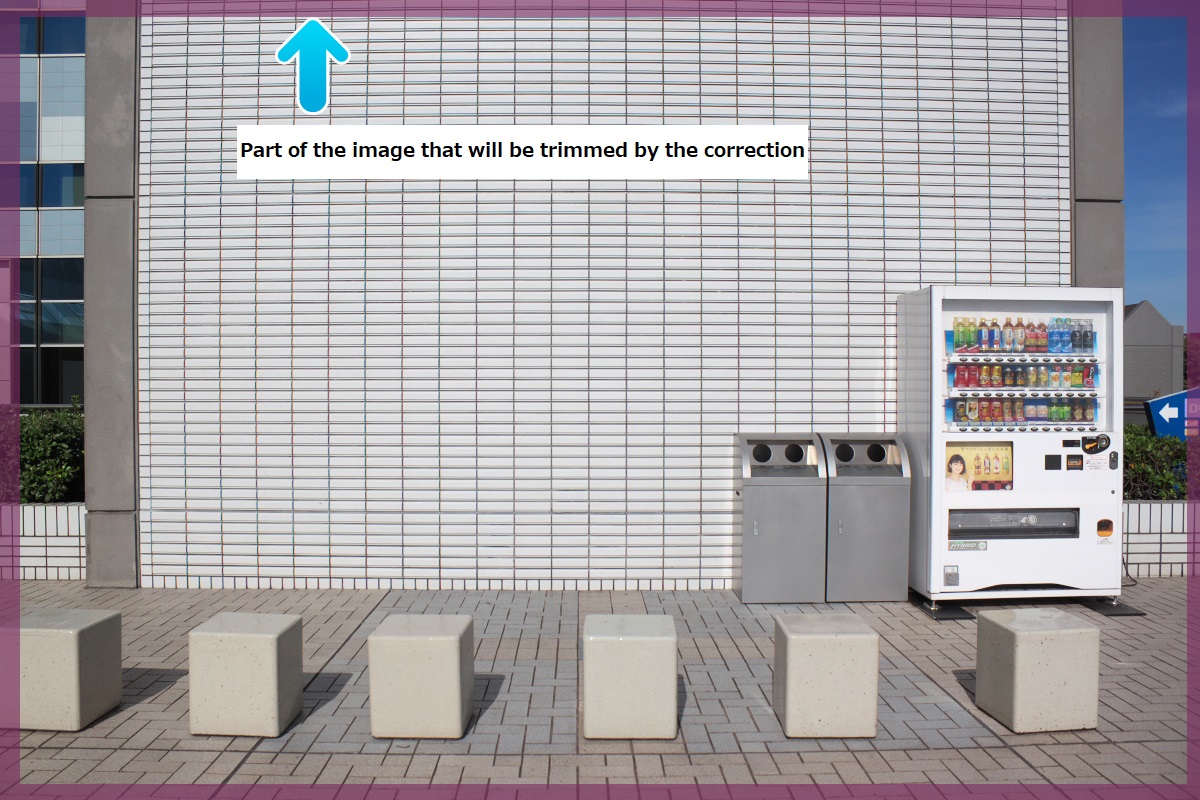
This is the part of the image that will be trimmed by the distortion correction. Depending on the content of the image, it is a good idea to take a slightly wider photo assuming correction.
This way, the Lens profile in SILKYPIX Developer Studio Pro9 makes it easy to compensate for distortion. If the correct lens profile could not be determined automatically, set the manufacturer name and lens name manually.
If Lens profiles are disabled
For some RAW data, the optimal results are always displayed without using the lens profile function. For this reason, the automatic distortion correction function by the lens profile function is disabled.
Please try it out with your images!
You can download a free 30 days trial and try it out.
![]()